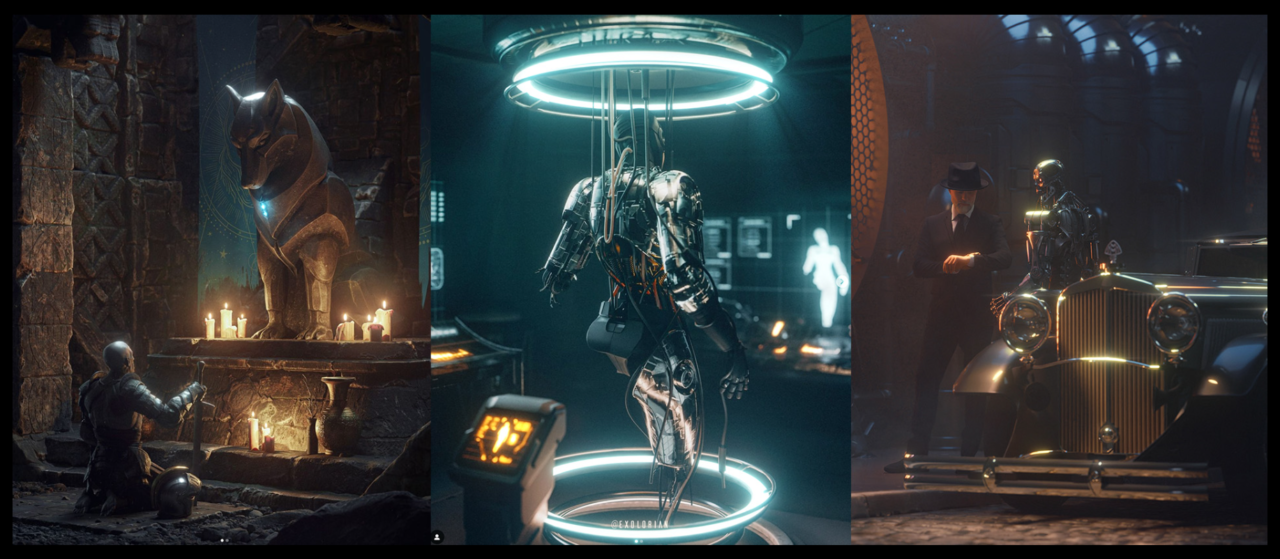
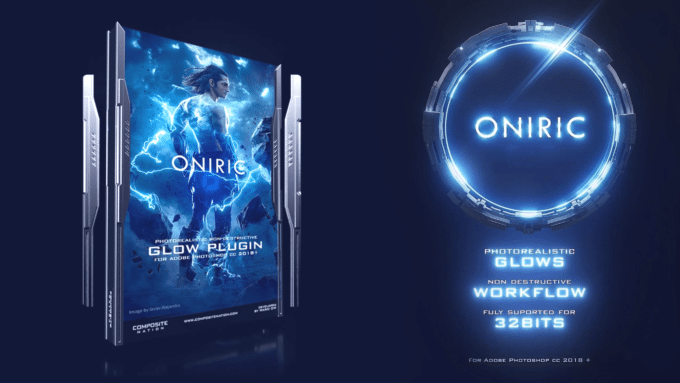
Do your photos sometimes look boring or plain, like they’re missing something special? Do you wish there was an easy way to make them look amazing and professional? Meet the Oniric Glow Generator Plugin! It’s a Photoshop plugin from Composite Nation that adds realistic glow effects to your photos using advanced tools. You can make your pictures pop with bloom effects, light streaks, and lens flares. This plugin is super easy to use and helps anyone—even beginners—create stunning images. Keep reading to learn how to use it, where to download it, and how to fix the common “Oniric extension could not be loaded because it was not properly signed“ error.
Photoshop Running Slow? 10 Quick Fixes!
What Makes Oniric Glow Generator Plugin Unique?

The Oniric Glow Generator Plugin is an amazing tool that makes your photos look more exciting with cool lighting effects. Here’s why you’ll love it:
- Realistic Light Effects: The plugin uses a special rule called the inverse square law to make light look natural. This means light gets softer as it moves away, giving your photos smooth, beautiful glow effects.
- Bloom Effect: This is one of the core features of Oniric. The bloom effect creates smooth light transitions and adds a realistic glow to your images, working especially well with the “colorize” feature to enhance colors.
- Glare Effects: With glare, you can create stunning anamorphic lens flares and creative light effects. These are perfect for adding dramatic or artistic touches to your images.
- Custom Colors: Oniric lets you fully customize the colors of your glow effects. The “colorize” feature opens up endless creative possibilities, allowing you to apply a wide range of colors to suit your project.
- Dynamic Range Improvements: The threshold and dynamic range settings have been upgraded to allow darker pixels to generate glow, offering even more flexibility for your designs.
- Easy to Use: Even if you’re a beginner, this plugin is super simple. Just click the “Generate” button to let the plugin find areas to enhance, and use sliders to adjust the effects the way you want.
- Customizable: You can change settings like intensity and light areas with sliders. One helpful tool is the threshold slider, which lets you focus on specific parts of your image for precision.
- Non-Destructive Editing: Oniric ensures that your original image remains untouched by applying effects in separate layers. This gives you the freedom to make changes or remove the effects anytime without affecting your original work.
The creators of this plugin, Composite Nation, say: “You can do whatever you want with these sliders—just feel free to use your imagination.” For instance, you can use the X-ray view to see where the glow is applied or fine-tune it with the threshold slider. It’s easy to get creative and make your photos pop!
How to Use the Oniric Glow Generator Plugin: A Step-by-Step Guide
Using the Oniric Glow Generator Plugin is super simple and easy to understand. Let’s go over the main steps and features:
1. How to Open the Plugin
To start using the Oniric Glow Generator Plugin in Photoshop, go to Window > Extensions > Oniric. This will open the plugin’s dashboard, which is designed to help you quickly find all the tools and settings you need.
2. How to Add Glow Effects
- Step 1: Click the Generate button. The plugin will automatically find the bright parts of your image that need a glow by looking at the brightness and picking the best areas to enhance.
- Step 2: Use the sliders to adjust the glow settings like intensity, radius, threshold, exposure, and light dispersion. For example:
- The intensity slider makes the glow brighter or dimmer.
- The radius slider changes how far the glow spreads out.
- The threshold slider lets you pick which parts of the image should glow, depending on how bright they are.
- Step 3: Use the X-ray view if you want to see exactly where the glow will be applied. The green parts show you which areas will glow, so you can make adjustments more easily.
- Step 4: Fine-tune the glow by changing the threshold slider or drawing your own mask with the manual masking tool for more control.
3. How to Save Your Work
When you’re happy with the glow effect, click Save. The plugin will make a new layer in Photoshop that keeps your original image untouched. This means you can always go back and edit the glow later or remove it without messing up your original photo. It gives you lots of freedom to make changes whenever you need to.
How to Download and Install the Oniric Plugin
Download the Plugin
- Step 1: Click the download link provided below to start the process of acquiring the Oniric Plugin.
- Step 2: Find the downloaded zip file on your computer and extract its contents to a folder.
Installation Process
- Step 3: Right-click on the C: drive (or your primary drive) and choose “Open in New Window” for easy file navigation.
- Step 4: Open another window to work with two windows side by side, simplifying file transfer.
- Step 5: In one window, type
C:\Program Files (x86)\Common Files\Adobe\CEP\extensionsin the address bar to locate the Extensions folder. - Step 6: Locate the folder named “CN_Oniric_1.2.0_CC_win,” right-click it, and select “Copy.”
- Step 7: Navigate to the Extensions directory and paste the copied folder there.
Activating in Photoshop
- Step 8: Open Adobe Photoshop. Click on Window in the menu bar, hover over Extensions (Legacy), and select Oniric to activate the plugin.
And guess what? You’re all set! Now, open up Photoshop, and in the menu bar, click Window, then hover over Extensions (Legacy) to access the Oniric Plugin and start enhancing your photos.
Troubleshooting: Fixing Common Installation Errors
The “Oniric” Extension Could Not Be Loaded
If you encounter the error message, “The ‘Oniric’ extension could not be loaded because it was not properly signed,” it usually happens because Adobe’s software checks for a proper digital signature before loading extensions. This issue can arise if the plugin isn’t recognized as a verified Adobe extension. Here’s how to resolve it:
- Step 1: Open the “Registry Editor” by searching for it in the Windows Start menu.
- Step 2: Navigate to
HKEY_CURRENT_USER > SOFTWARE > Adobe > CSXS.10. This path is crucial as it contains the settings that dictate how Adobe extensions, like the Oniric Plugin, are loaded and managed by Photoshop. - Step 3: Right-click on “PlayerDebugMode” and select “Modify.”
- Step 4: Change the value data from
0to1and click “OK.” - Step 5: Repeat this process for all “CSXS” folders to ensure consistency. Typically, you may encounter 2-3 CSXS folders depending on your Adobe installations. For example, you might see CSXS.8, CSXS.9, and CSXS.10.
- Step 6: Restart your computer to apply the changes.
Once restarted, open Photoshop, navigate to Window > Extensions (Legacy), and the Oniric Plugin should now be visible and functional. To verify, apply a simple test effect to ensure the plugin is working correctly and your setup is complete.
Pro Tip: If issues persist, double-check your installation steps or contact the Oniric Plugin support team for assistance. You can reach them via their official support page at Oniric Support or email them directly at [email protected].
Why You Need the Oniric Glow Generator Plugin

The Oniric Glow Generator Plugin is more than just a plugin; it’s a creative powerhouse that saves time while delivering stunning results. Here’s why it’s a must-have for your Photoshop arsenal:
- Efficiency: Forget spending hours manually creating glow effects—this plugin automates the process while allowing for customization.
- Creative Freedom: Experiment with different sliders, thresholds, and masking options to achieve your desired look.
- Professional Results: Whether you’re enhancing portraits, landscapes, or product photography, Oniric ensures your images stand out.
- Compatibility: Oniric works seamlessly with both Windows and macOS. For the best performance, ensure your Photoshop version is updated to v23.3 or later.
- Save and Load Presets: You can save your favorite glow settings as presets, allowing you to quickly recreate effects and speed up your workflow.
Pro Tips for Getting the Most Out of Oniric
- Use the X-ray view to identify and refine targeted glow areas. This feature highlights the sections of your image that will have glow effects applied, making it easier to adjust and perfect the glow for a more polished result.
- Combine the plugin with manual masking for maximum control over the effects. For example, manual masking can be particularly useful when working on detailed images like portraits, where you might want to apply the glow to specific areas such as the eyes or jewelry without affecting the entire image.
- Experiment with light dispersion and streaks to add a unique, creative flair. For instance, light dispersion works beautifully on night cityscapes to create dreamy neon effects, while streaks can enhance action shots by giving them a dramatic, cinematic look.
- Adjust opacity on the glow layer to achieve subtle or dramatic results. Lowering the opacity can create a soft, natural look, while increasing it makes the glow more vibrant and attention-grabbing, allowing you to match the mood of your image.
As the video demonstrates, the Oniric Glow Generator Plugin encourages you to, “Just feel free to use your imagination.” For example, you can use the customizable bloom effects to enhance soft glows in portraits or experiment with dynamic streaks to create futuristic designs in action shots.
Conclusion
The Oniric Glow Generator Plugin is an amazing tool that helps make your images look professional and eye-catching. It has powerful features like bloom effects and non-destructive editing, which let you experiment freely without changing the original image. For example, you can use it to add beautiful lighting streaks or soft glows to your photos. This makes it perfect for creating stunning visuals, like dreamy bokeh effects in portraits or a futuristic look in product photos. Even if you don’t use it every day, it’s great for projects like professional portraits, artistic photography, or anything that needs a little extra flair.
Want to level up your Photoshop skills? Try the Oniric Glow Generator Plugin and see how its unique features can turn your projects into works of art. Check out the tutorial links to learn more and share your creations in the comments! Did you use it for bokeh effects, streaks, or something totally new? Let us know what glow effect you liked best!


