Janmashtami Photo Manipulation In Photoshop 2021 (Downlead Stock)
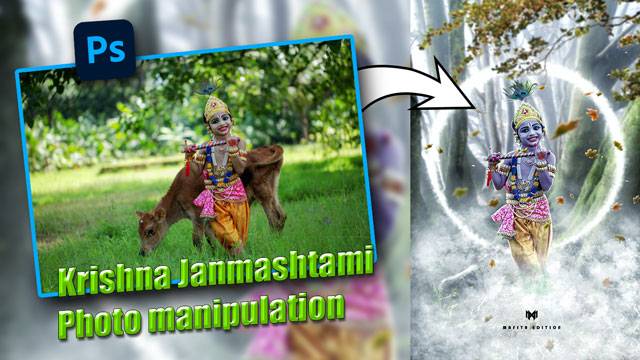

Today I Will Give You An Overview Of This janmashtami photo manipulation, And You Can Also Download All The Stock Images Of This Concept At The Bottom Of This Page. so let’s get started
extract the subject from the background
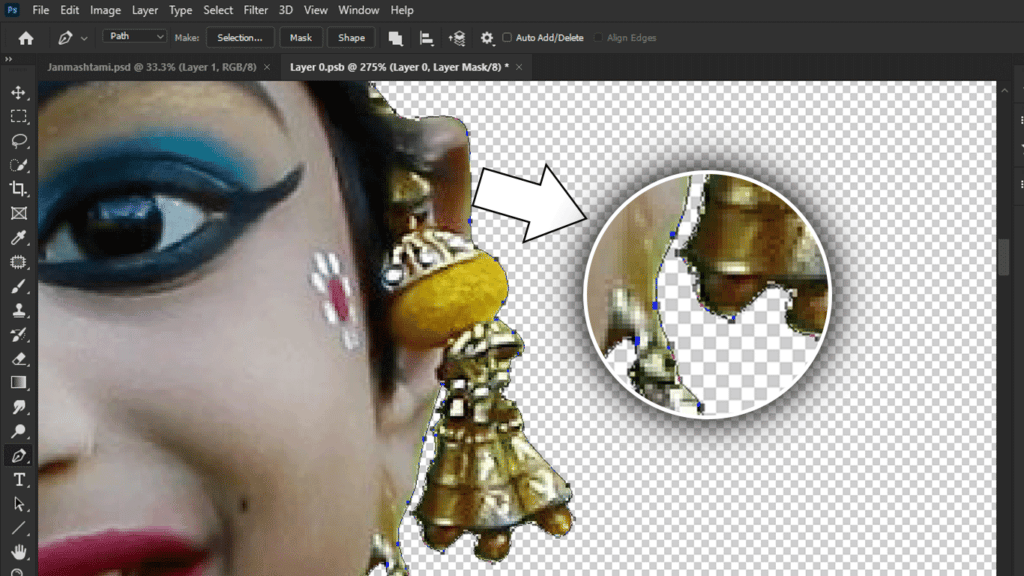
First I make a selection around the subject with the pen tool, the pen tool is the best tool to select around the subject, you can manually track each pixel of your subject.
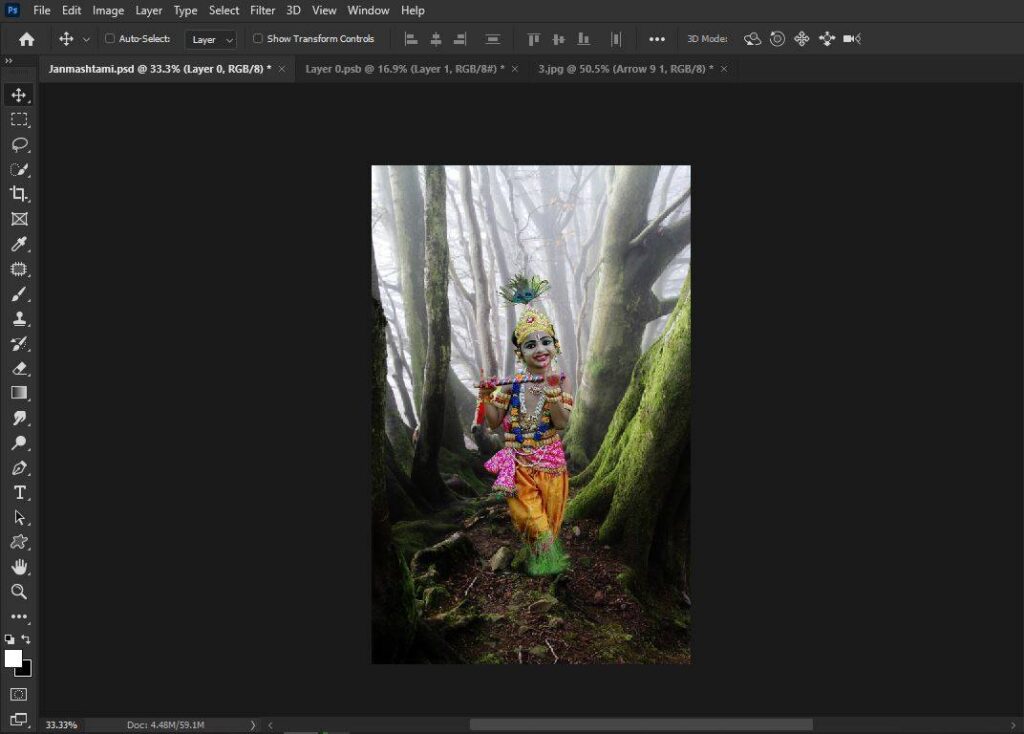
after extracting the subject from the background, I drag the subject into the new background.
adding smoke
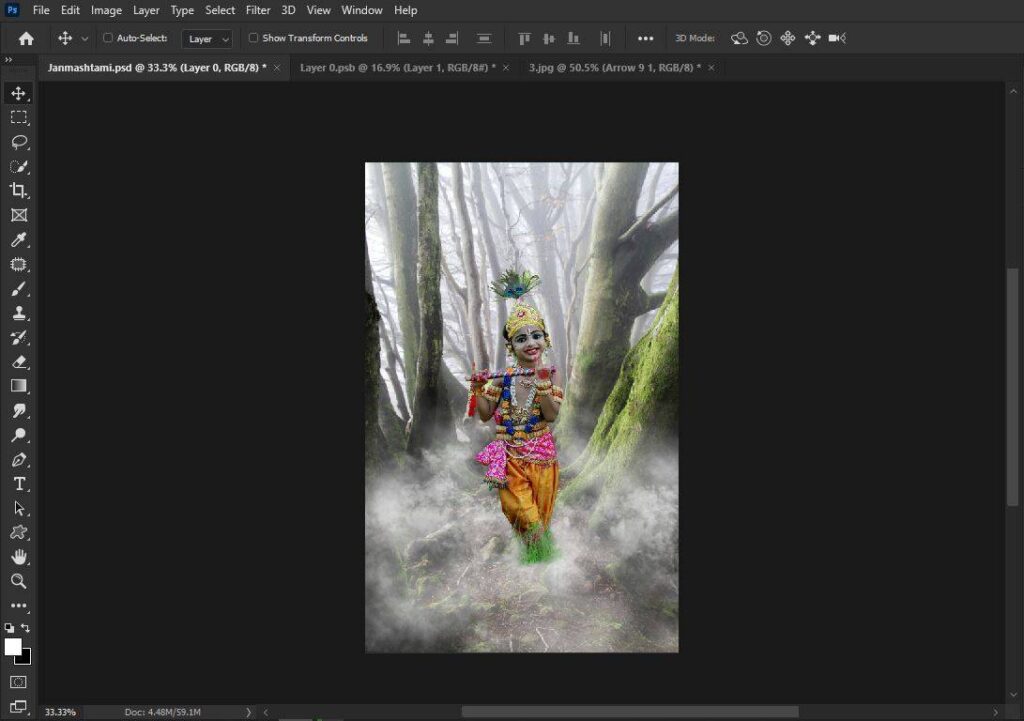
There are lots of ways to create smoke effect or fog in photoshop, but if you don’t have much time and want your job to be done faster and better then you should go with brushes, if you want you can download my smoke brushes from our store
then i put some smoke around the subject legs, and trees with the help of smoke brushes,
Smoke ring
To make the smoke ring first I draw a circle with the shape tool, here we don’t need a fill, we just need a stroke, you can see the properties settings in the image for this shape.
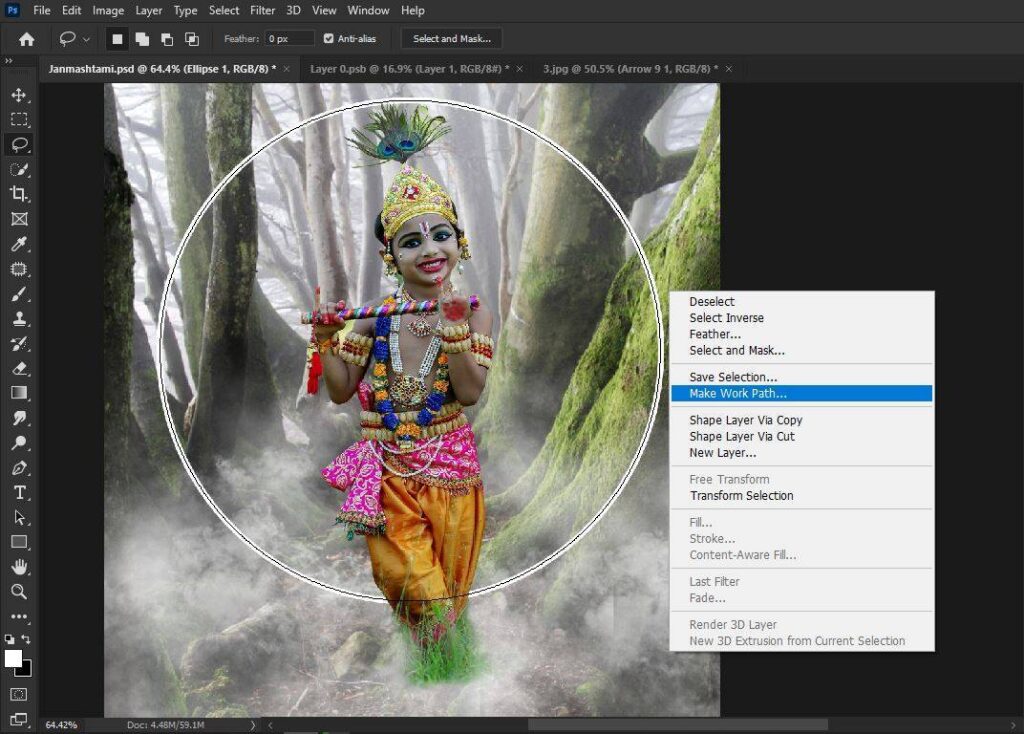
now I activate the selection of the shape by holding the ctrl key, and clicking on the layer thumbnail. then select any selection tool and right click and choose make work path
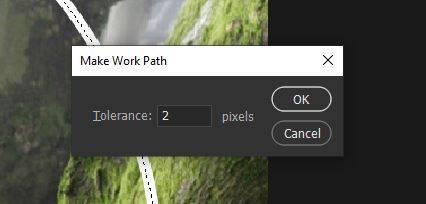
and for the tolerance add 2 pixels – hit okay
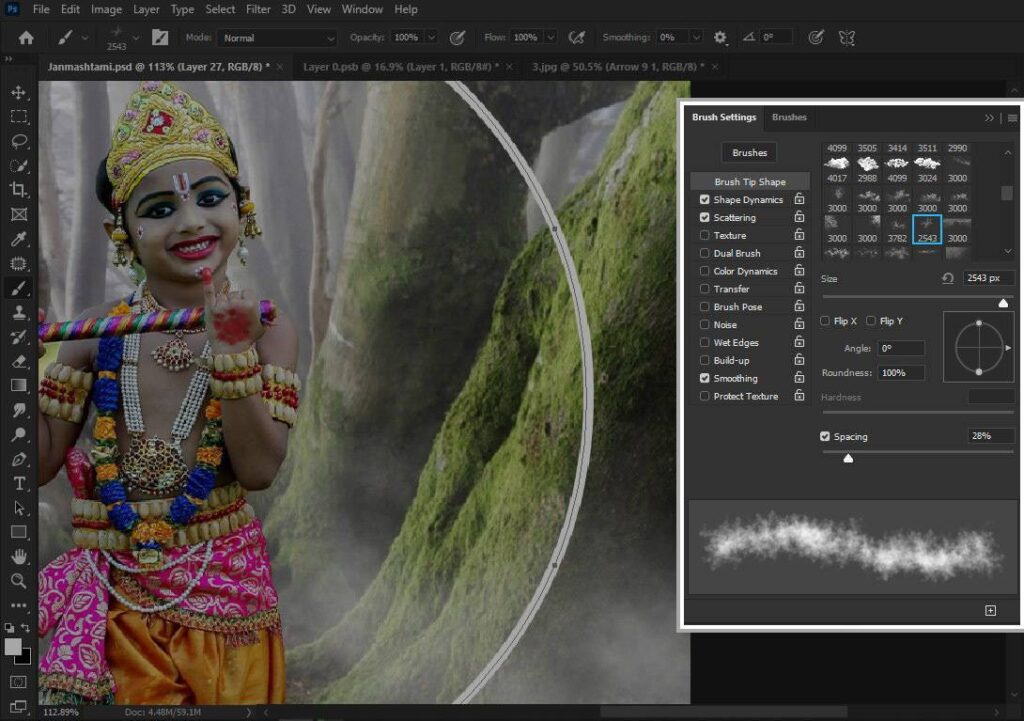
now take a new layer and select the brush tool and select any smoke brush, add some variation in the brush from the brush settings
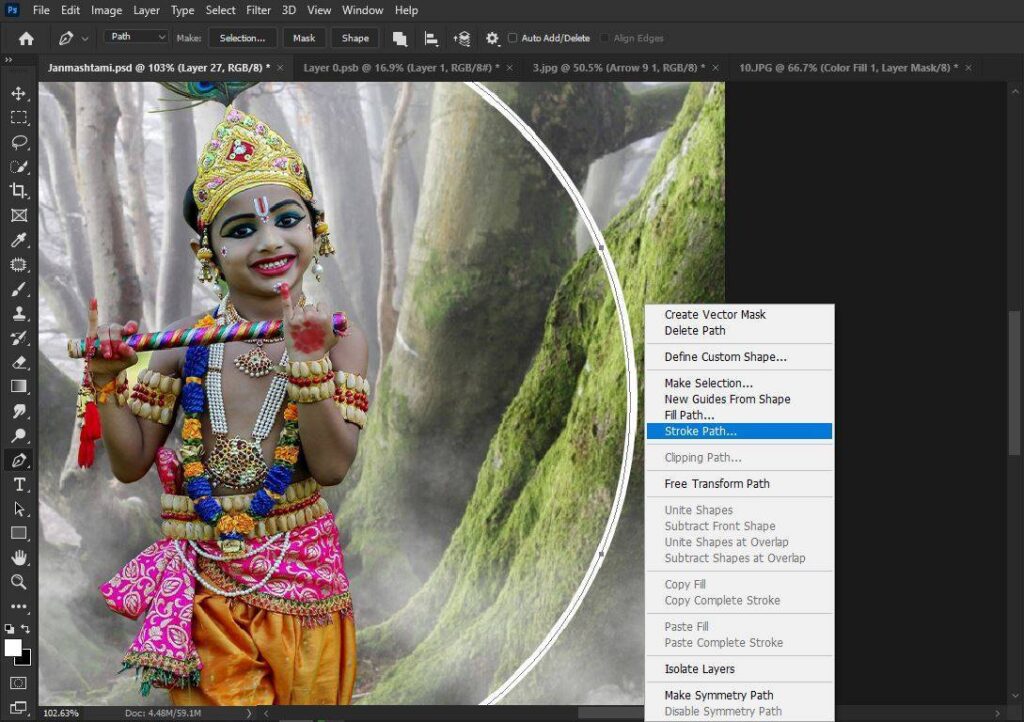
once you prepare the brush for the smoke ring, take a pen tool, then right-click, and select stroke path.
Make sure the size of your brush depends on how thick you want your smoke ring to be.
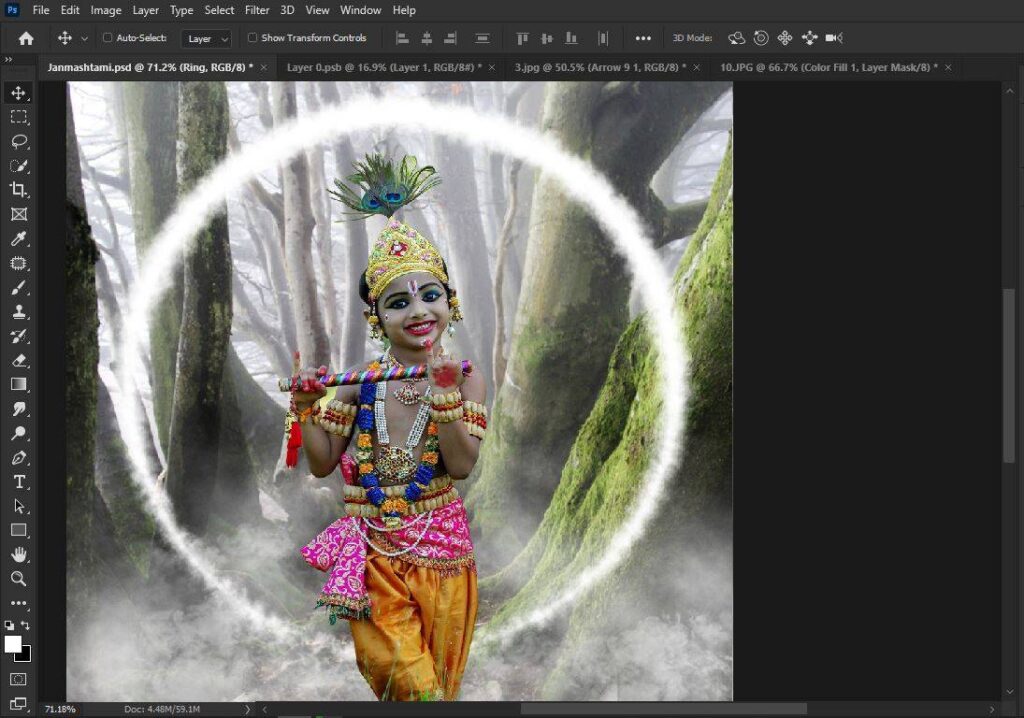
repeat this step until you reach that kind of ring, to add some variations by choosing different types of smoke brushes.
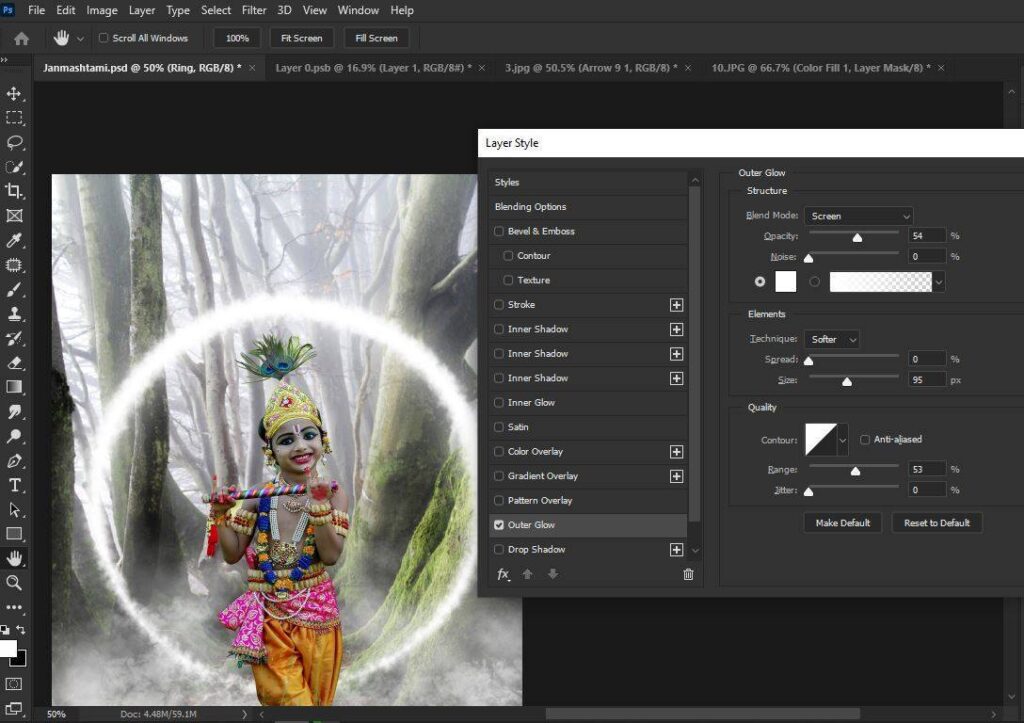
to make this smoke ring more interesting and attractive i add an outer glow from the layer style options.
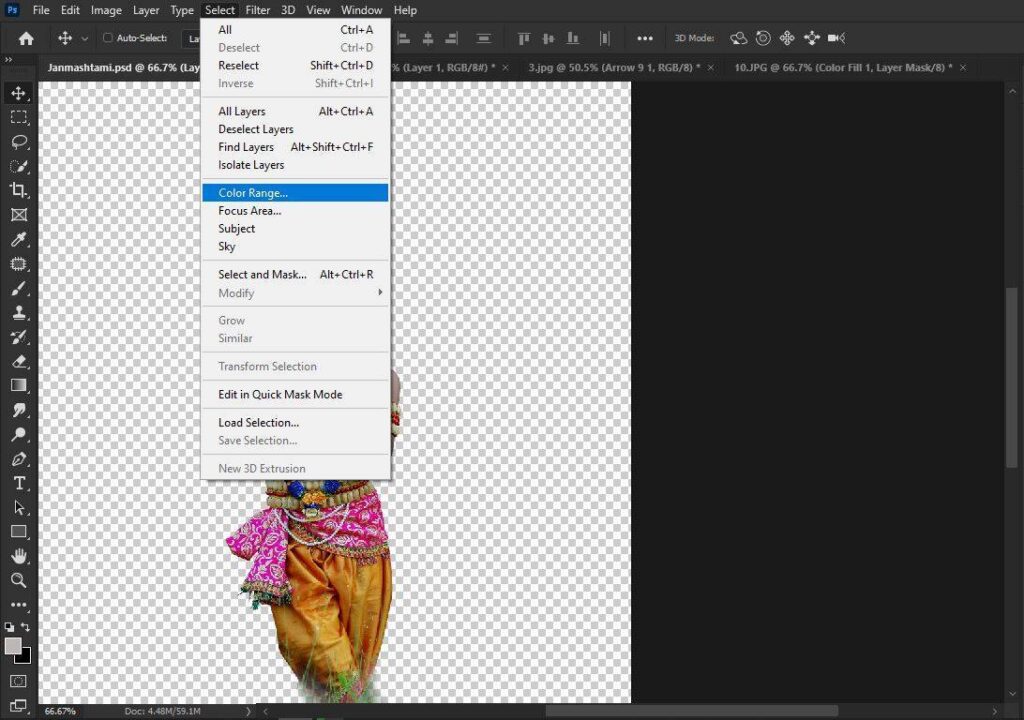
now it’s time to turn our subject skin into blue color. to do that first we need a selection of his skin. according to me the best tool for that type of selection is the color range.
but before you get into the color range make sure you have turned off all the layers, accept the subject layer.
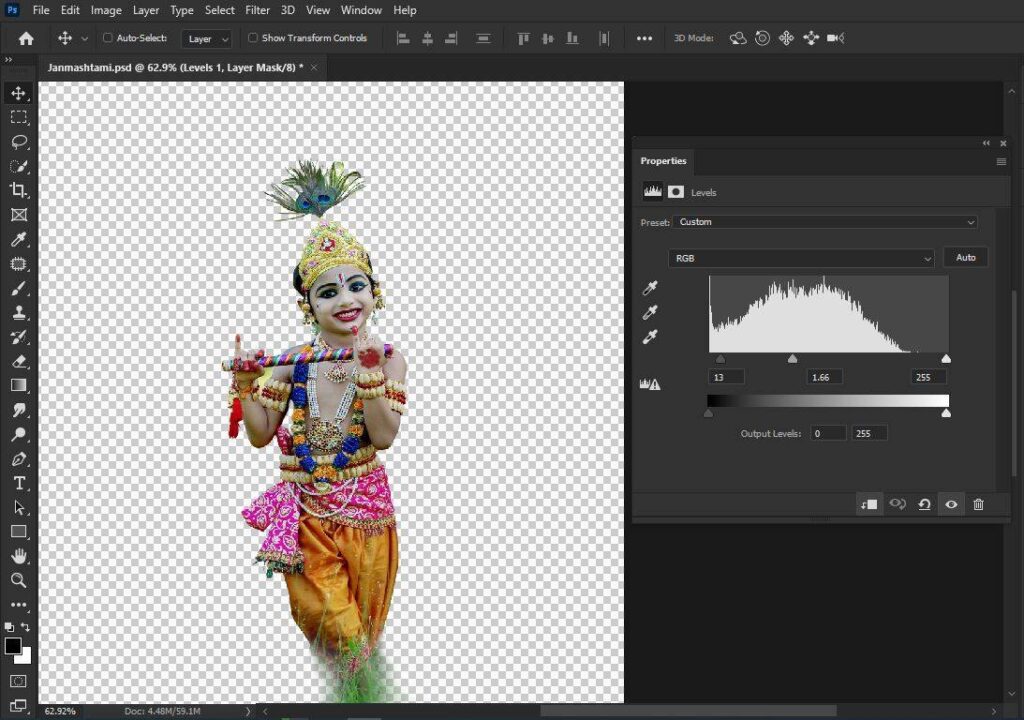
once the selection is active take a levels adjustment layer and create a clipping mask, now add some brightness into the skin.
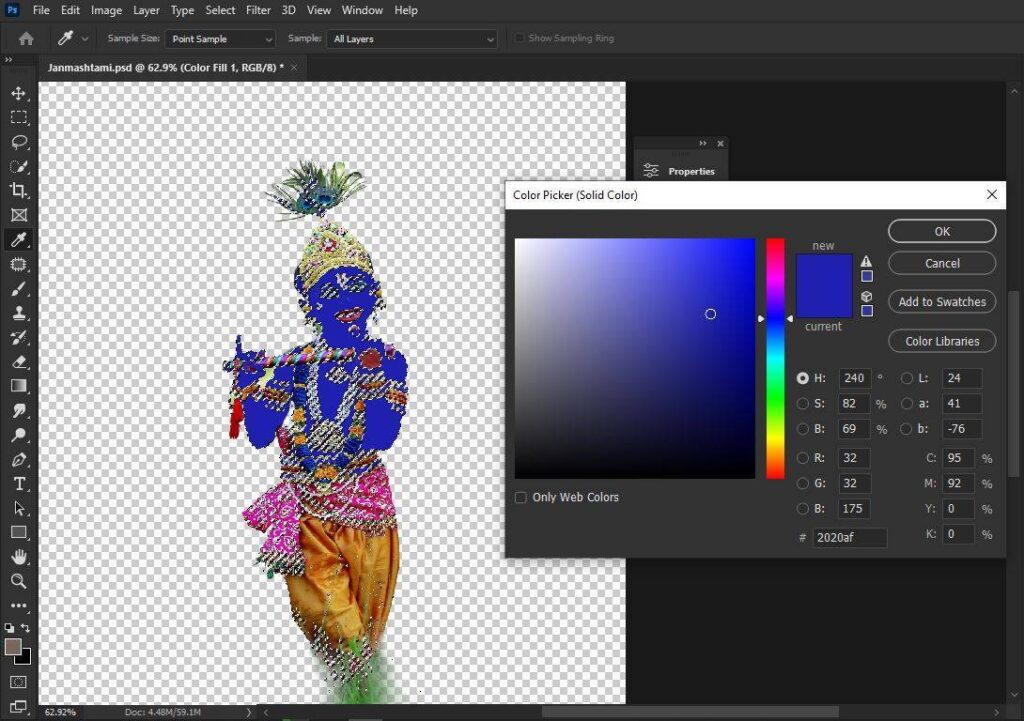
again activate the selection of the skin, from the levels adjustment layer. now take a solid color adjustment layer and fill it with the blue color
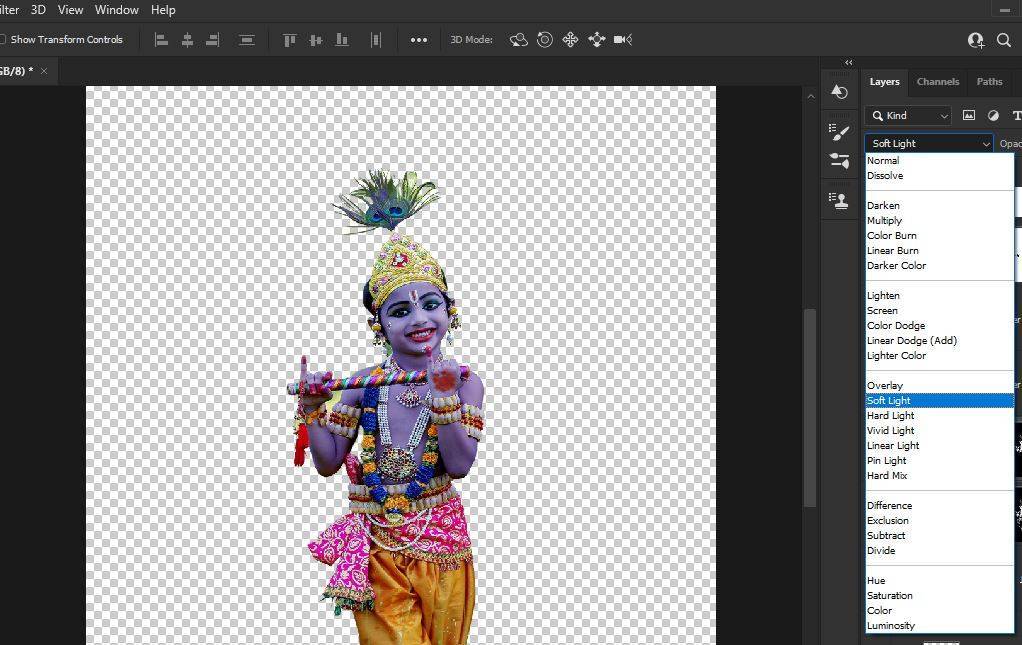
then change the blend mode normal to soft light.
now you can turn on all the layers.

after that, i created some highlights around the subject. to create highlights i use inner shadow, and manually with soft round brush
then I added this tree png and put some gaussian blur on it
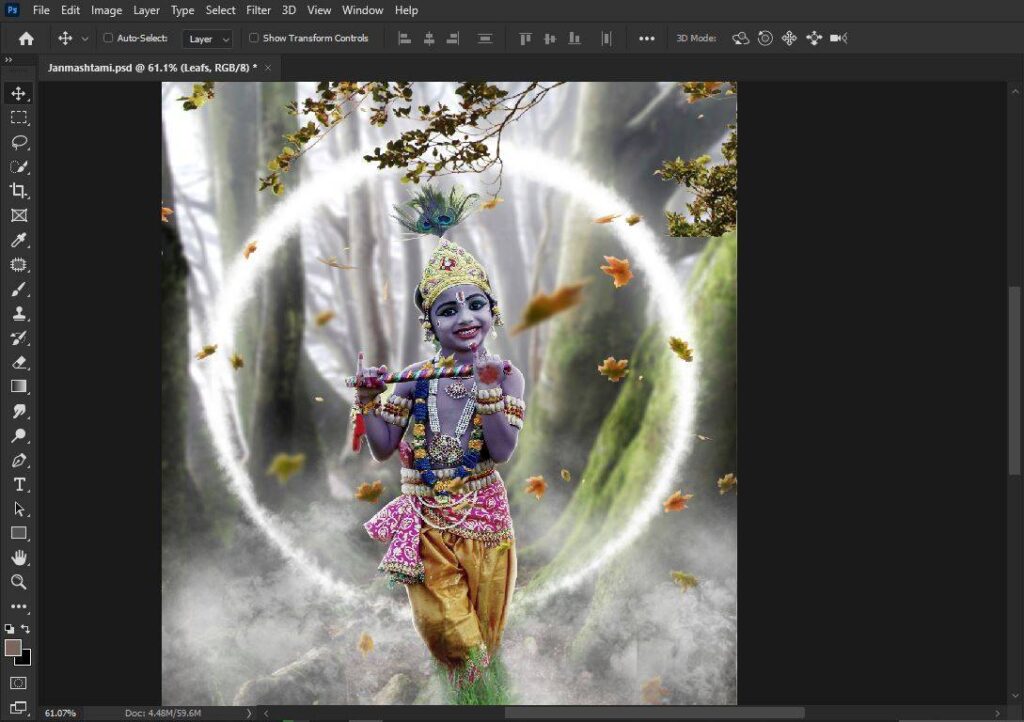
to show some depth, i’ll added leaf png
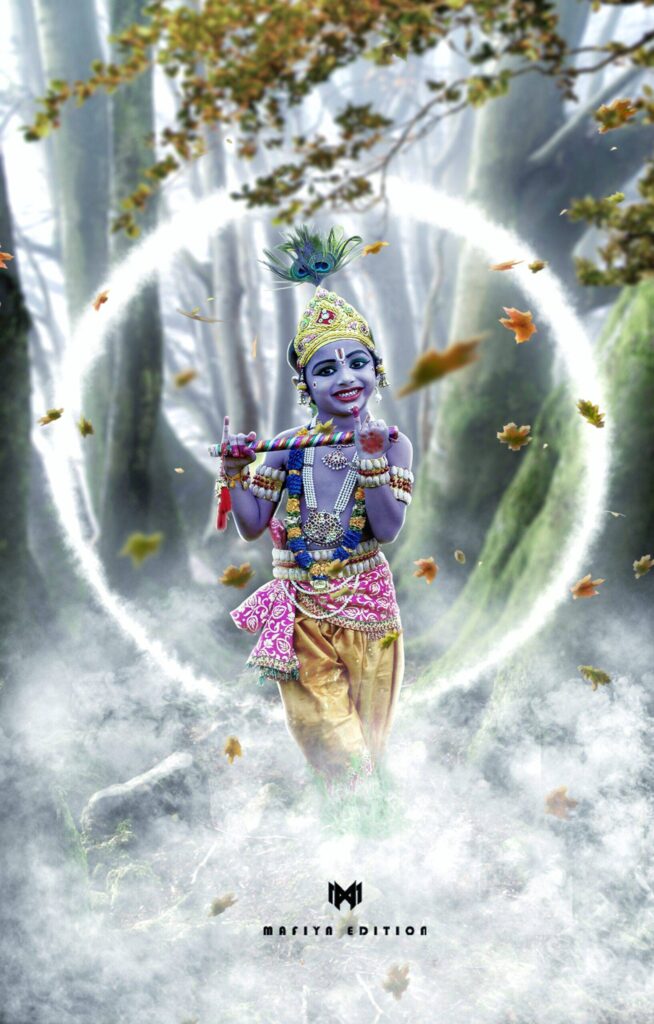
to reach the final result added little bit tilt shift blur, then few more smoke and done.




Your point of view caught my eye and was very interesting. Thanks. I have a question for you.