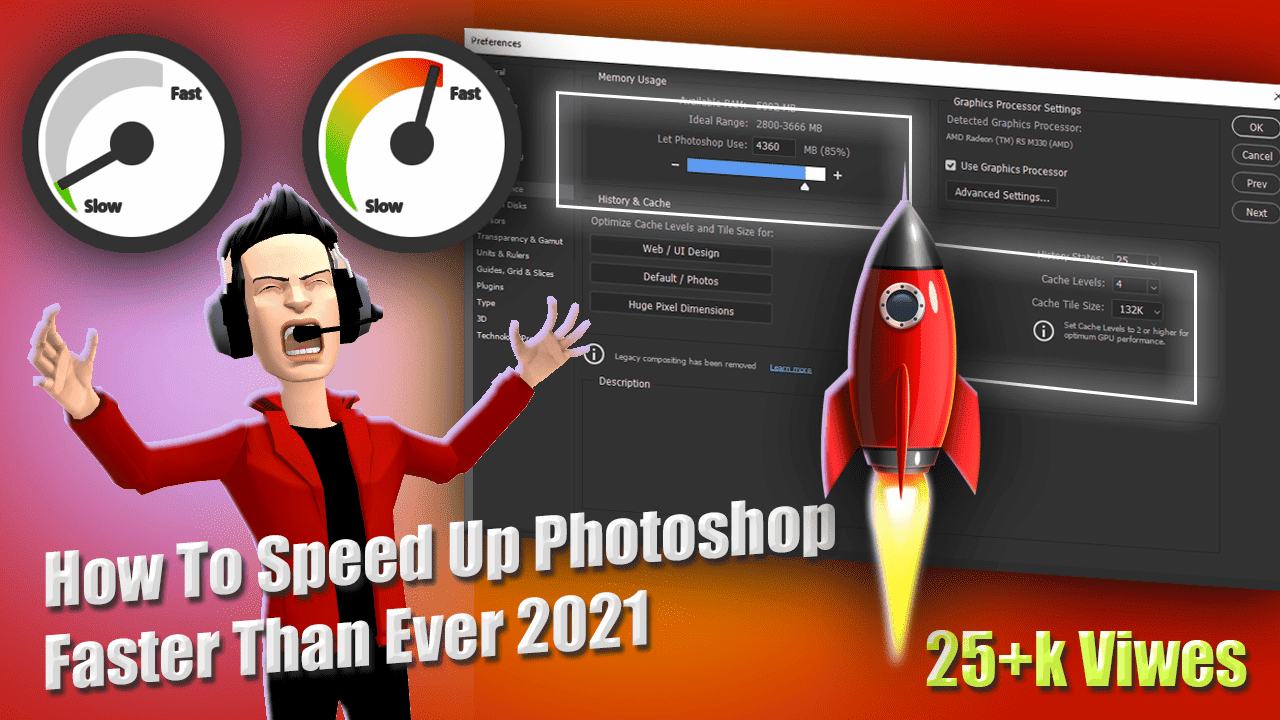
In this post I’m gonna show you, how to make photoshop run faster than ever. No matter which processor are you using, no matter how much ram is in your PC, or laptop. After watching this video, you will be able to boost your workflow. So let’s get started.
First of all, I have to set the Photoshop, to his default settings.
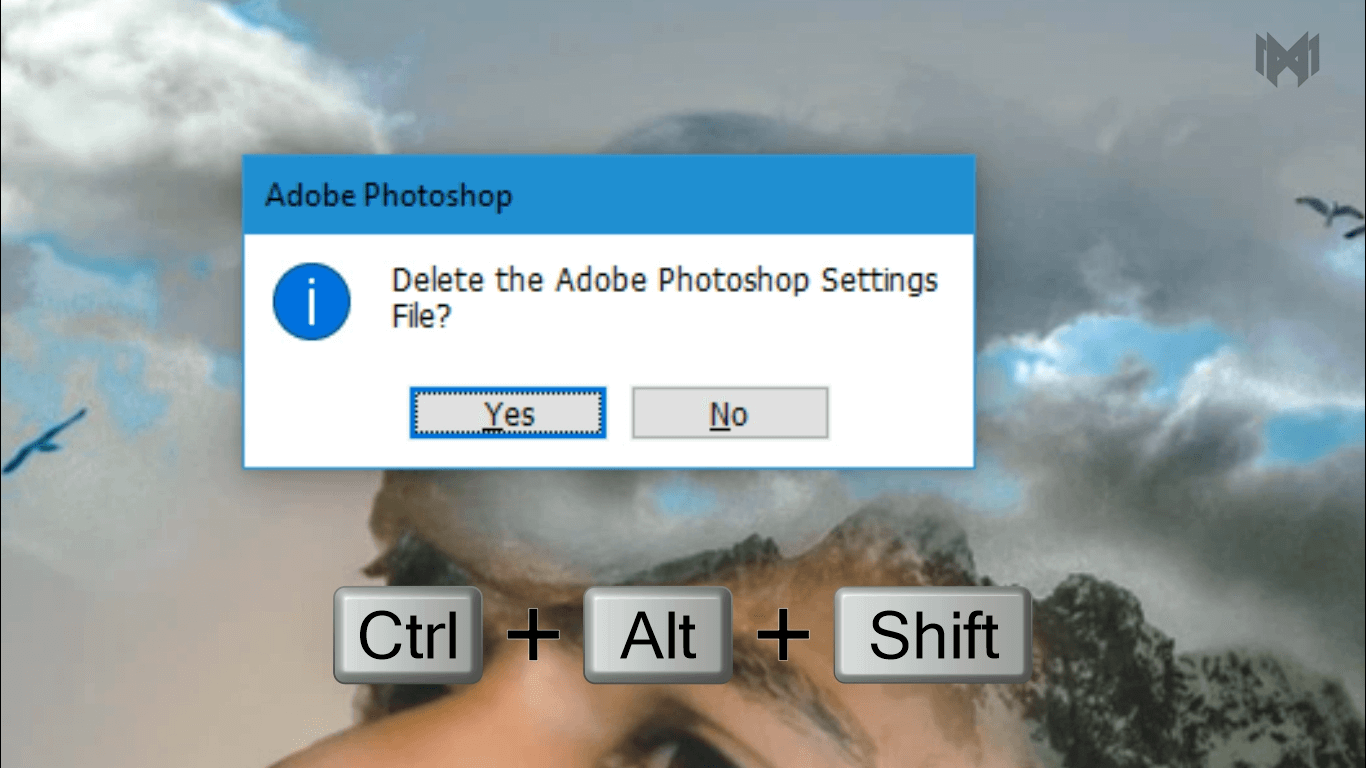
- To do that, double click on Photoshop icon, and press and hold, Ctrl + shift + alt. until this option appears.
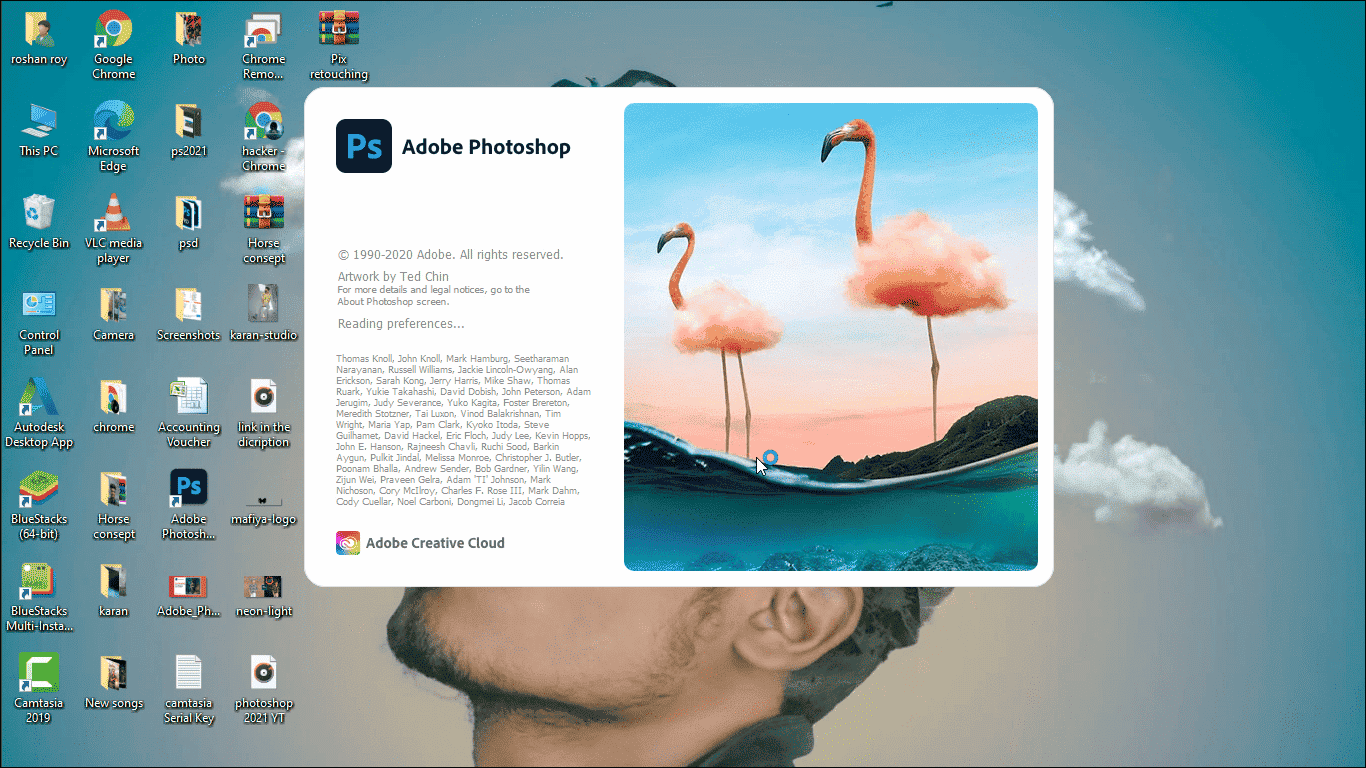
- Now click on yes. Now Photoshop will open with his default settings
- And by the way, it is a latest version of Photoshop. It is 2021. And if you want you can download this version from here
Free Download Adobe Photoshop CC 2022 V23.5.1 – Get The Latest Version Now!
Download Adobe Photoshop CC 2022 V23.4.2 | Pre-Activated Full Version (Free For Lifetime)
Download Adobe Photoshop CC 2022 Free For A Lifetime
Adobe Photoshop Cc 2021 Free For Lifetime
Download Adobe Photoshop Cc 2020 Free For Lifetime
- Once you open the Photoshop, go to the edit, which is located in the menu bar
- And scroll down to the end. And hover over on preferences.
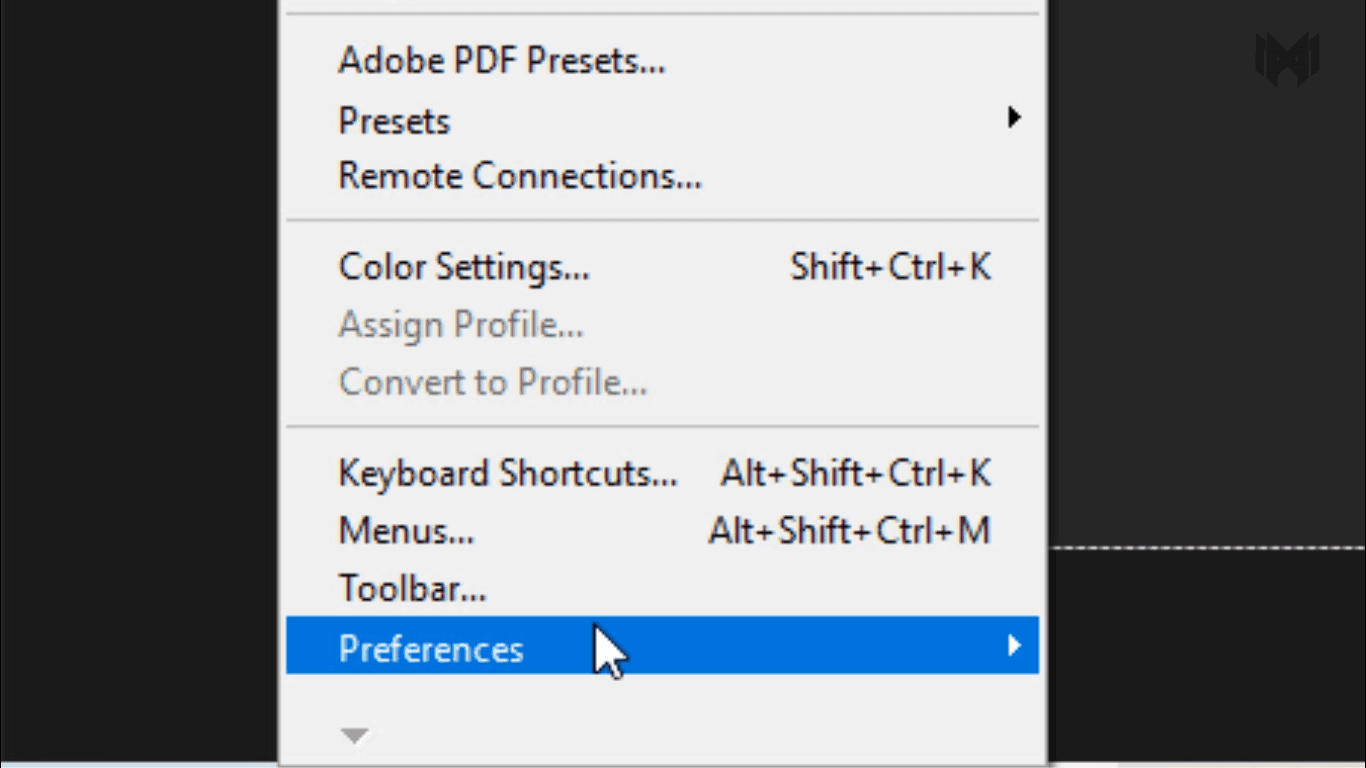
- Now click on general.
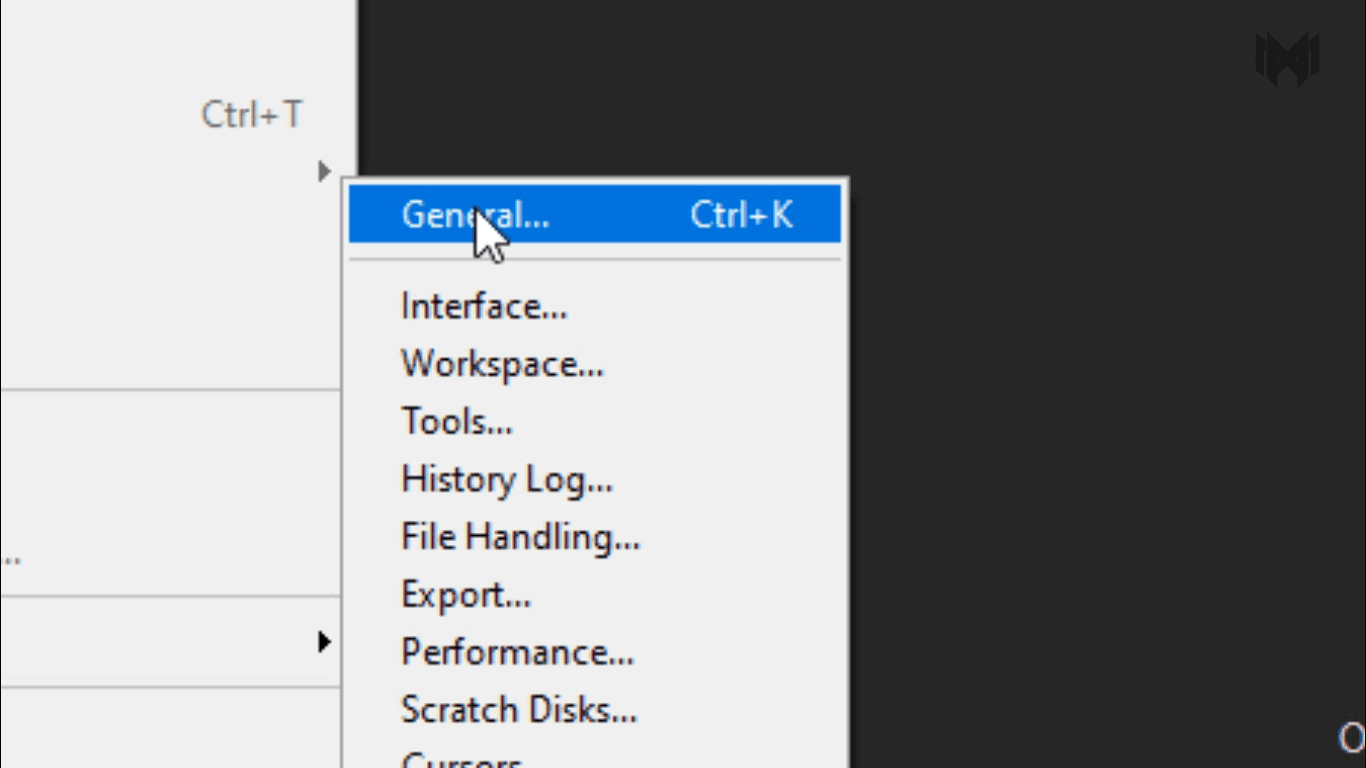
Or you can go with the shortcut. Ctrl + plus + k.
1) general
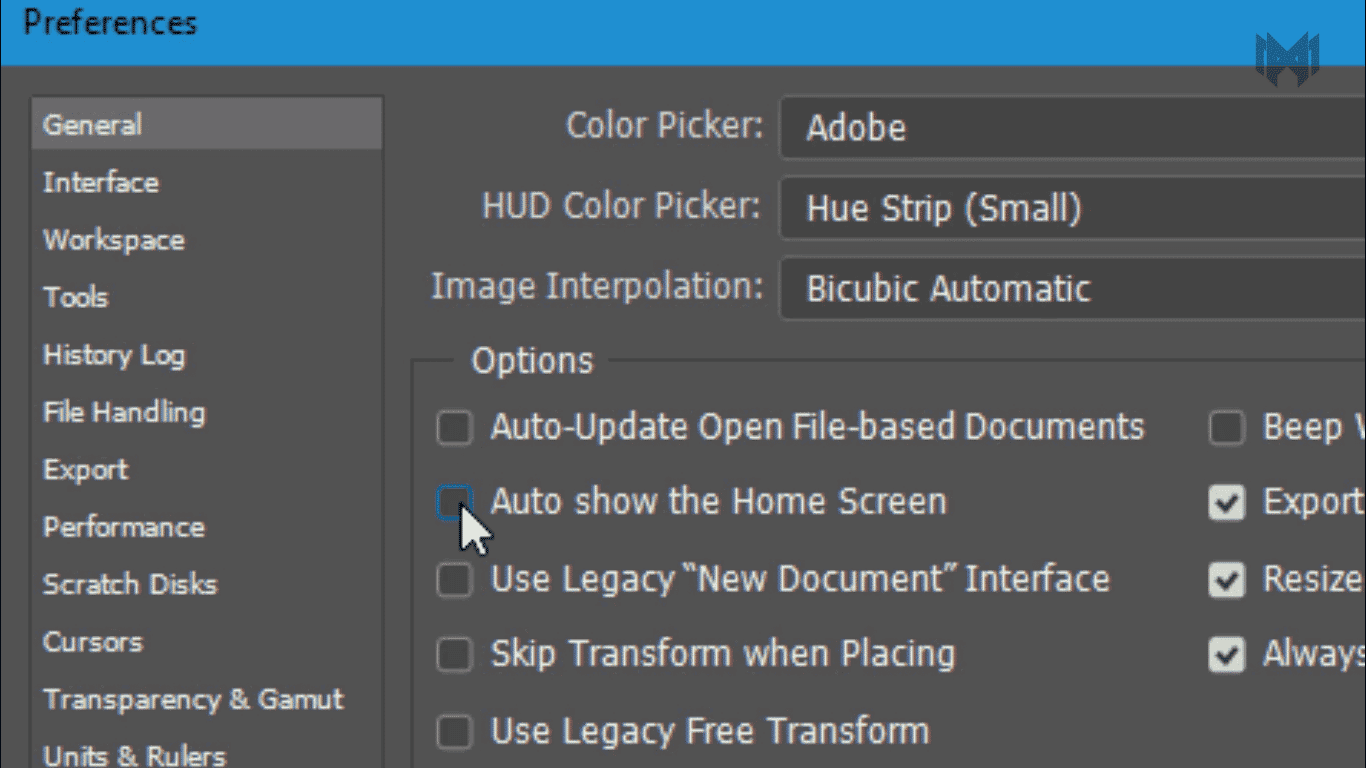
- In the general tab, uncheck auto show the home screen. This will disable, your Photoshop welcome screen.
- Opening Photoshop, and having the home screen enabled, often causes a huge delay before you can actually do any work.
2) Interface
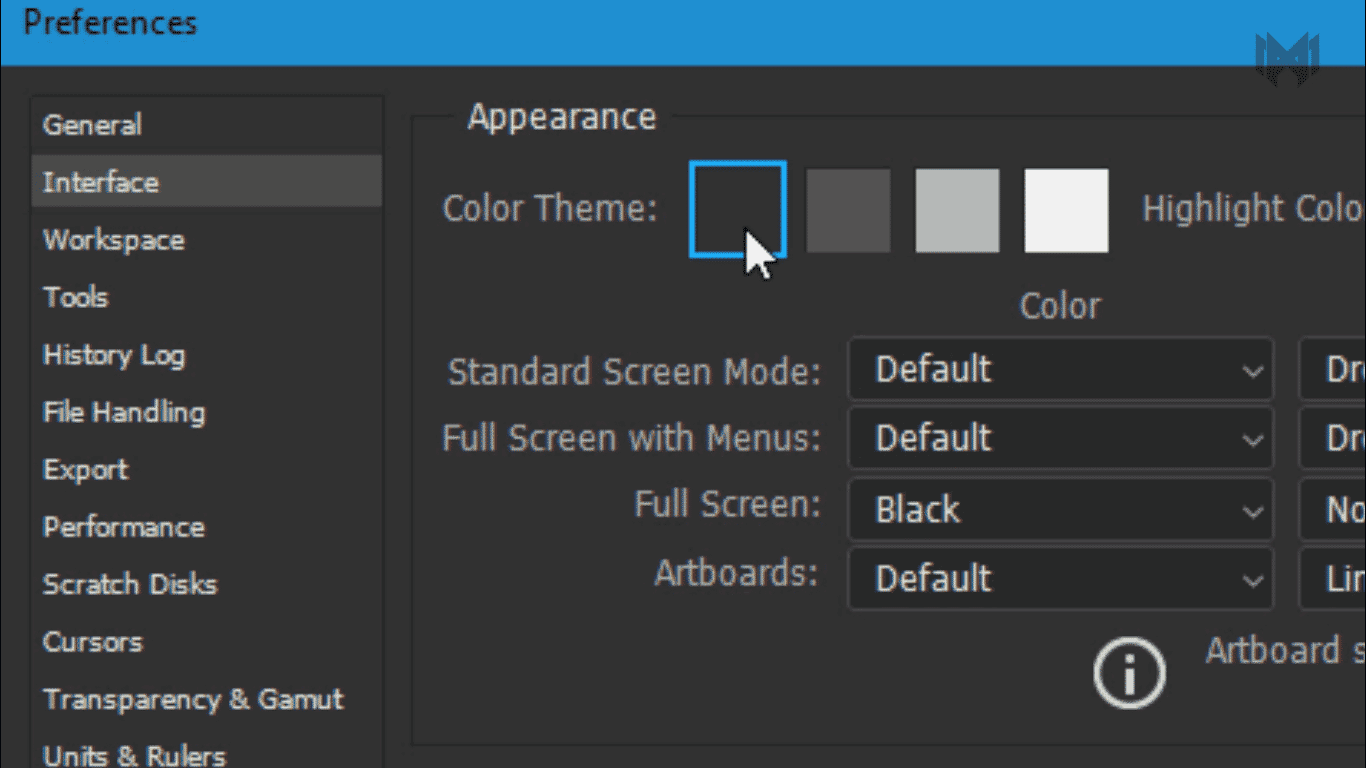
- Here you can change the color of Photoshop, layout.
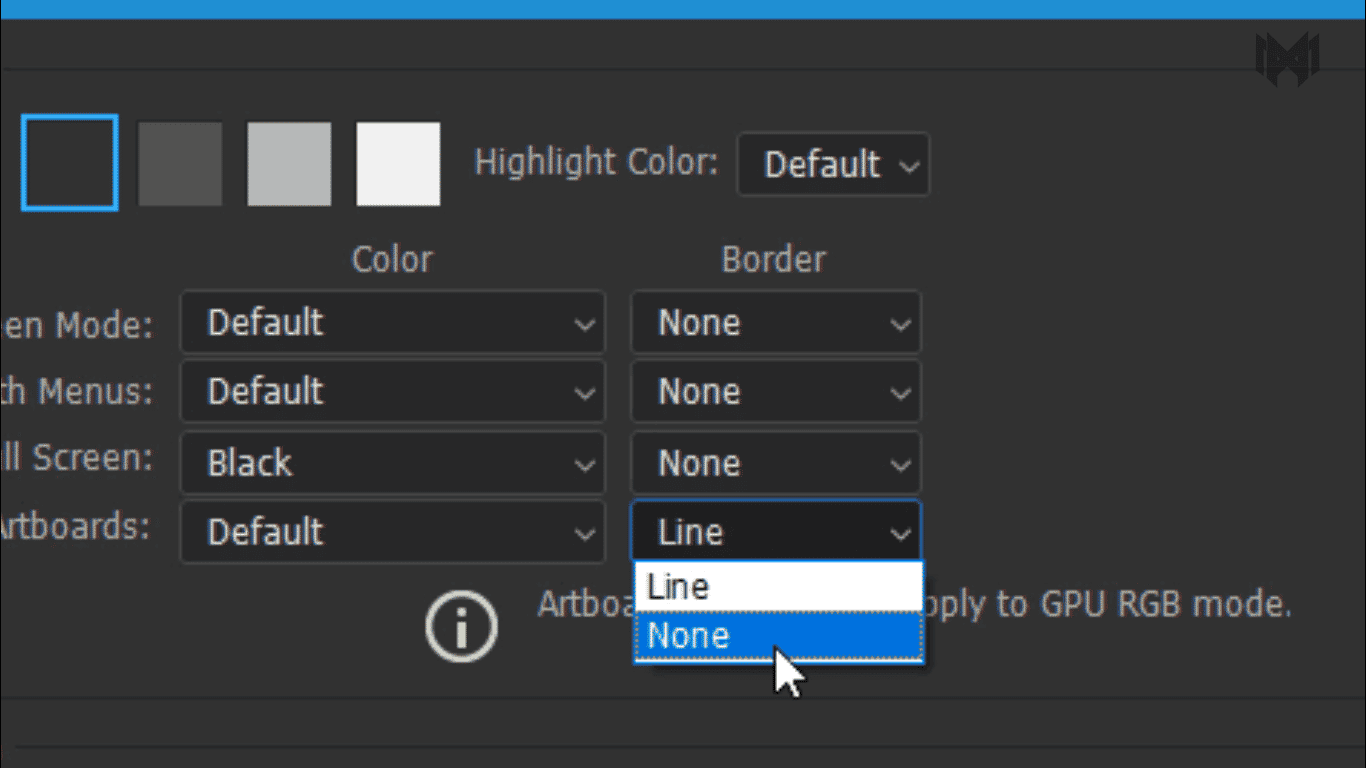
- And all the border options, just select none. Now skip the workspace tab, And move on to tools.
3) Tools
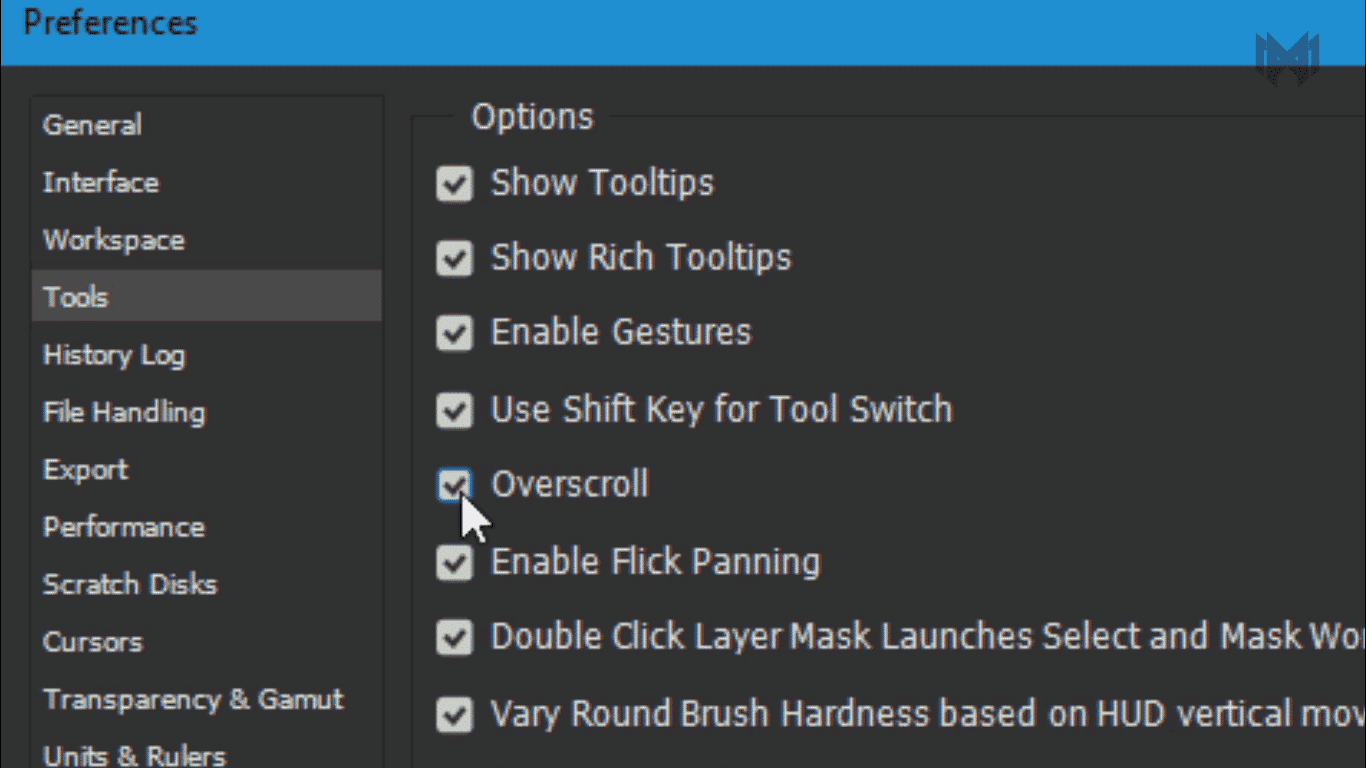
- Just one thing you can do here. Check the overscroll option.
- It’s will not gonna improve your speed, but it will improve your workflow
Let me show you how
What is overscroll.
Now let’s say you were to add a curves adjustment layer to it
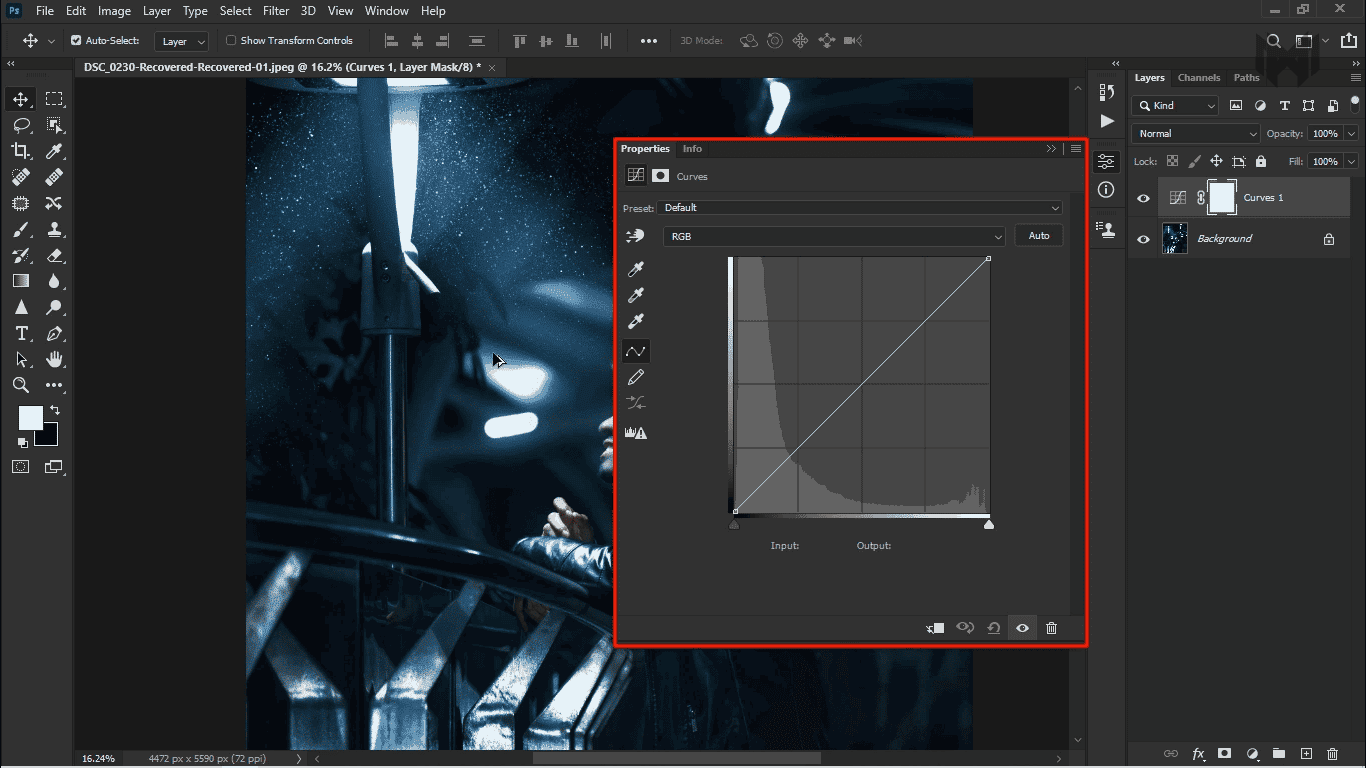
sometimes, you might want to zoom out and have a look at the image. But right now what he’s zoom out take a look at it. the properties panel is covering The image.
So, what do you do? Maybe you can zoom out even further. What if, you were to add some blend if to it.
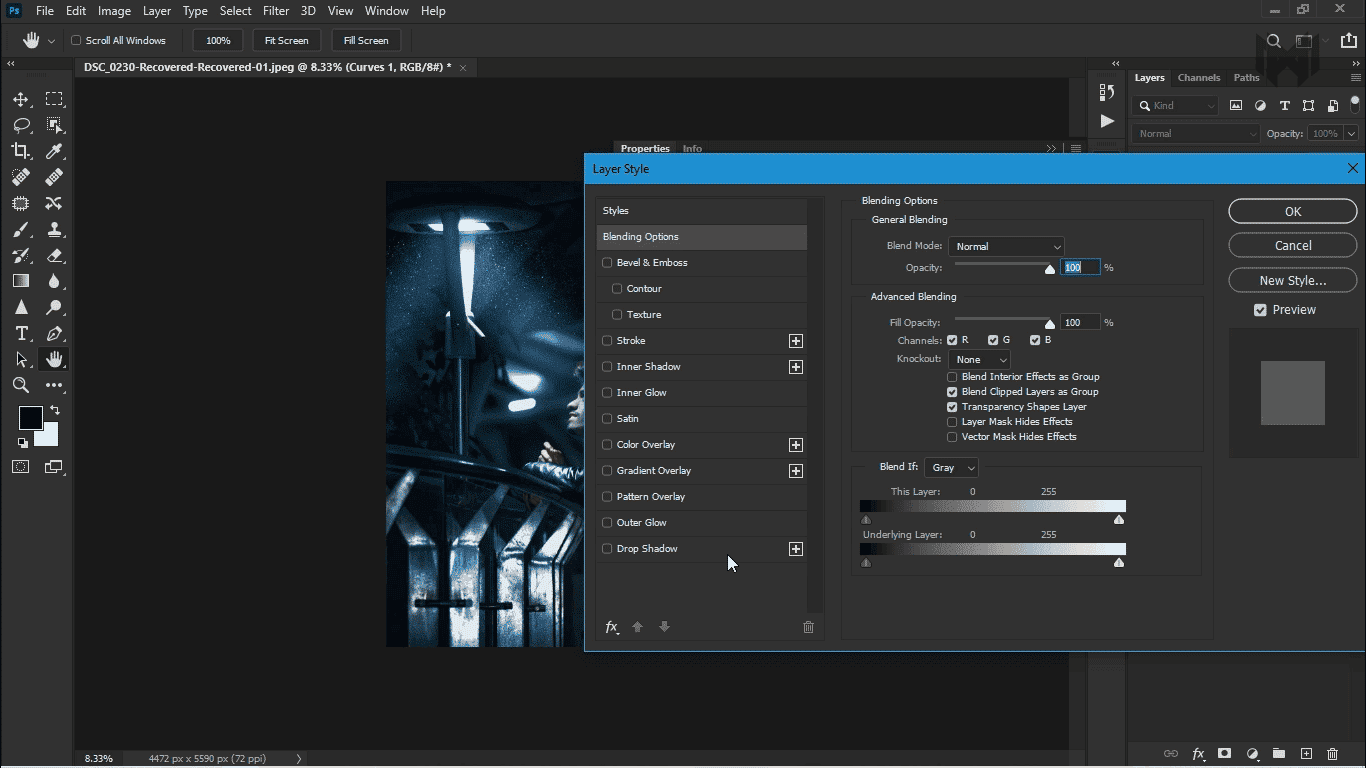
- by double-clicking on the right hand side of the layer, that opens up the layer style dialog box, and you got to play with a blend if, and the other features right over here.
but right now, you have a big panel right over there.
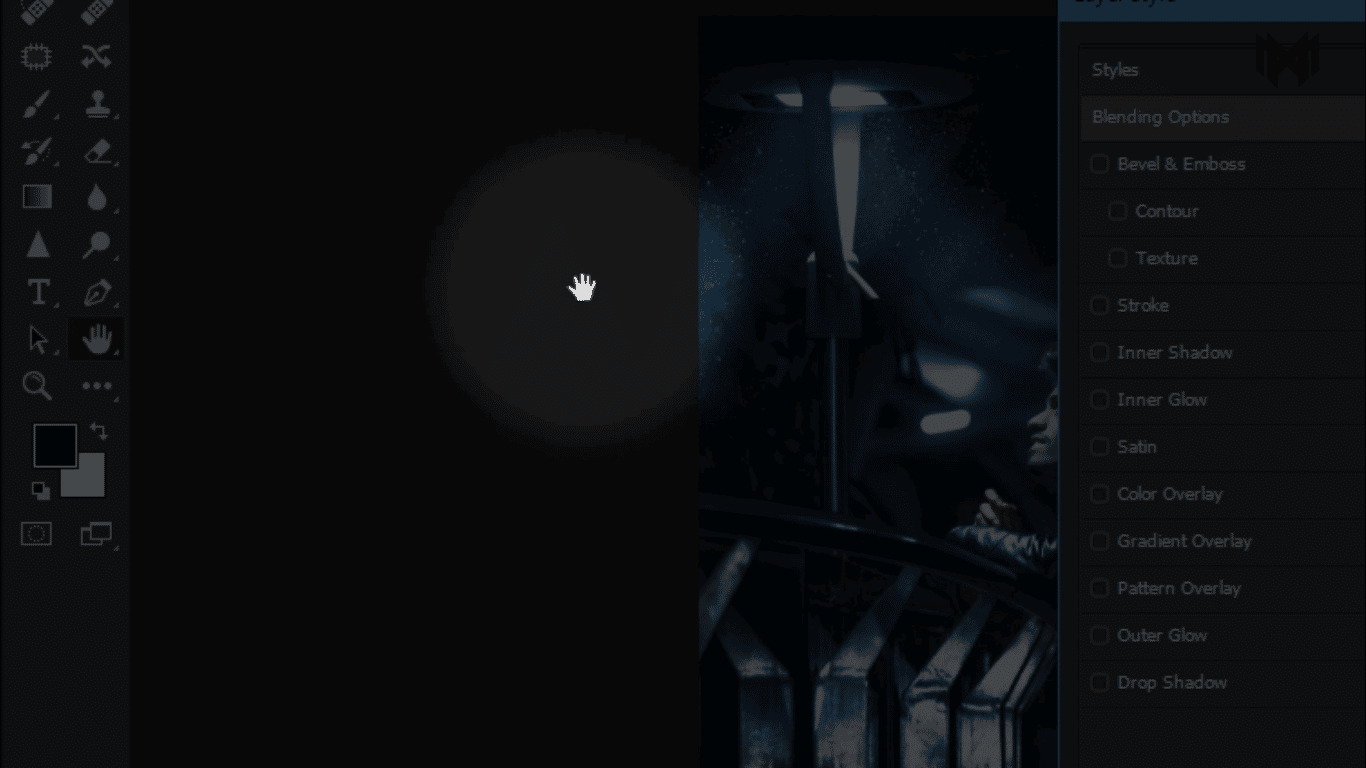
What if you want to move the image right here, you can’t do. even if automatically the hand tool is selected when you open this panel, no matter how much you try. It just doesn’t move.
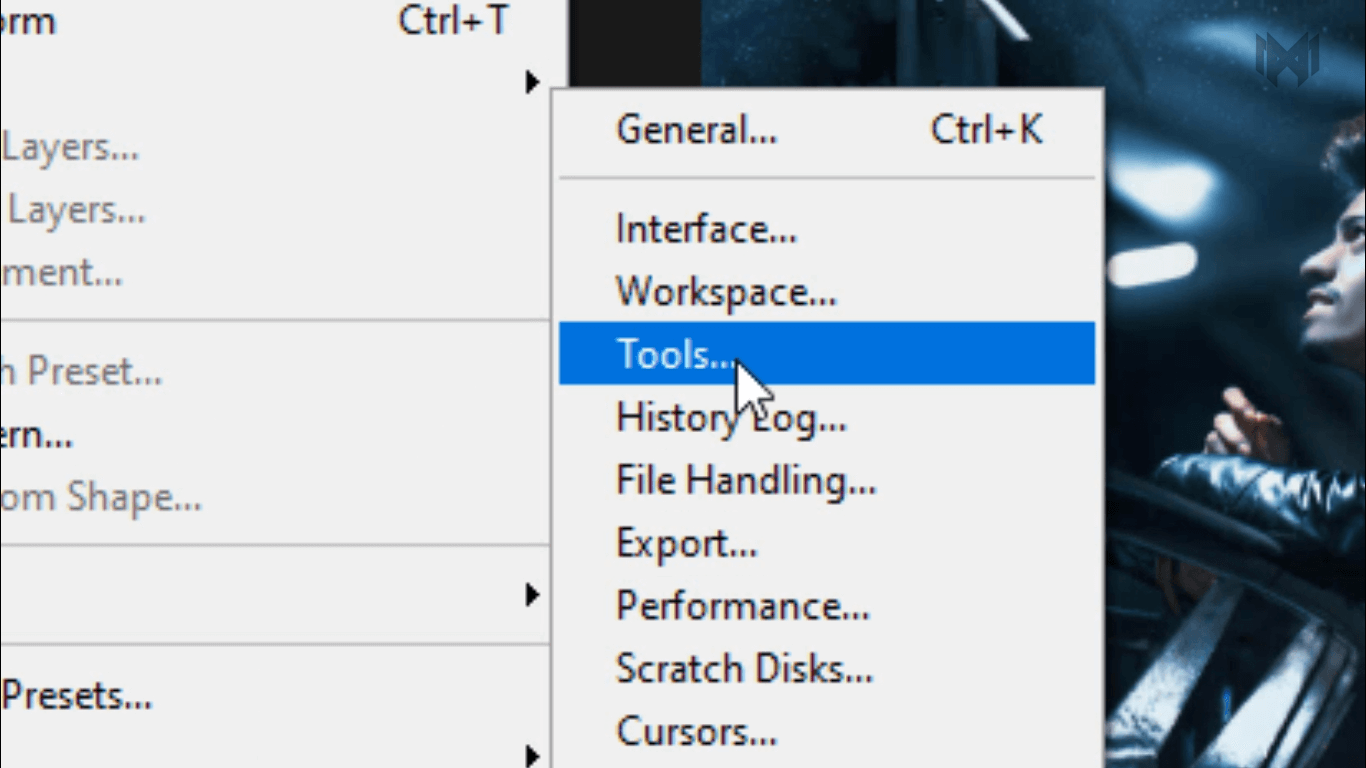
- So to fix that problem, go to edit, preferences, and then, tools
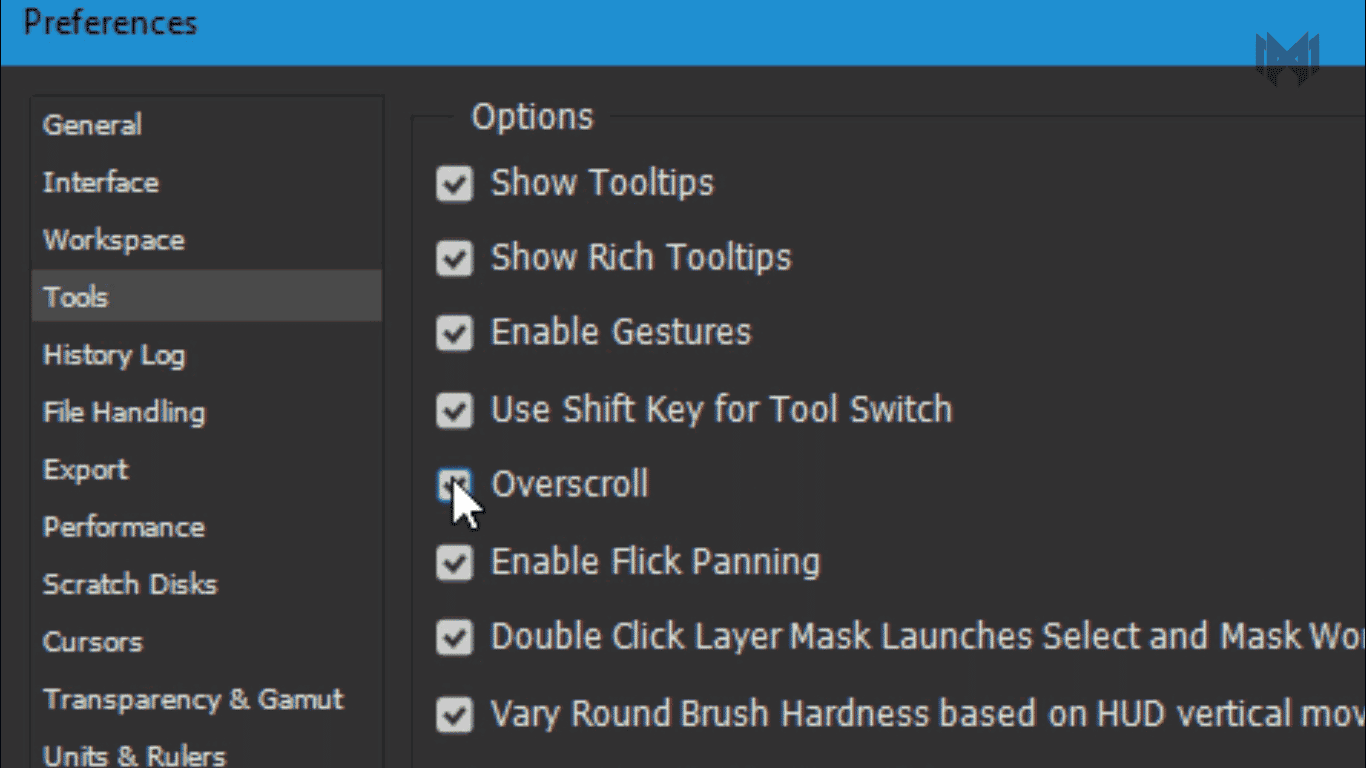
- and inside of tools, you would just make sure overscroll is check it. Okay. now you can move the image
4) file handling
- under the file handling, just go to the bottom,
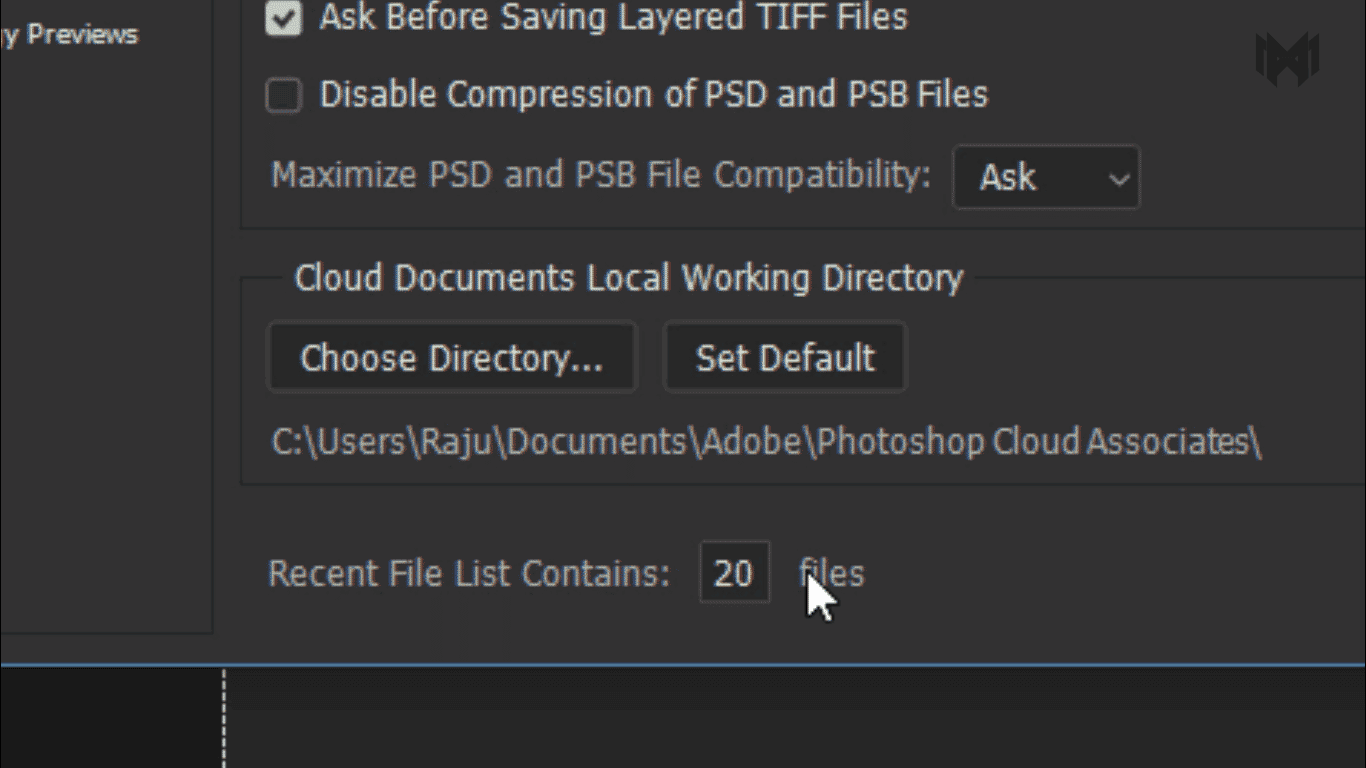
- and it says, the recent files list contains 20 files
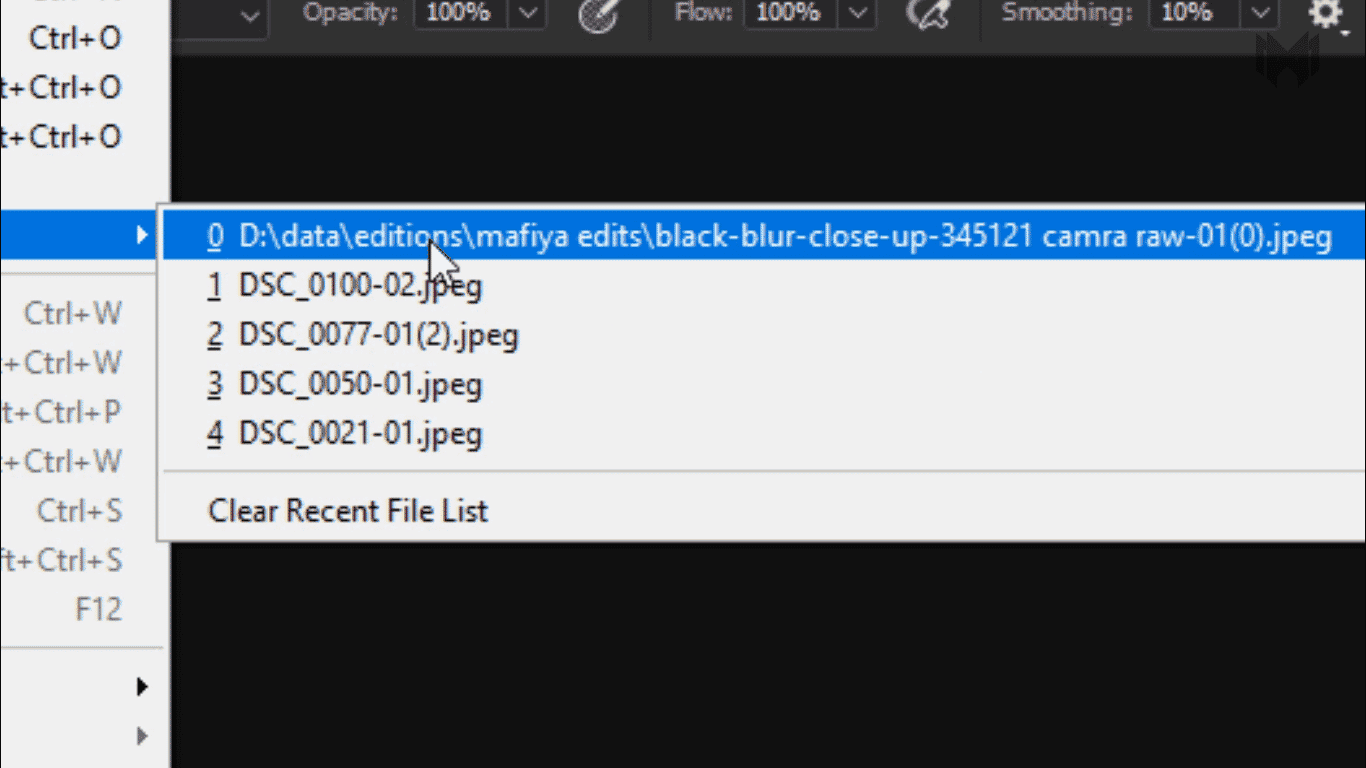
it means, if we choose file, open recent, you can see the last 20 files that you’ve opened
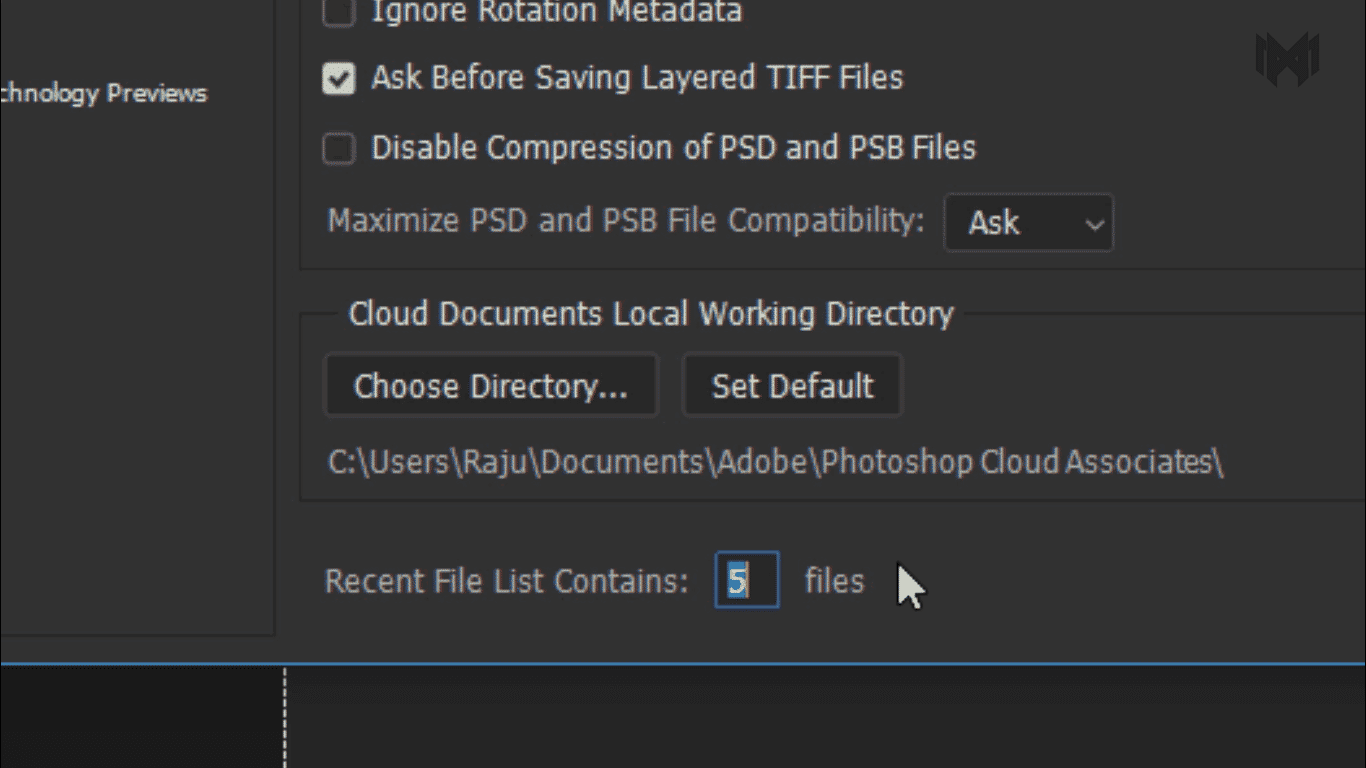
so if you want you can decrease the number of files
5) performers
- in the Performance there’s a few things we can do in here. the first thing you have to do, is adjust how much ram you want to give Photoshop
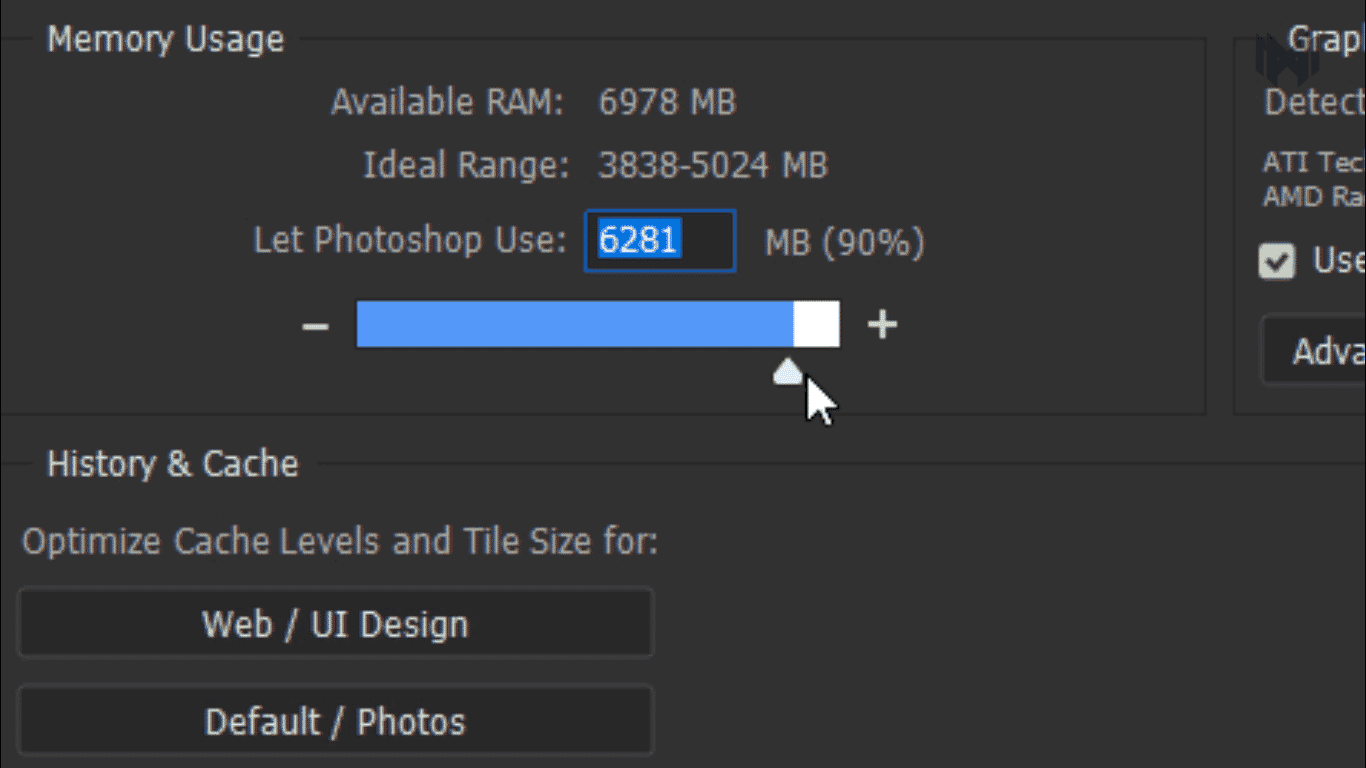
- So I’m tell Photoshop to use 90% of my available memory. if you’re only using Photoshop then you can give 90% ram.
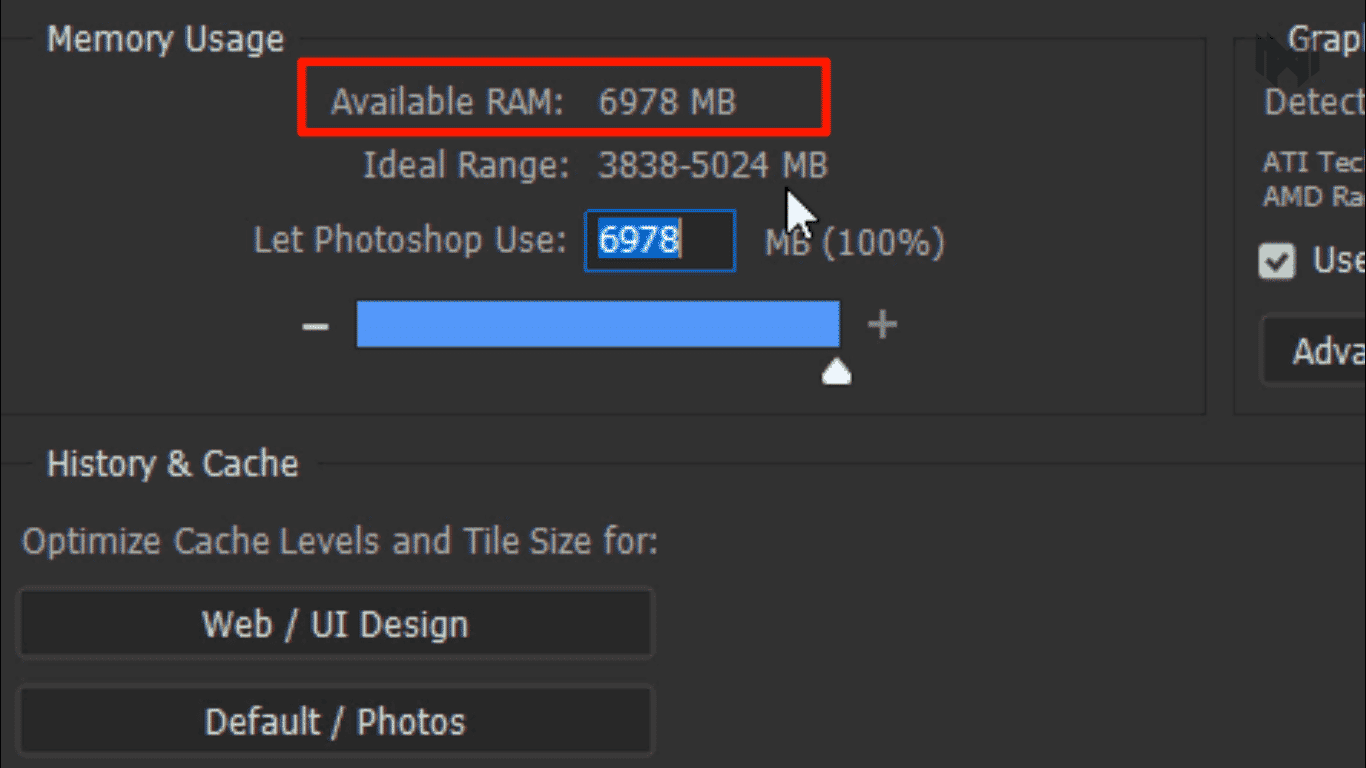
Now, it says a hundred percent here, but that’s not exactly true. Because if you’ll notice here, it says I have 6.978 GB, when actually I have 8GB ram. so with Adobe, generally it’s not going to let its products use a hundred percent, of your memory. It’s always going to leave at least two or three GB.
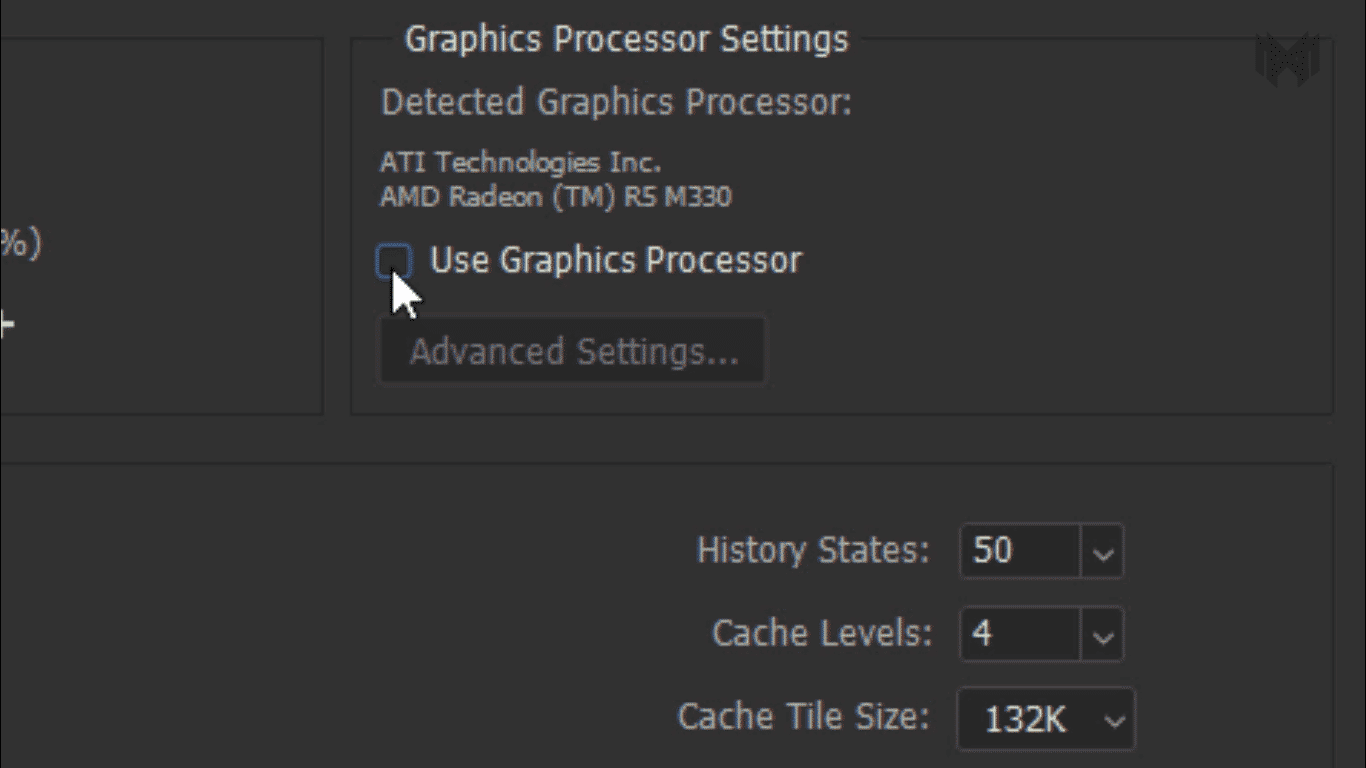
- and the second thing is. Deselect use graphics processor. i only recommend this for someone who runs photoshop really really slow.
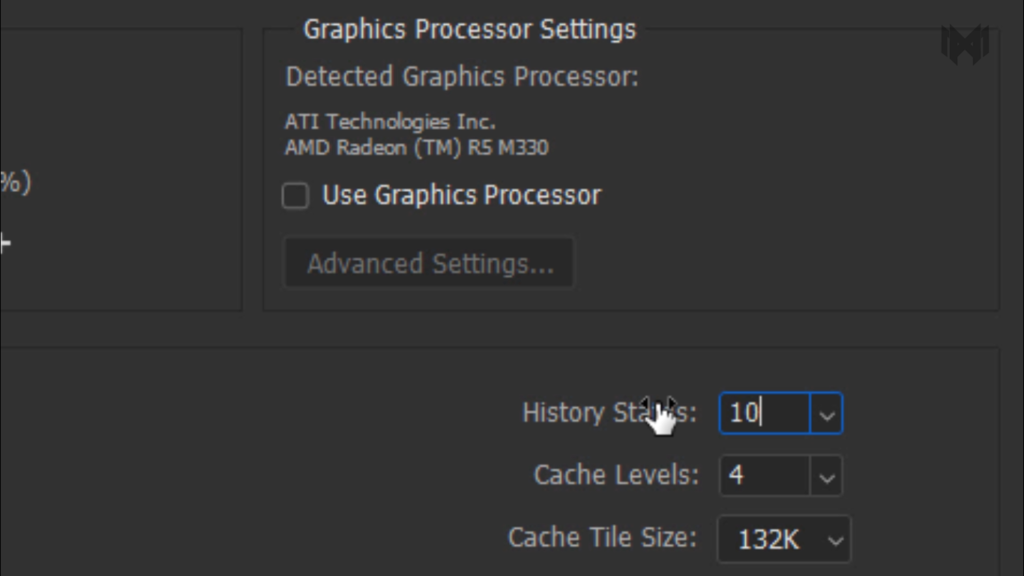
and the next thing is, decrease the history states. by default, its set on 50. that’s means, i can undo it around 50 times, and this is just too much. so I’m gonna decreasing around 10-15
6) adjust for best performance
- one more thing you can do if your running very bad pc or laptop. this will definitely help you
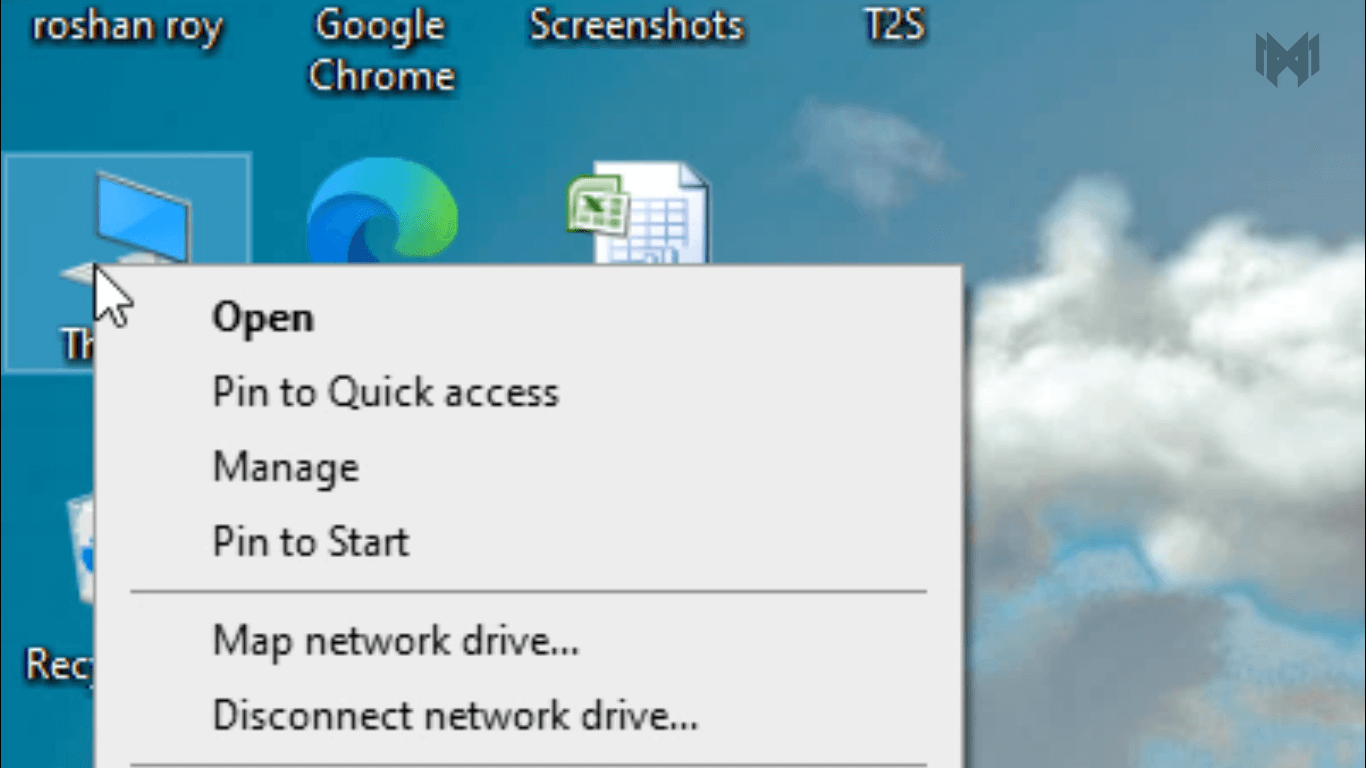
- go to this PC, right click
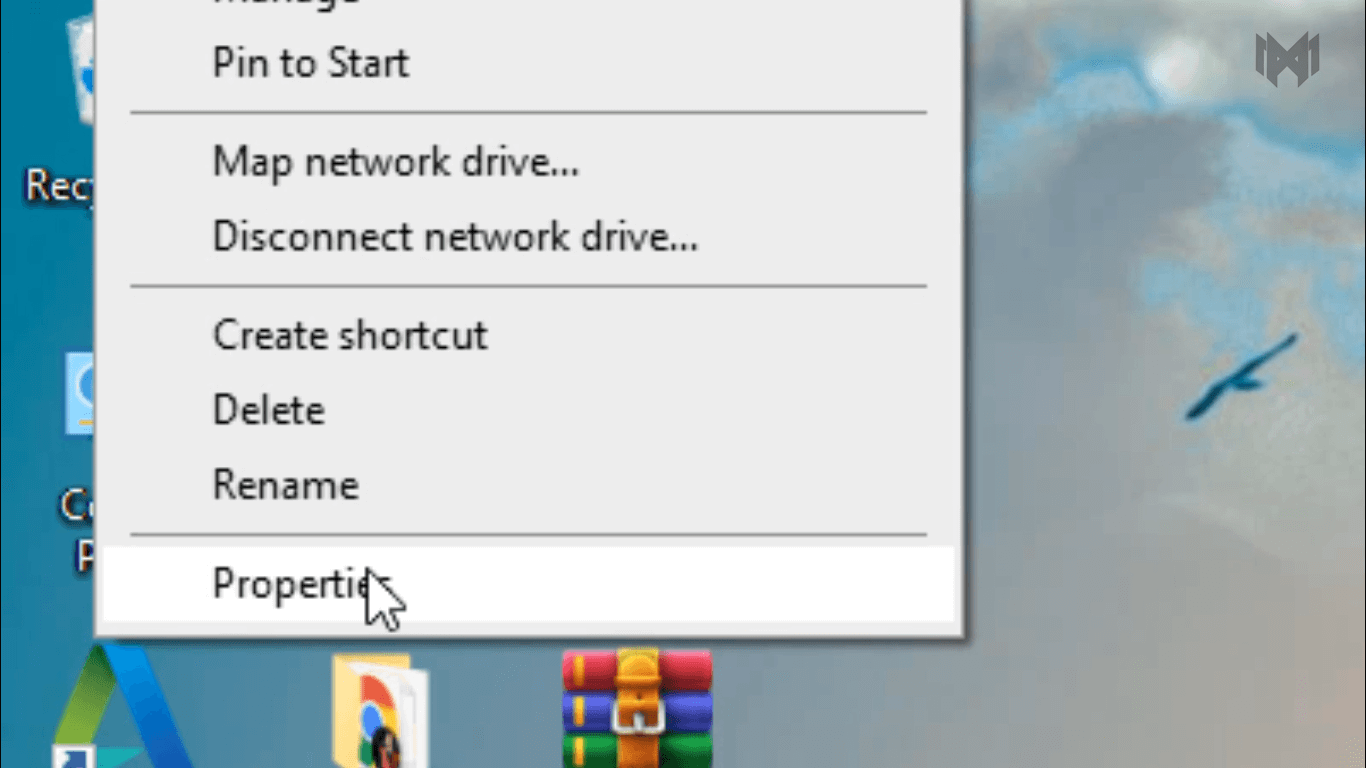
- and chose properties
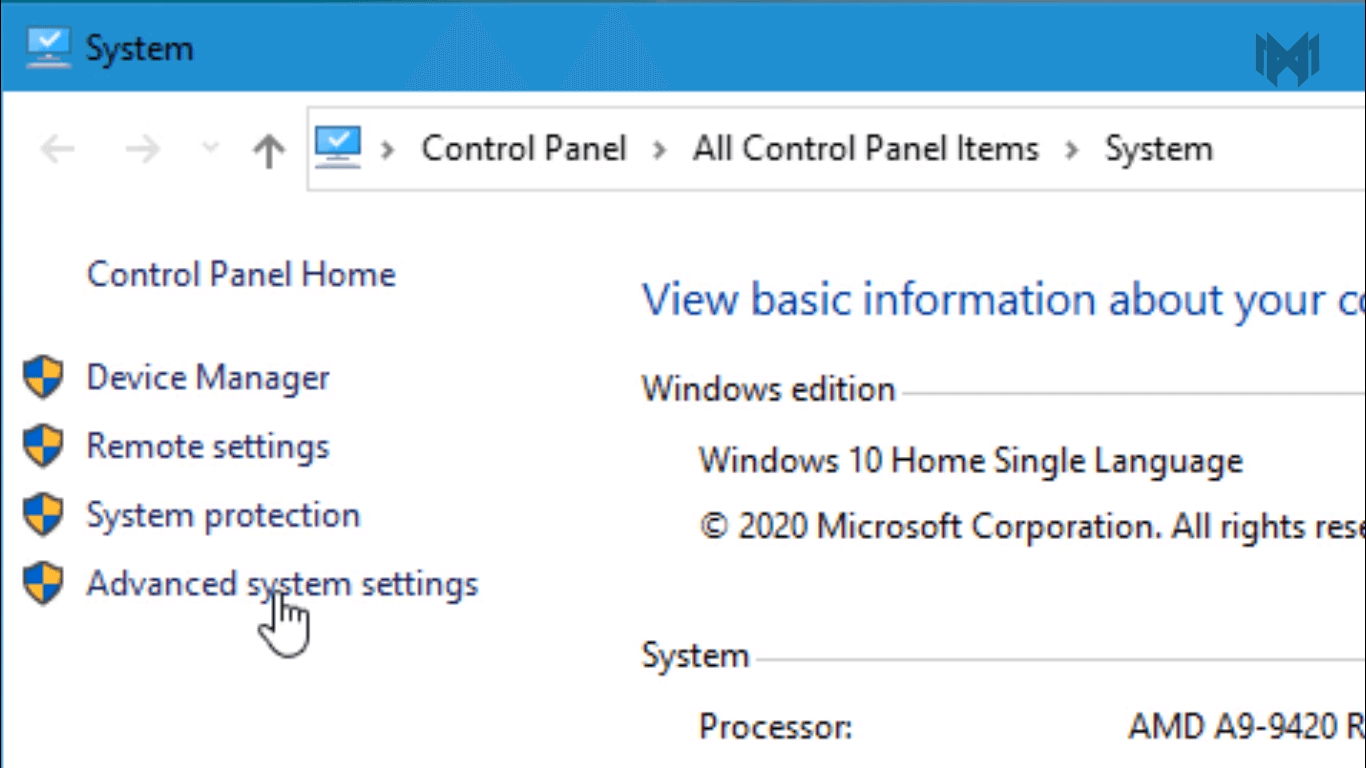
- now click on advanced system settings.
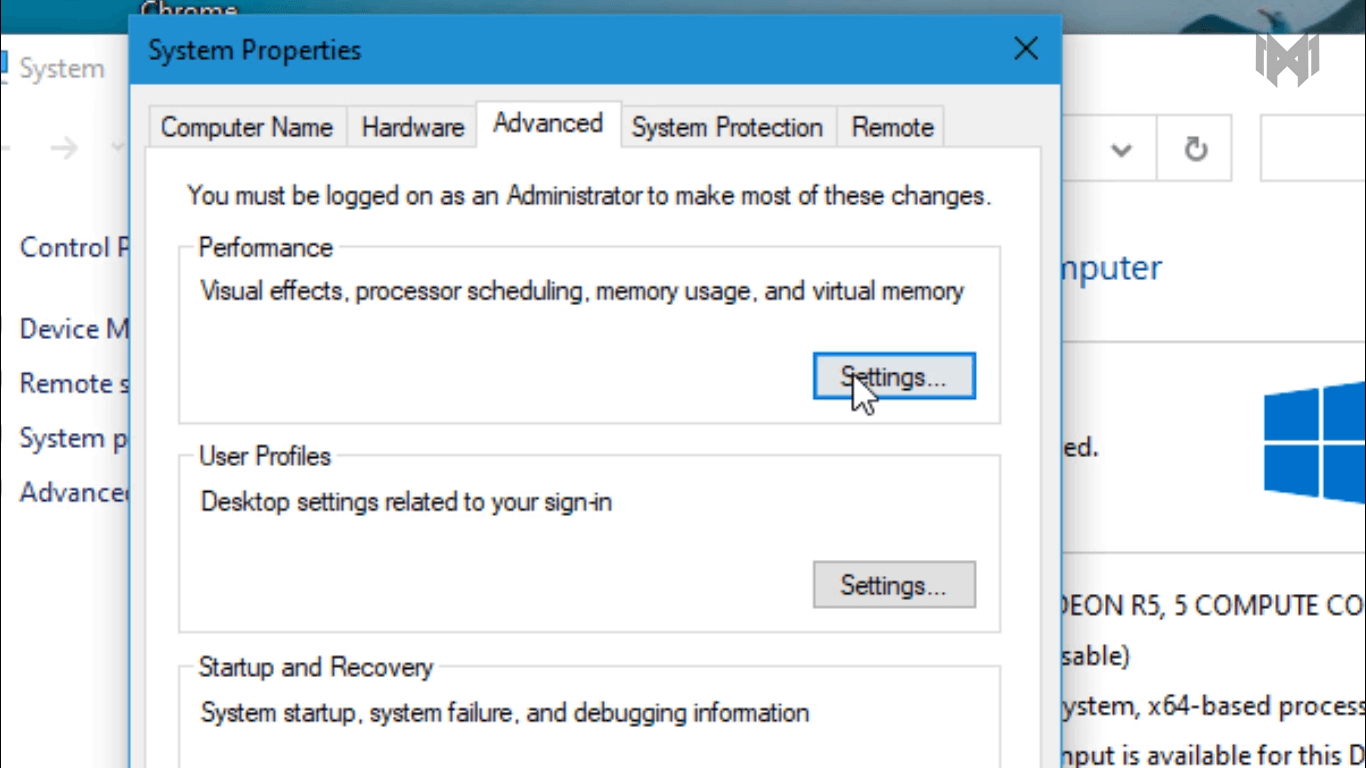
- in the performace section, click on settings
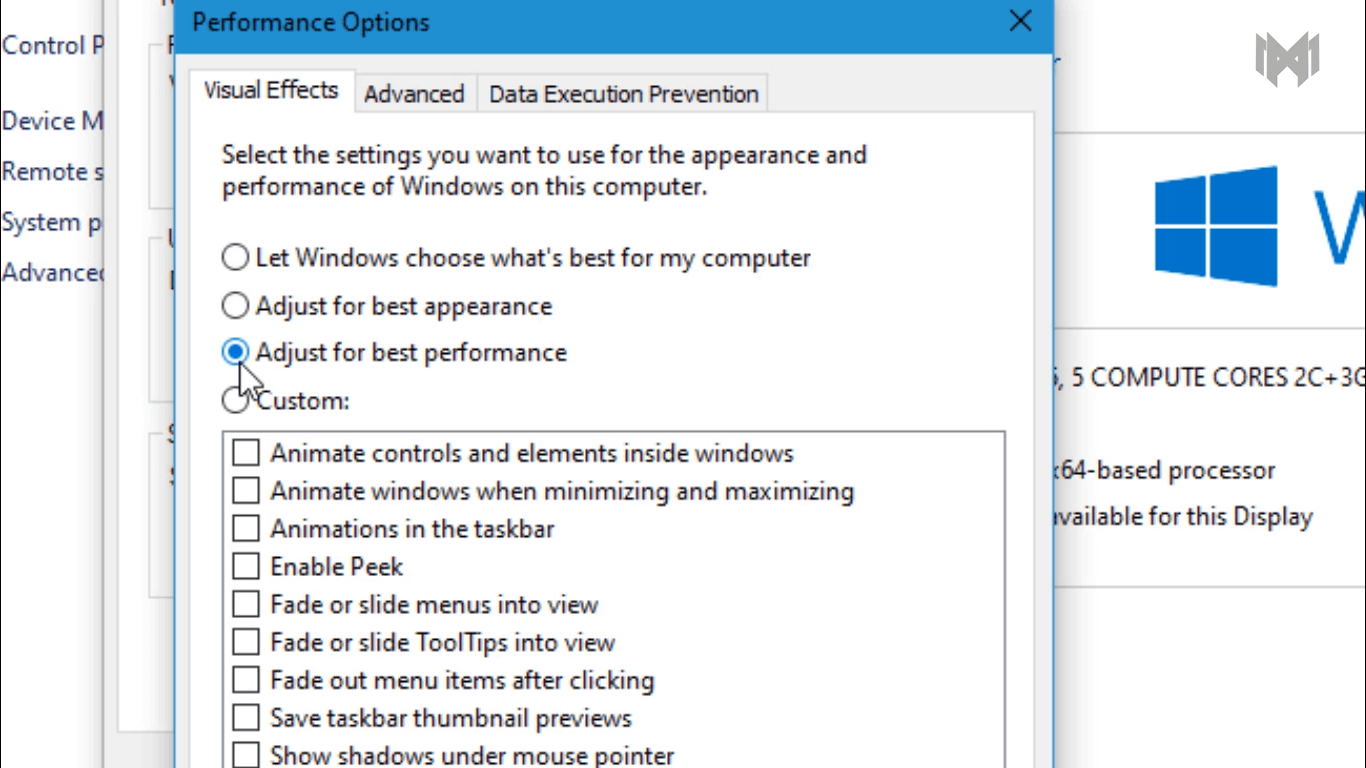
- here you have to select. adjust for best performance
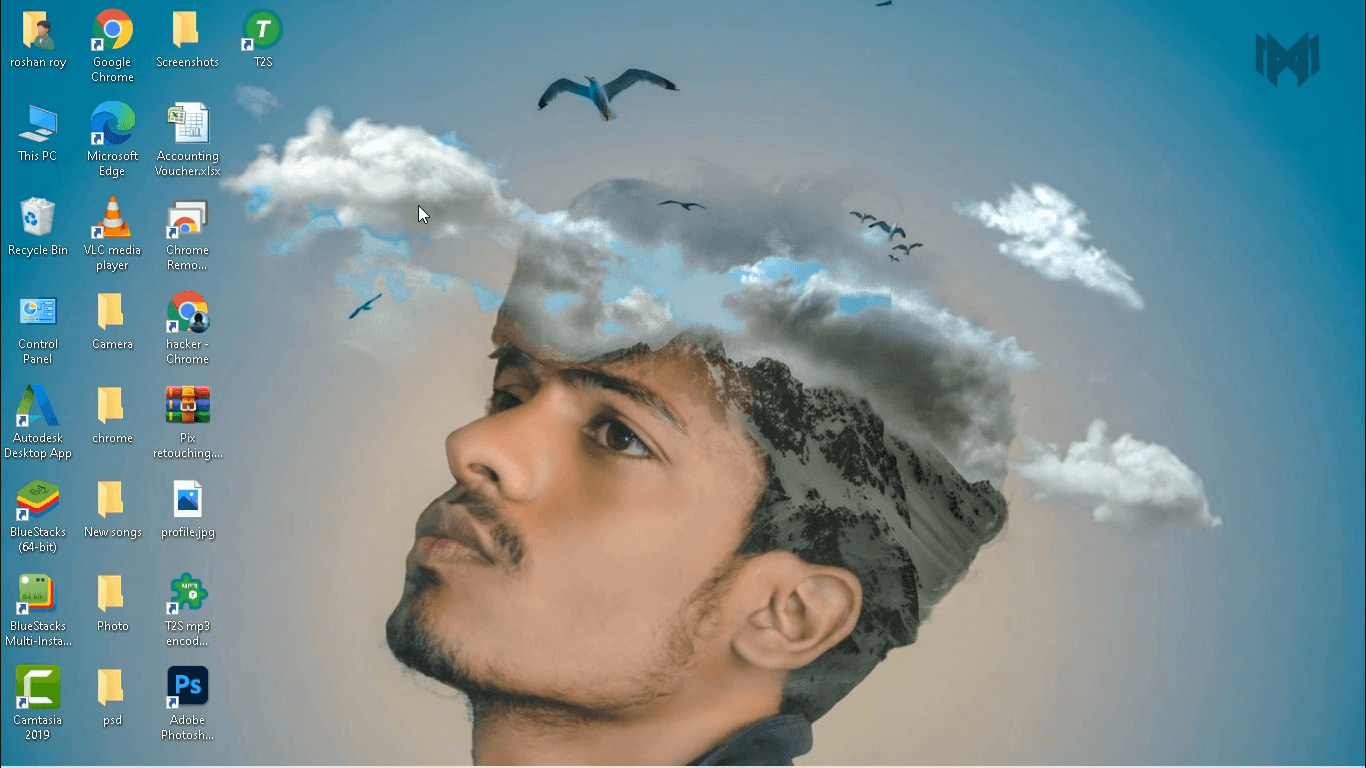
- once you apply this setting. as you can see, text in windows changes. this text will look a little weird but the actual photoshop itself will run a whole lot faster
7) clear the temporary
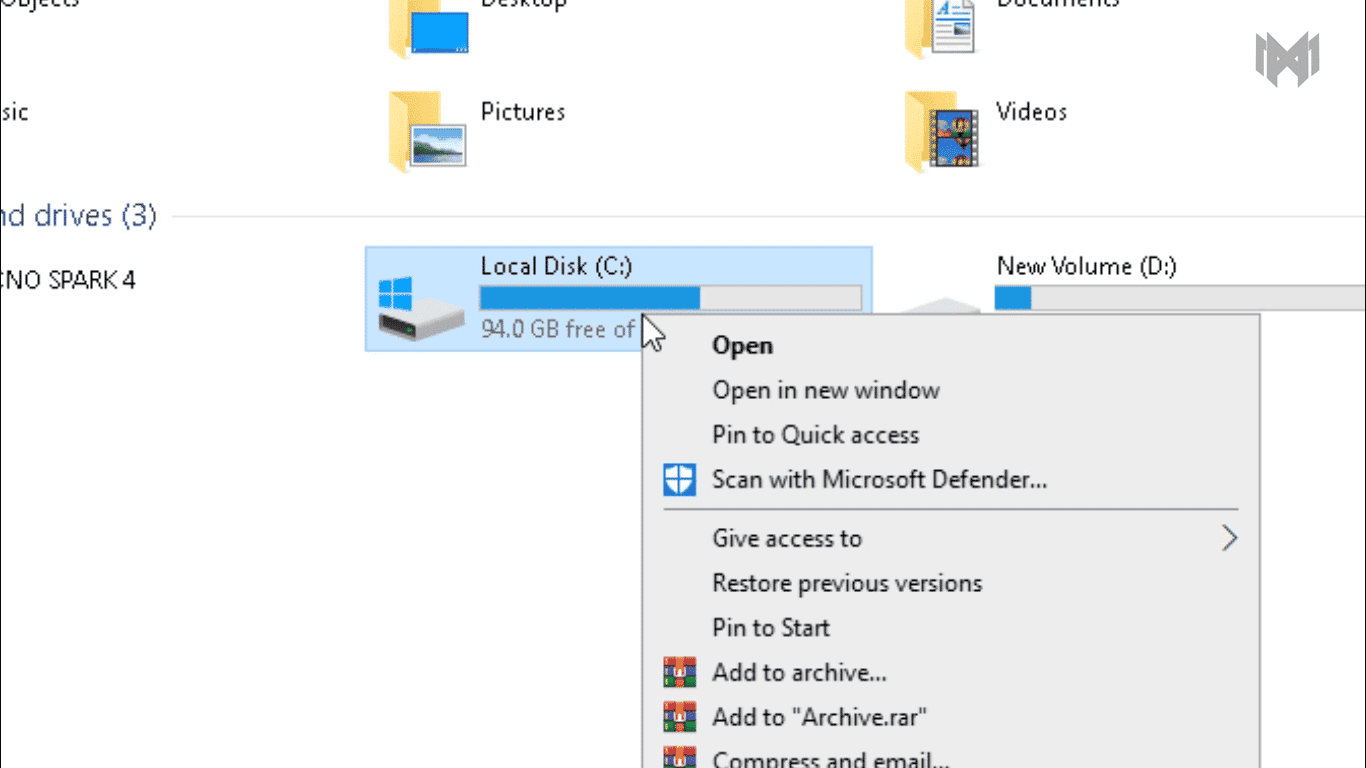
- now let’s clear the temporary files cache. again go to this PC, and inside this PC, right click on your c drive,
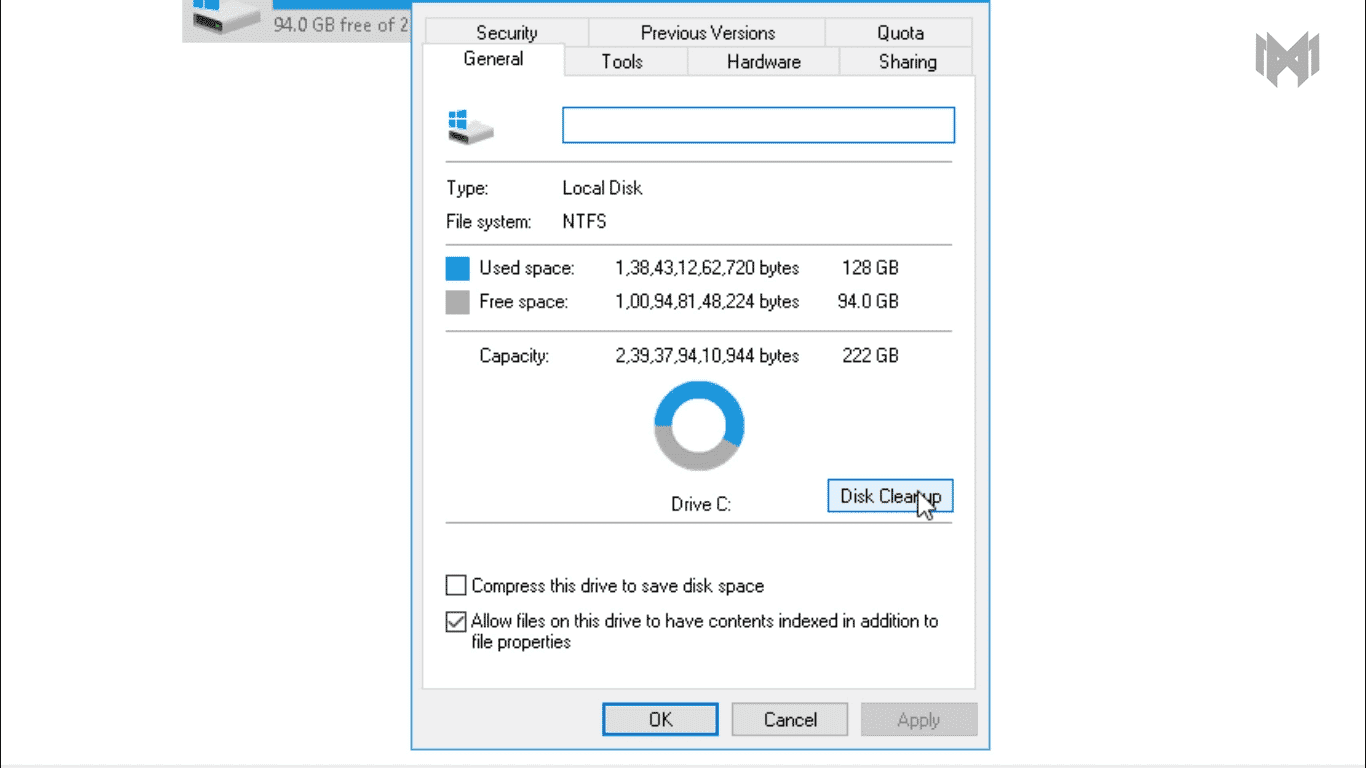
- and chose properties. and click on, disk cleanu
Learn more about photoshop preferences
