Dark Side Concept in photoshop | Manipulation
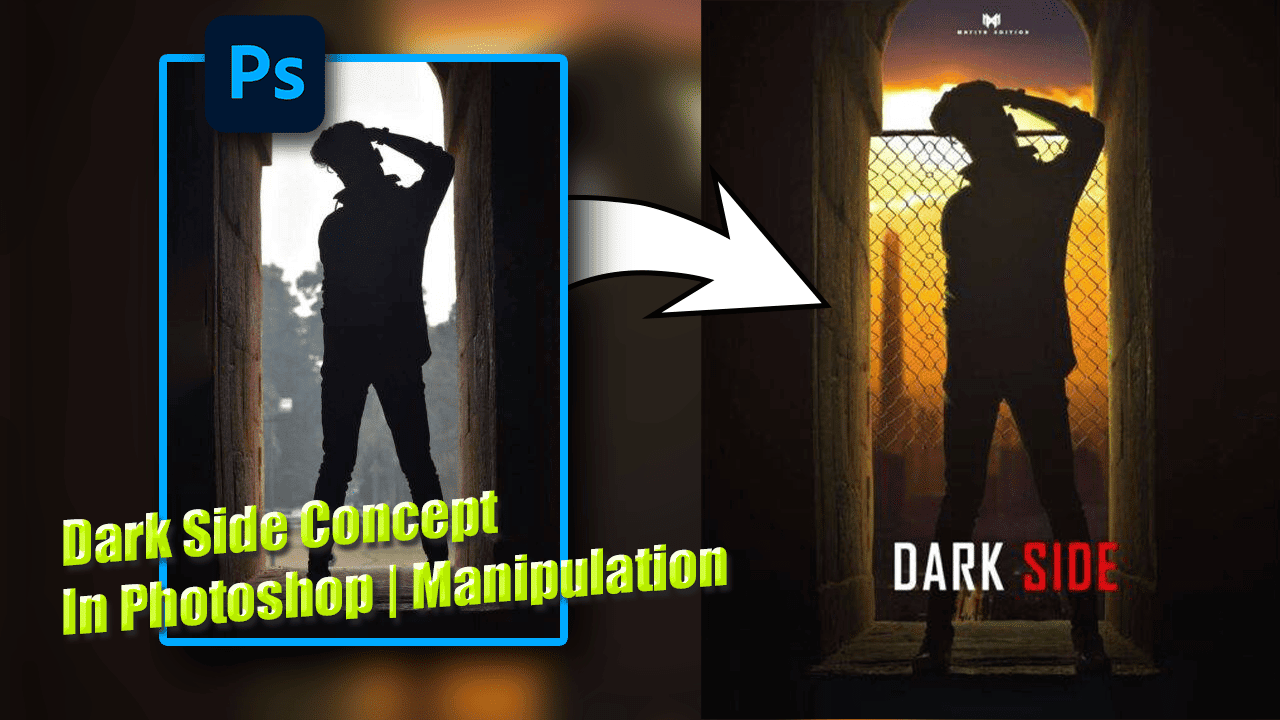

How are you all? Just now, Piximfix put out a brand-new guide that has been improved. I wanted to know how you were doing. I will demonstrate how I use Photoshop to make this interesting idea of the dark side in this post. Furthermore, I will give you access to the stock pictures that best illustrate this idea. Don’t wait any longer—let’s start using Photoshop right away!
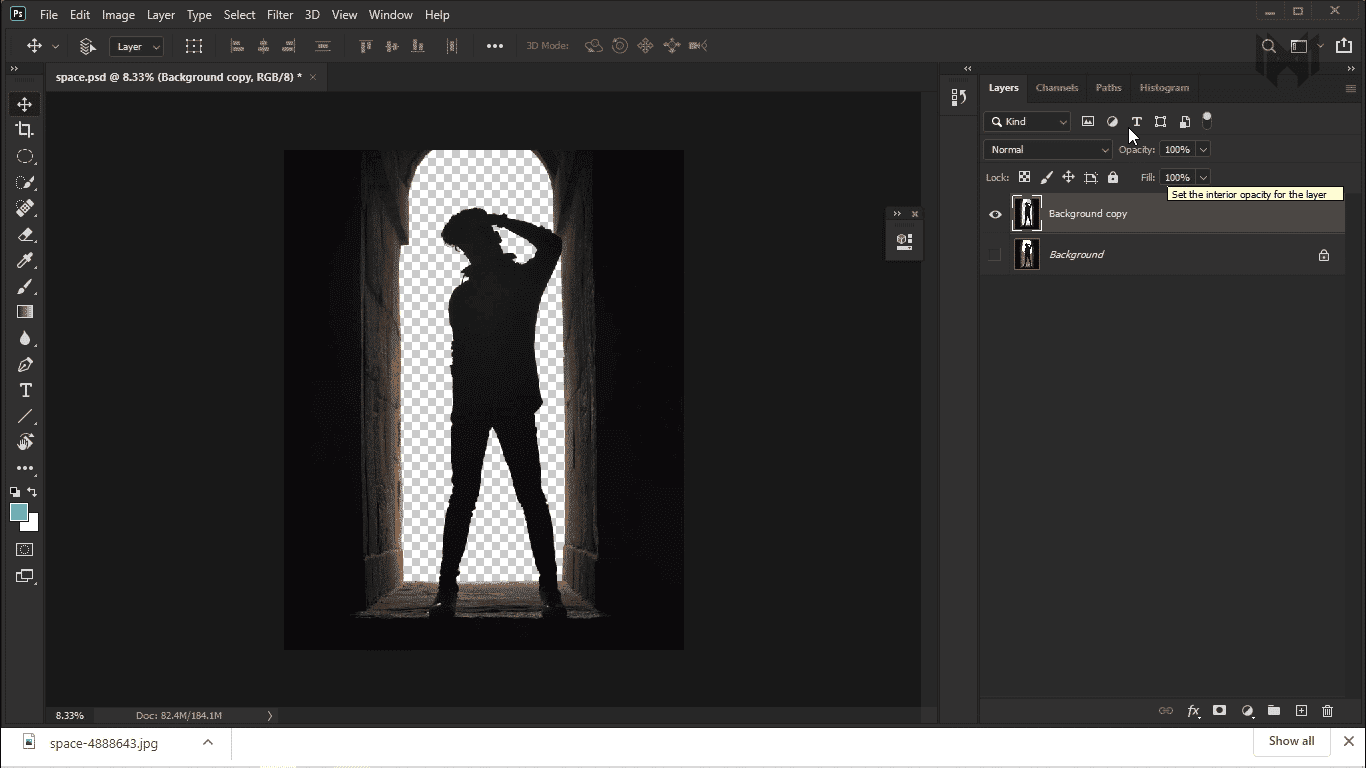
- first, I create a mask around the subject and the walls. to create a mask i use color rage and pen tool
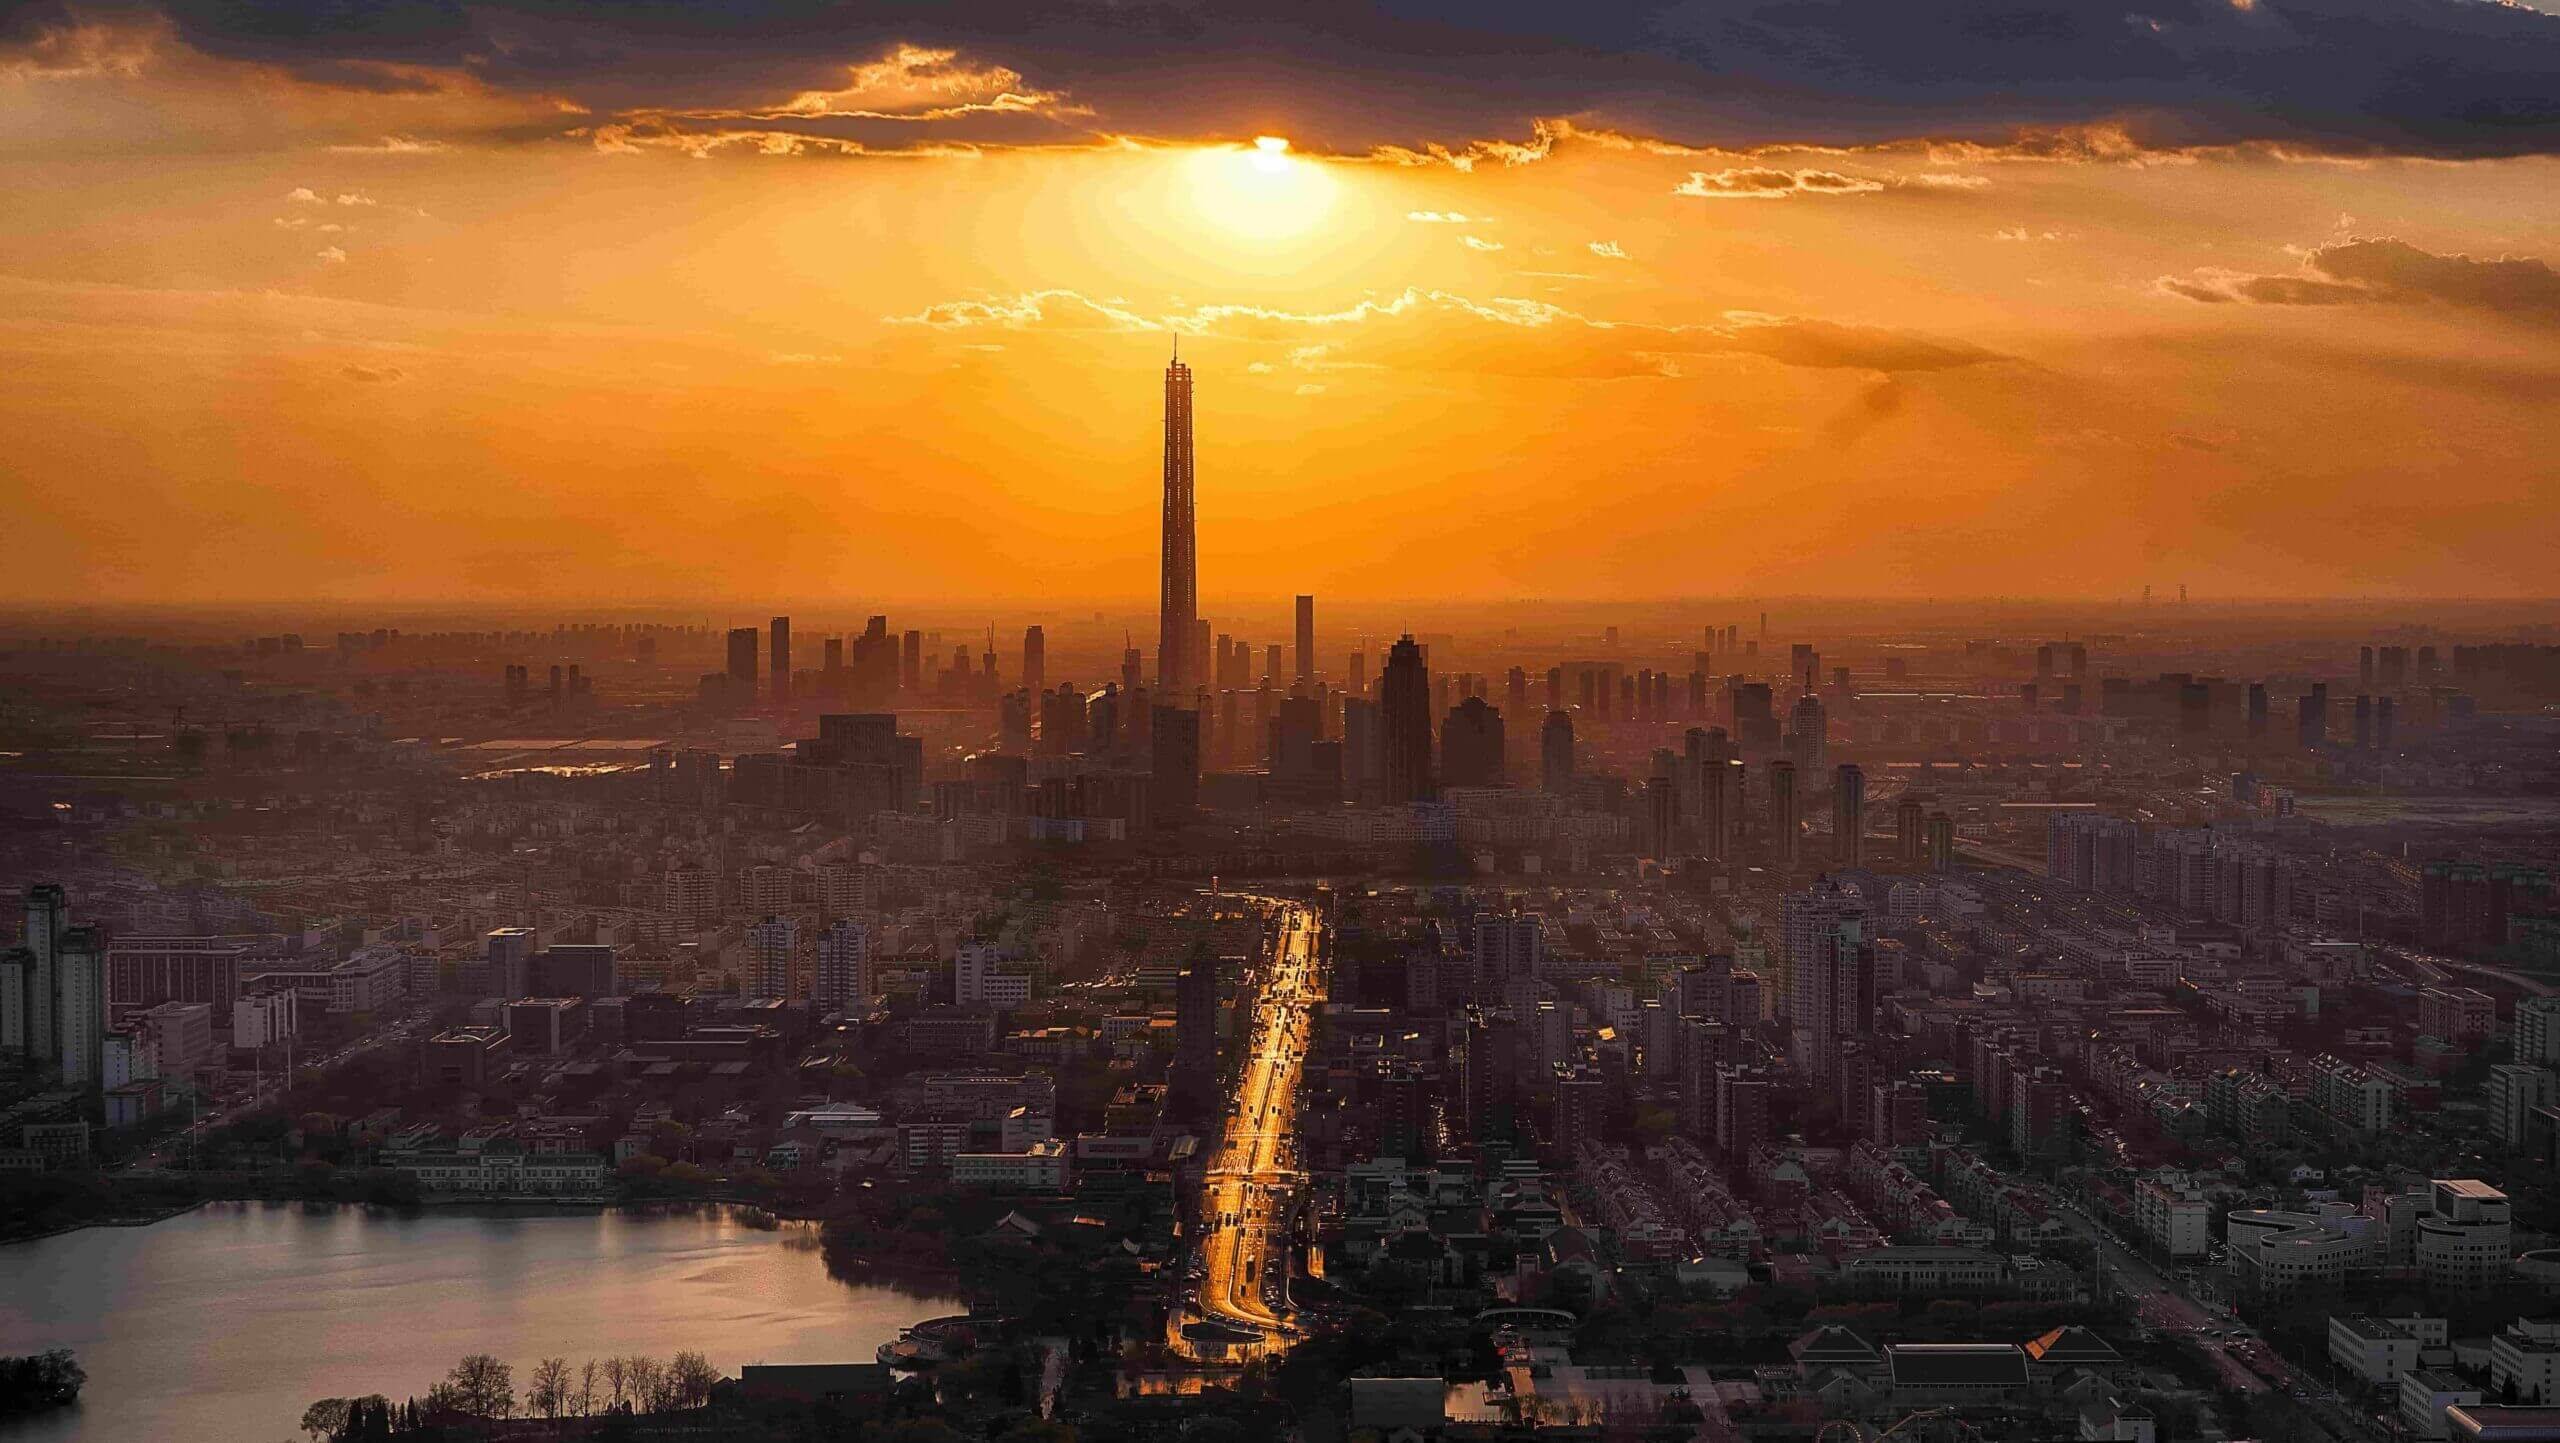
- I use this image as a background of my concept. you can download this image if you want by clicking on download button
- after inserting the background it will look something like that. which in perfect for me
- by using curves i create a atmosphere for this background, and this is look great
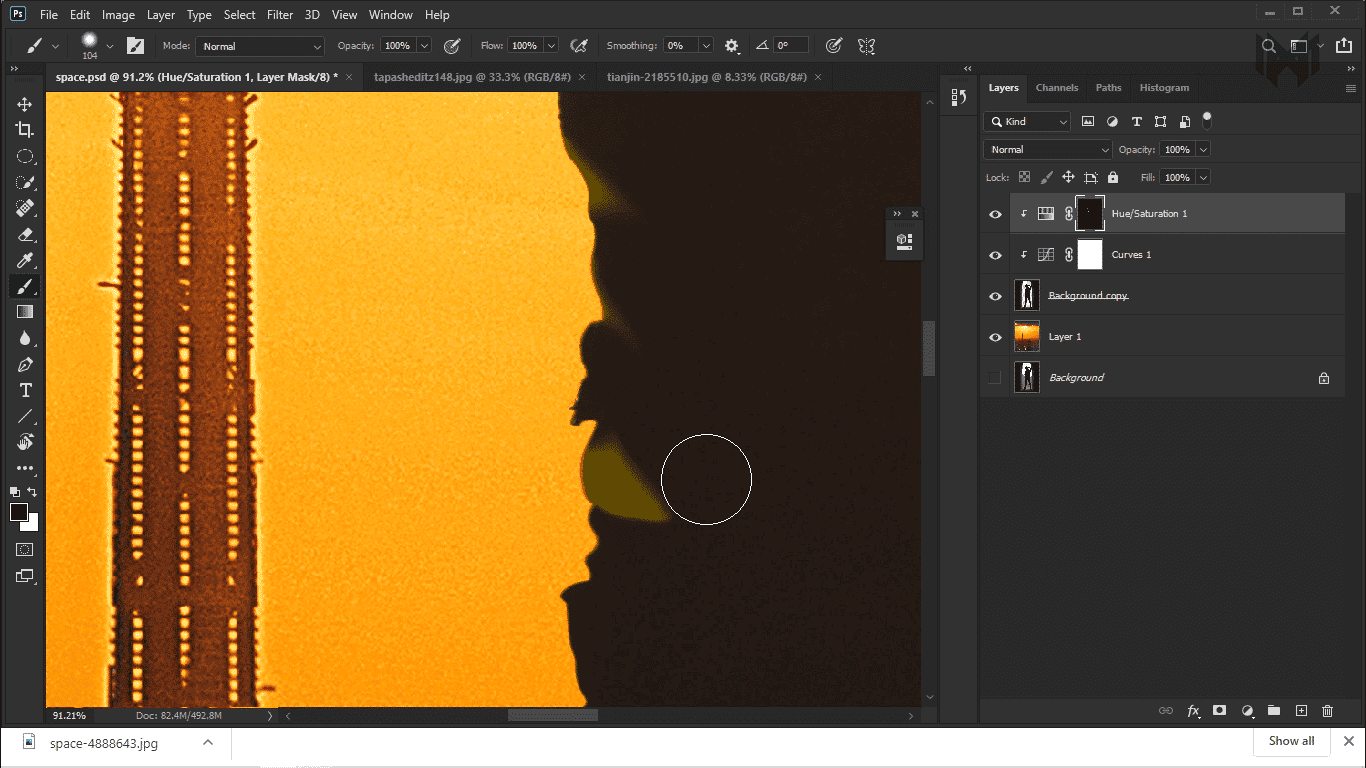
- then I create highlights, which i love to do.
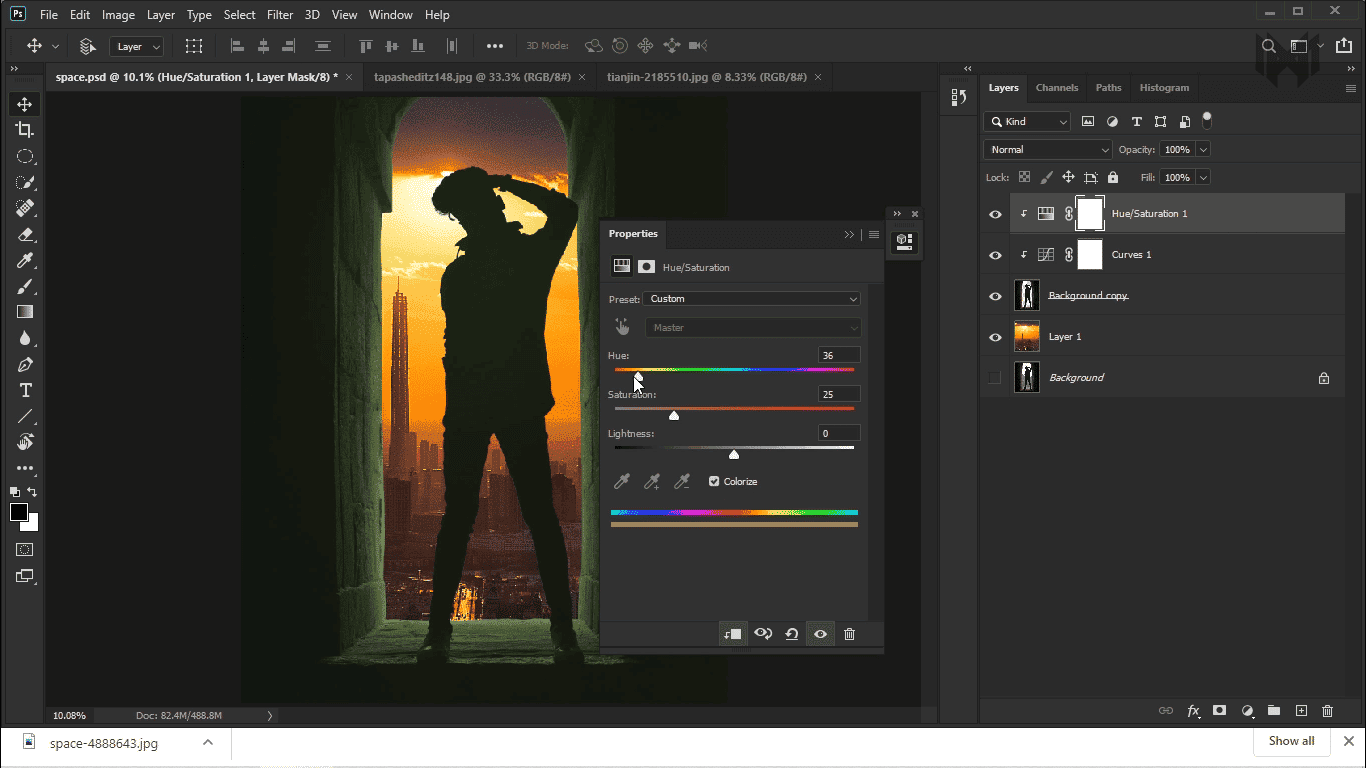
- to create a highlights first thing you want to do, create a Hue/Saturation adjustment layer. because when you use Hue/Saturation adjustment layer you have color options.
- then hold alt and click in between the two layers, which clips it. that’s manes, it’s only effect the object, and nothing below it.
- then what you will do, check the colorize box.
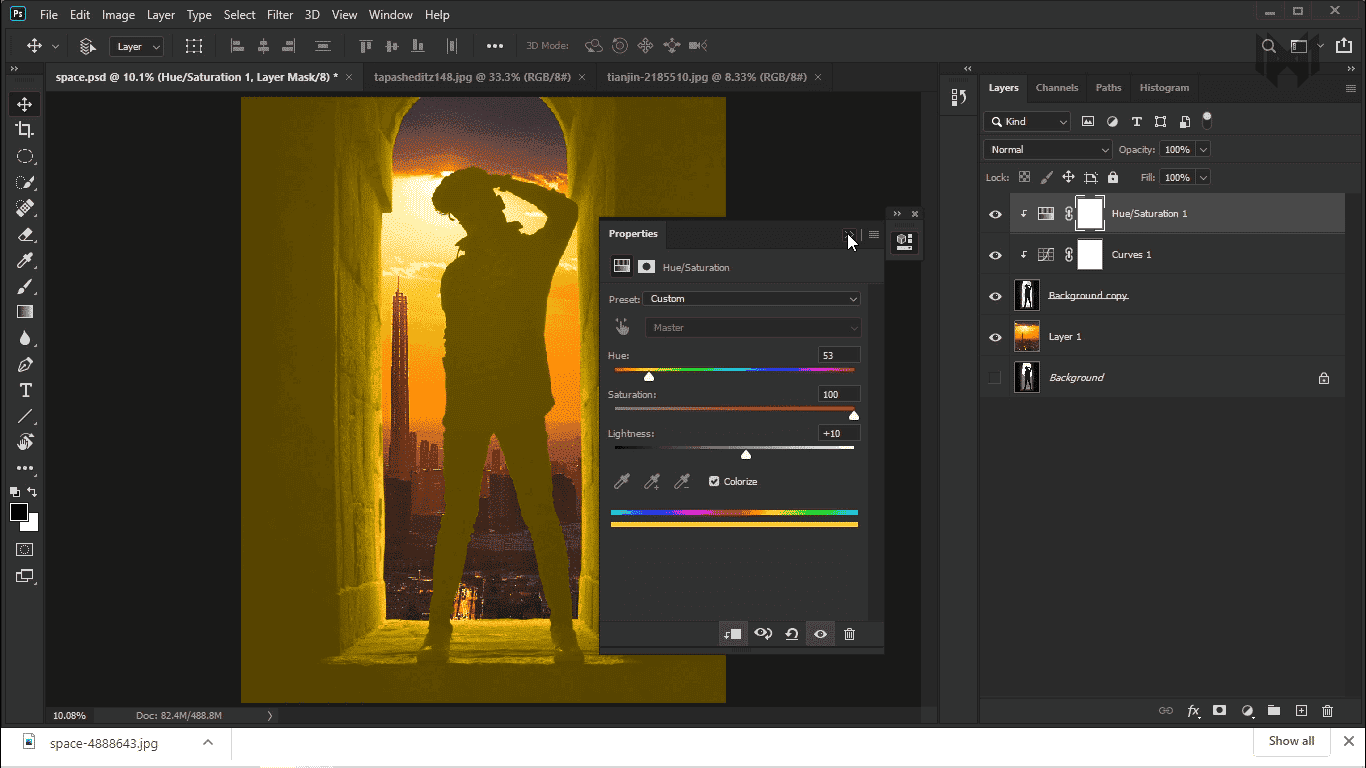
- now you have to match the color with your background light source. and then increase the Saturation all the way to 100%
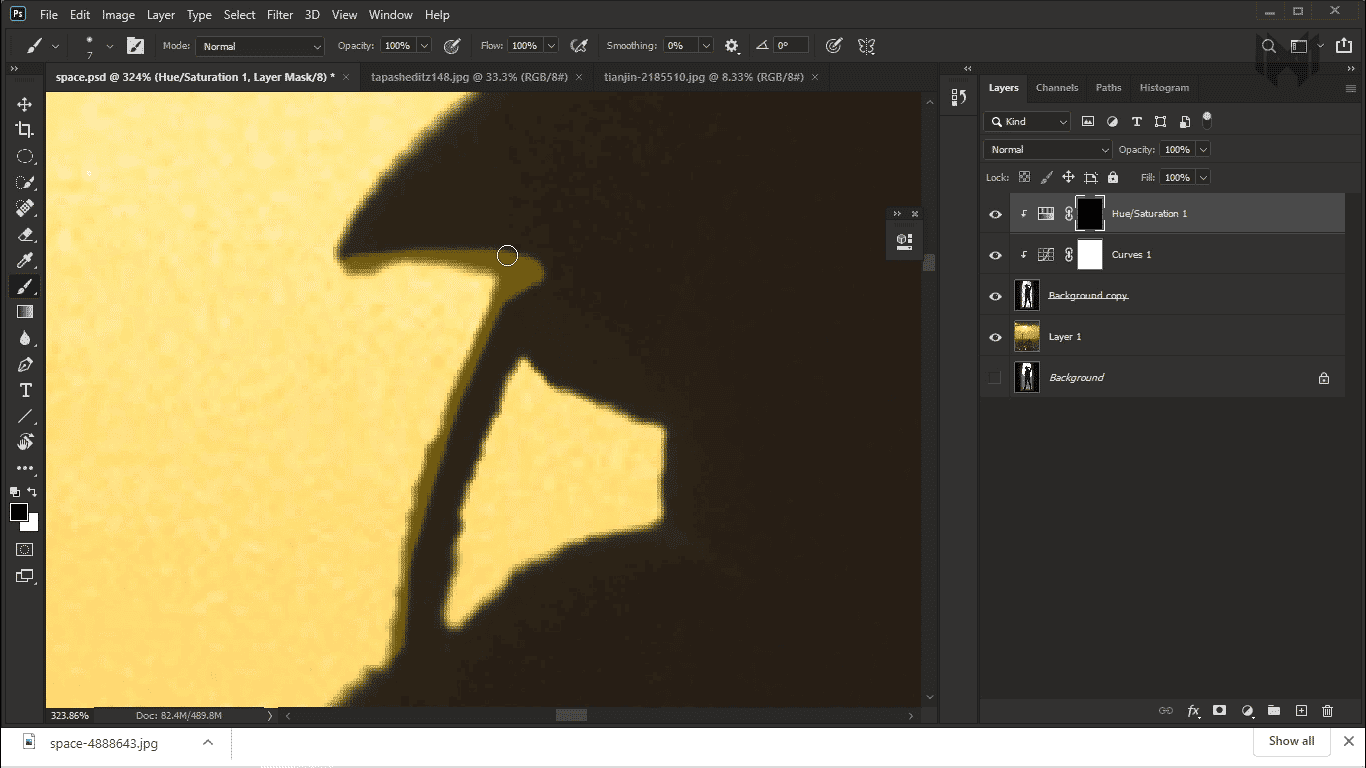
- then Invert the layer mask by crtl+i. and then what you have to do is, grab your brush, just a regular round soft not too big, make sure, mask is selected, and make sure, brush is black in white, you can switch between colors with x on your keyboard. also make sure opacity and flow maxed out. now start painting on the edges or Where You Should Have Highlights.
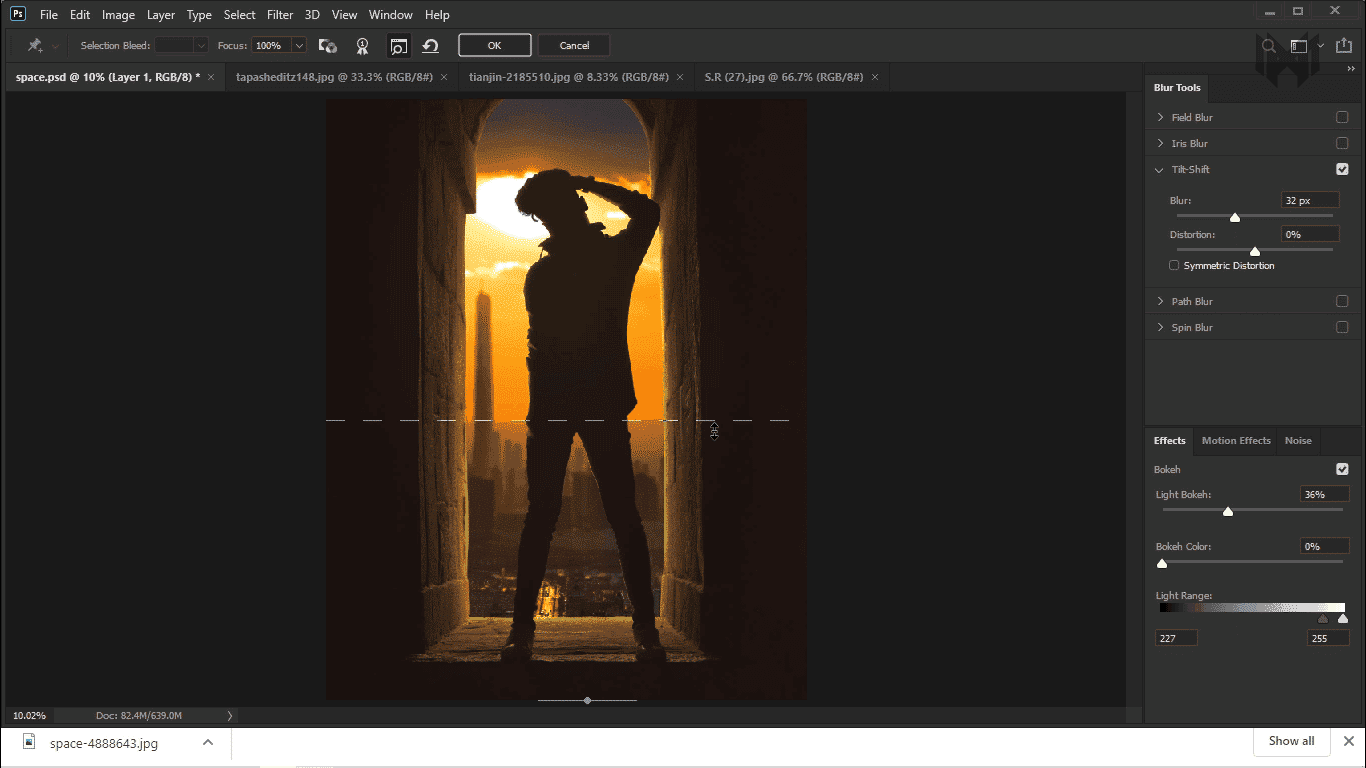
- then i use tilt shift blur on it just a little bit
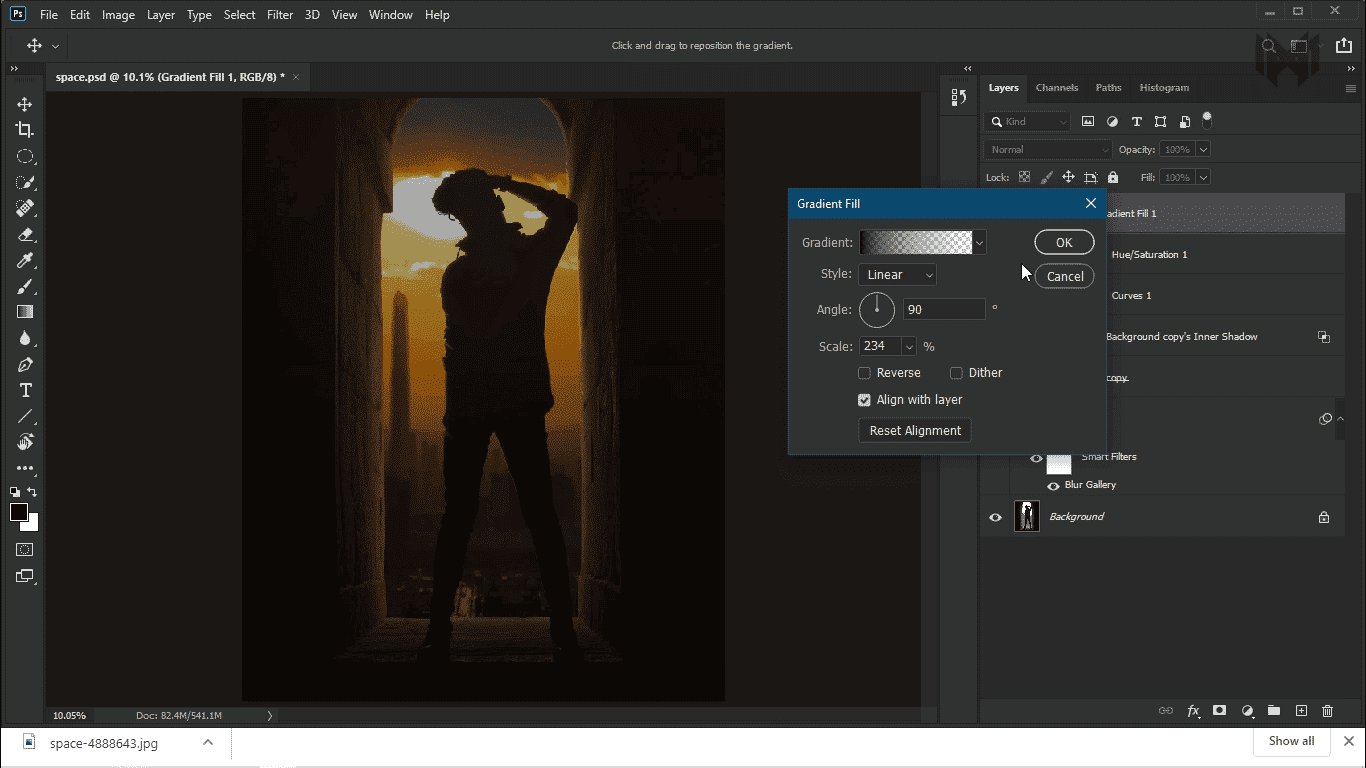
now here I’m trying to create this image like movie poster. for that, i want lower part of this image, to be little bit darker. so i user gradient
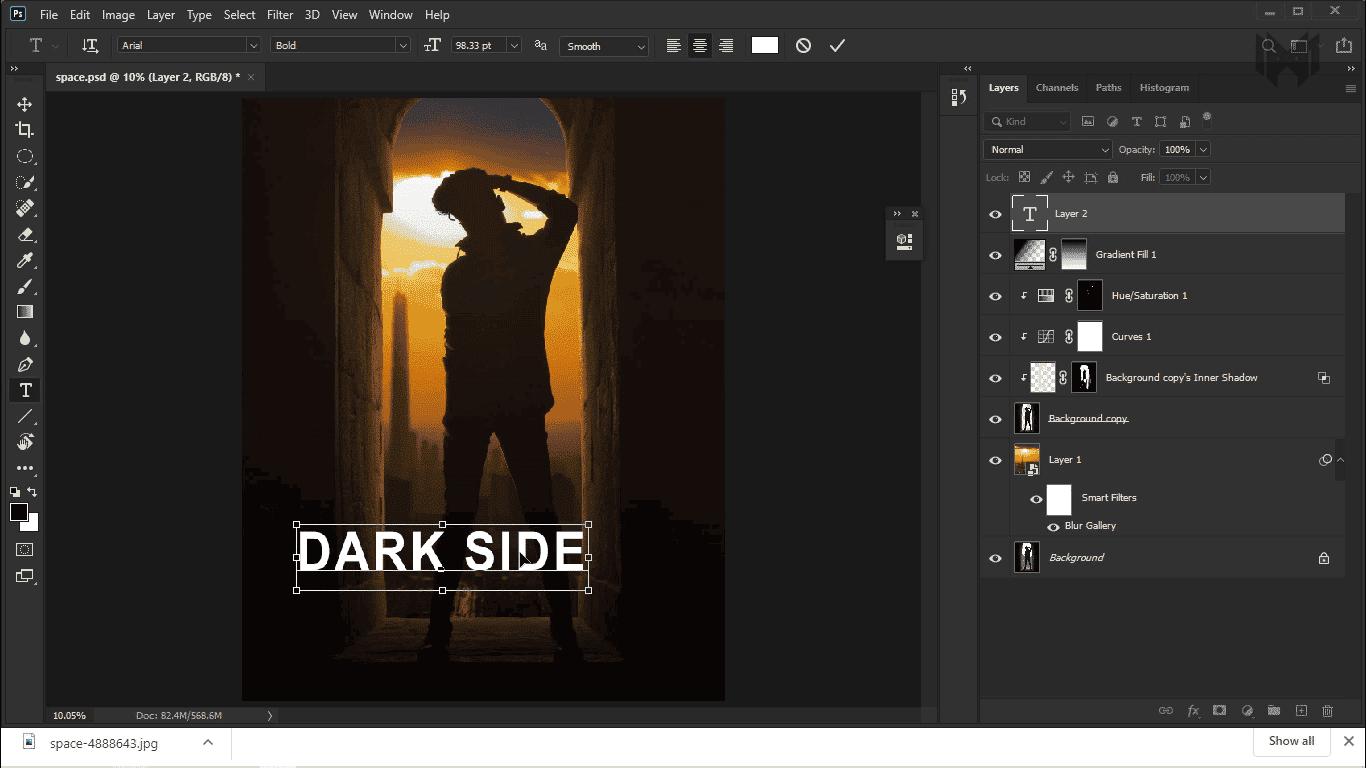
- press, t, on your keybord, for text and type your text. after that, ctrl+T, and put the text in to center, and the size according to you
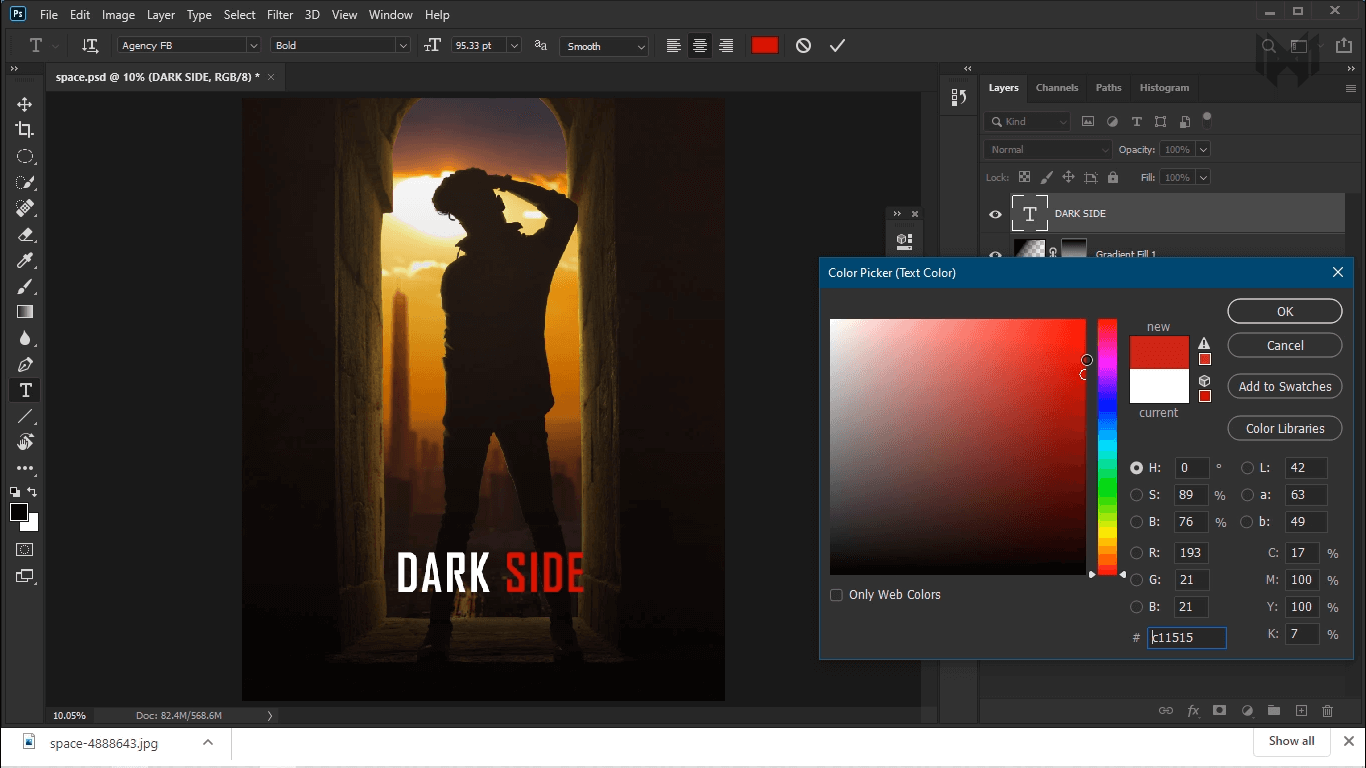
- then change the font style anything you want. and here i select half of the text, and change the color to red.
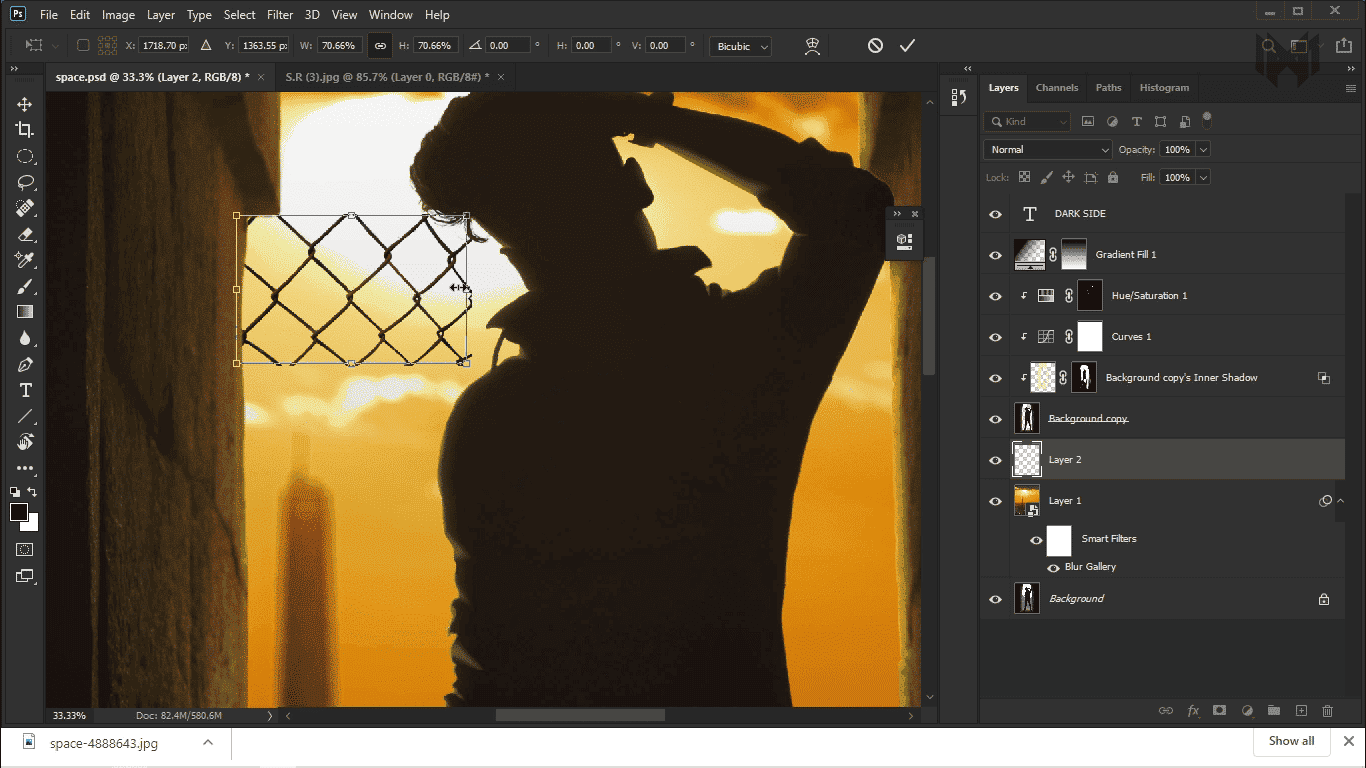
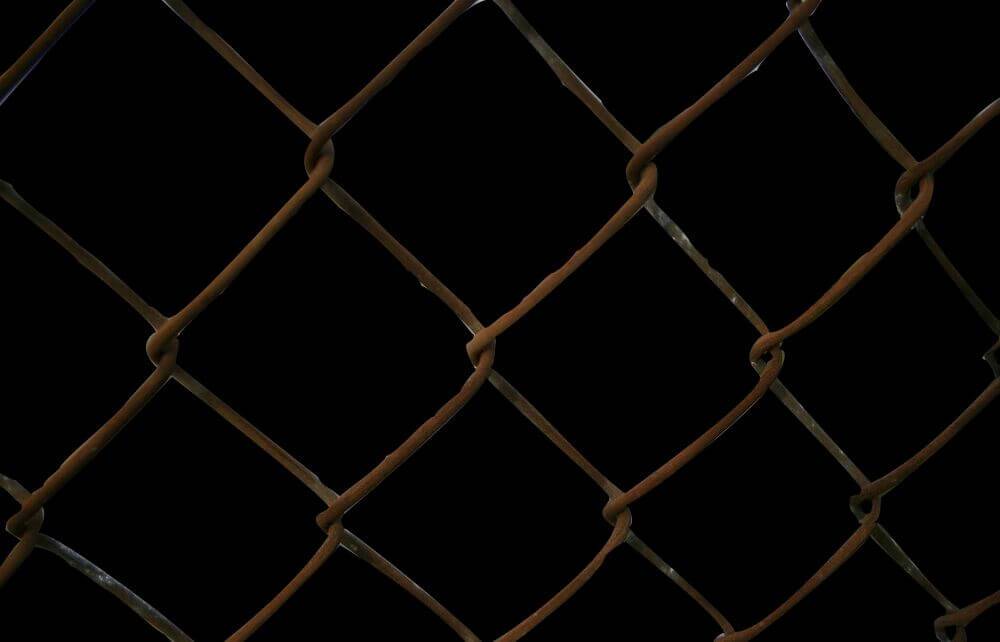
- to make this concept more interesting i create a still cage you can download this png down below if want
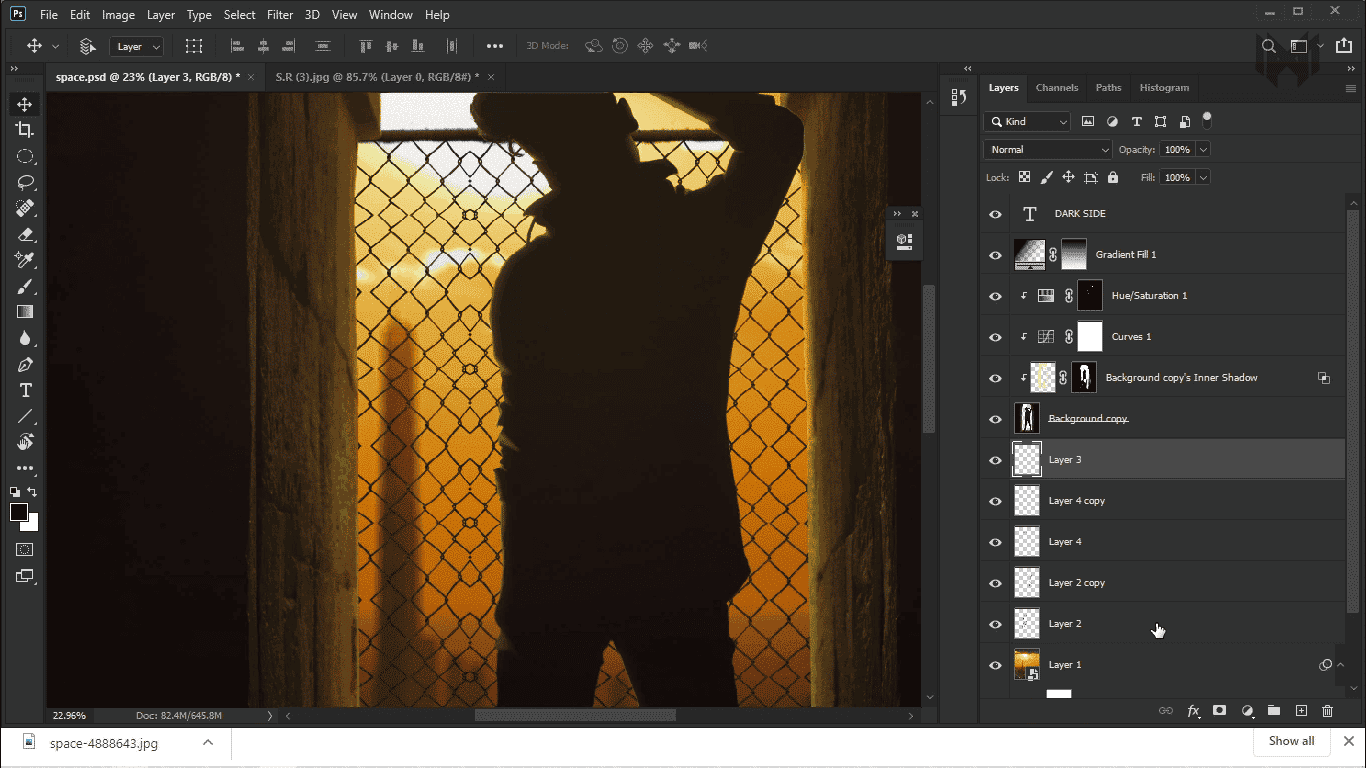
- and this is something look like
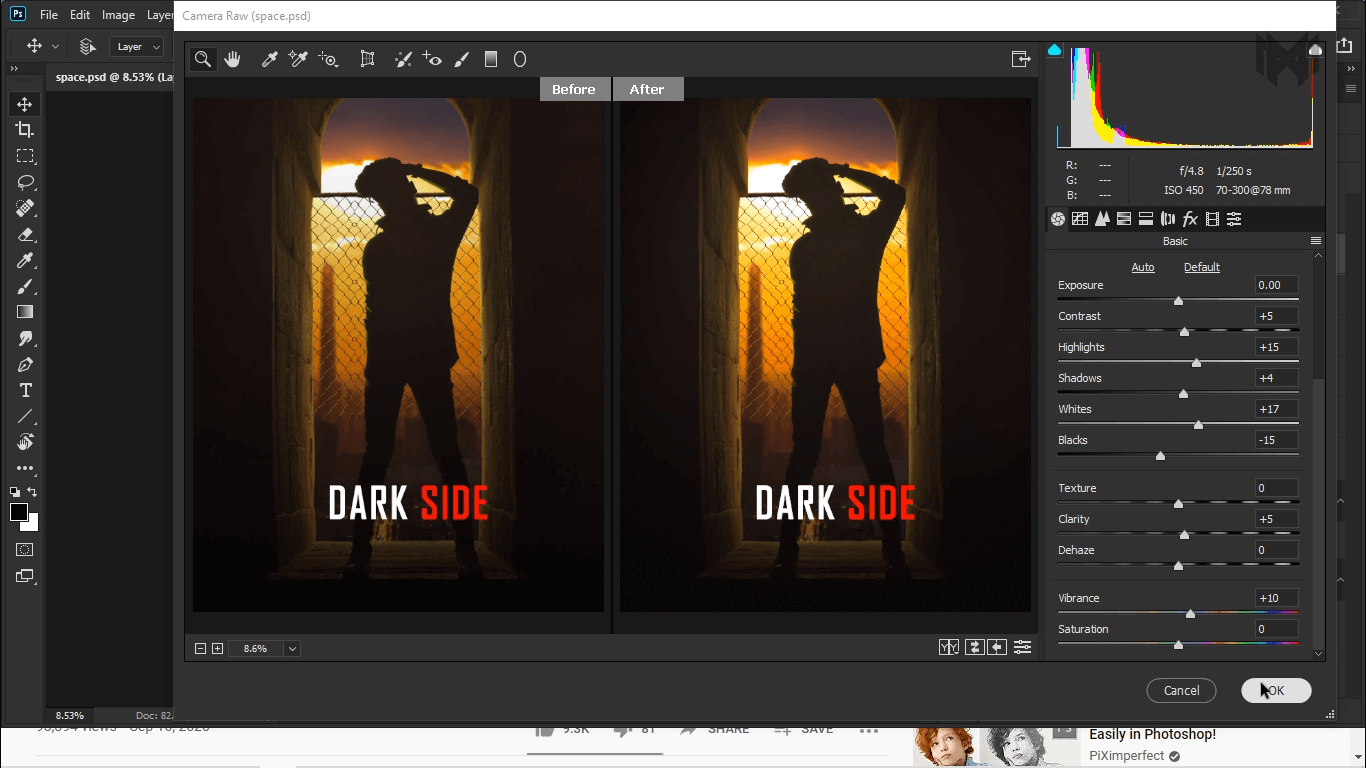
Now, I Marge Everything Together Into One Layer. And Do A Final Color Correction And Finish This Tutorial.

