Free Download 25 YouTube Thumbnail Templates From Graphicriver
Hey, Roshan here! Let me start by geeking out for a second: we live in an era where YouTube is a daily habit for over 122 million people, and its monthly active user base has surpassed 2.7 billion as of April 2025 . That’s nearly a third of the global population tuning in regularly!
With such a massive audience, standing out on YouTube is more challenging than ever. Your video’s thumbnail is often the first—and sometimes only—chance to grab a viewer’s attention. In this post, I’ll show you why thumbnails matter so much, what makes a thumbnail irresistibly clickable, and how you can save time with a free pack of 25 YouTube thumbnail templates. We’ll keep it conversational and fun, with just enough techy tips to make sure you get it right.
(Side note: I’m all about helping creators grow – check out my guides on YouTube channel growth strategies and video SEO tips when you can – but today, let’s zero in on thumbnails!)
Why YouTube Thumbnails Are So Important for Success
Imagine browsing YouTube: what’s the first thing that catches your eye? Yep, the thumbnail. With YouTube now hosting over 14 billion videos for 2.7 billion users as of 2025, competition for eyeballs is fierce. Your thumbnail is essentially the first impression of your video – a billboard in a sea of content. Here’s why nailing it matters:
- Improved Click-Through Rate (CTR): A compelling thumbnail entices more people to click on your video. CTR is one of the most important factors in YouTube’s algorithm. A higher CTR not only means more views, but it also signals to YouTube that people find your video interesting, potentially leading to more recommendations and organic reach. In fact, YouTube itself confirmed that 90% of top-performing videos have custom thumbnails – it’s a must for serious YouTubers.
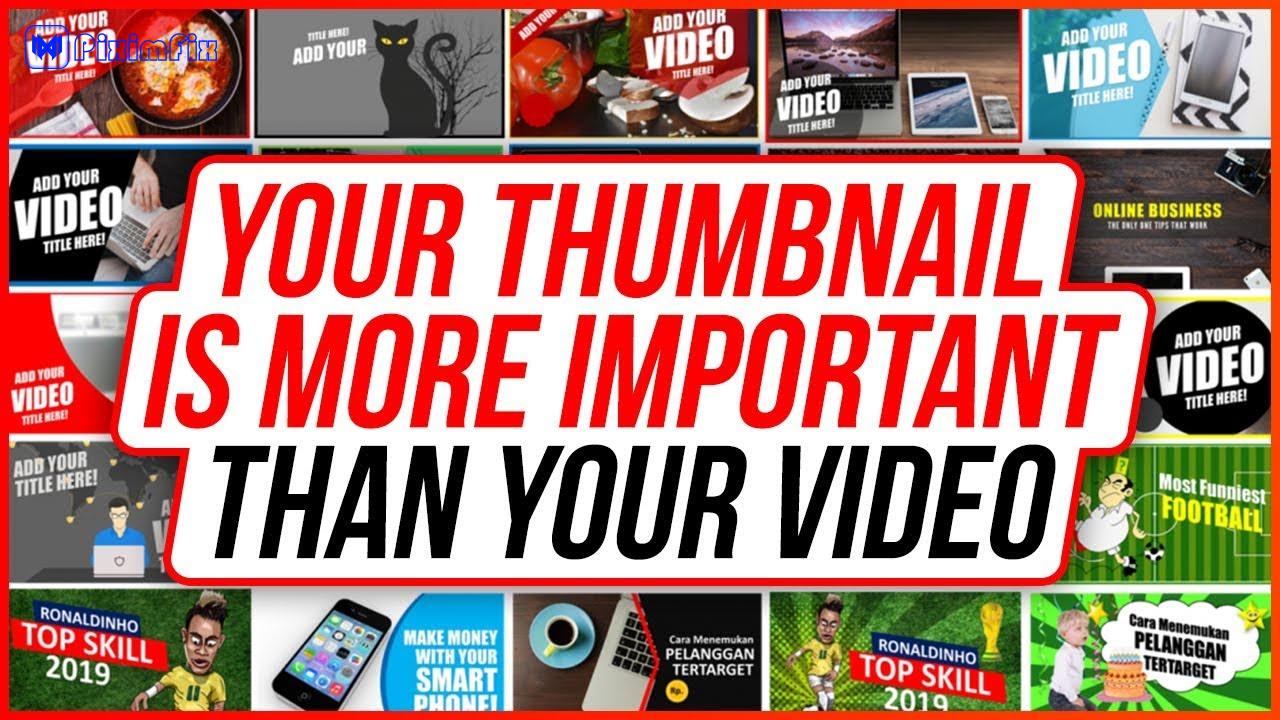
- Viewer Attraction & Engagement: Thumbnails and titles together help viewers decide if your content is what they’re looking for. A blurry or boring thumbnail might cause even great content to be skipped. As one expert put it, a lackluster thumbnail can sink an otherwise amazing video, whereas a fantastic thumbnail can boost an average video’s popularity It sets expectations and grabs attention in a split second.
- Branding & Professionalism: Consistently designed thumbnails make your channel look professional and cohesive. Viewers can recognize your style immediately, which is great for building a brand. On the flip side, random or auto-generated thumbnails might give the impression that you’re not putting effort into your content.
The bottom line: thumbnails are just as important as the video content when it comes to getting views. They’re the gatekeepers of your content. You could have Oscar-worthy content, but if no one clicks to watch it, it might as well be invisible. So, let’s make sure your thumbnails are working for you, not against you.
(Pro tip: Combine a great thumbnail with an SEO-optimized title/description and you’ve got a powerful combo. We talk more about boosting your videos in our video SEO guide, but one thing at a time!)
What Makes a Good YouTube Thumbnail? (Design Principles)
Okay, so we know thumbnails are vital. But what exactly makes a thumbnail good? Whether you design from scratch or use templates, keep these key design principles in mind:
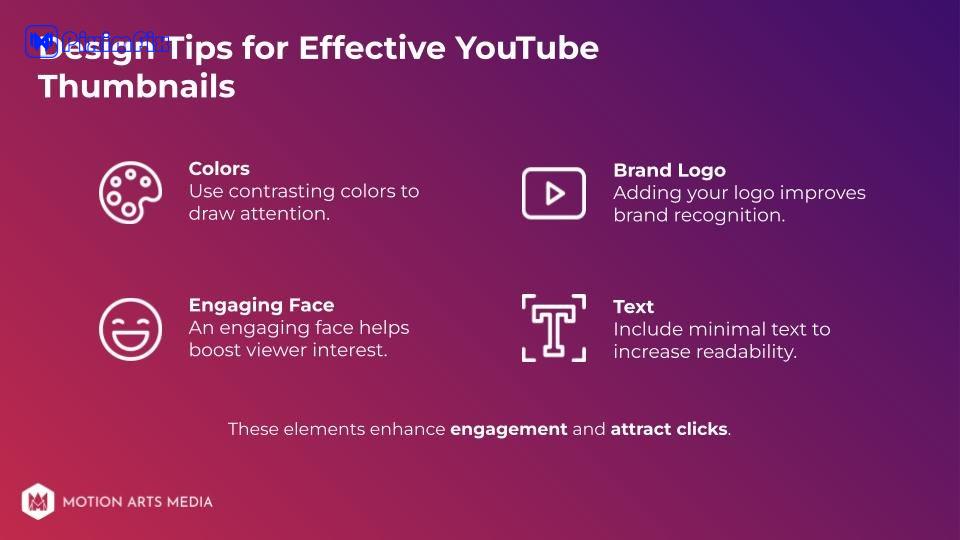
- Clear & Simple Composition: Less is more. In the world of tiny thumbnails, simplicity wins. Aim for one focal point – it could be a face, an object, or bold text – and avoid clutter. A viewer should grasp the concept at a glance. If your thumbnail is too busy or confusing, it will blend in and be overlooked.
- High-Contrast Colors: Thumbnails are competing against many others on the screen, so make them pop! Use bright or contrasting colors to catch the eye. For example, combine light text on a dark background or vice versa. Contrast helps your text (or subject) stand out from the background. Don’t be afraid to use color to create mood – just ensure it’s not all one flat tone.
- Bold, Readable Text (if used): Many great thumbnails include a few words of text to tease the video’s topic. If you add text, make it big, bold, and easy to read even on a small screen. Use clean fonts (typically sans-serif) and limit the text to just a 2-3 word phrase or a short sentence fragment. Think of it as a second title. Avoid tiny or cursive fonts that become illegible on mobile. Also, use colors or outlines around text if needed to separate it from the background.
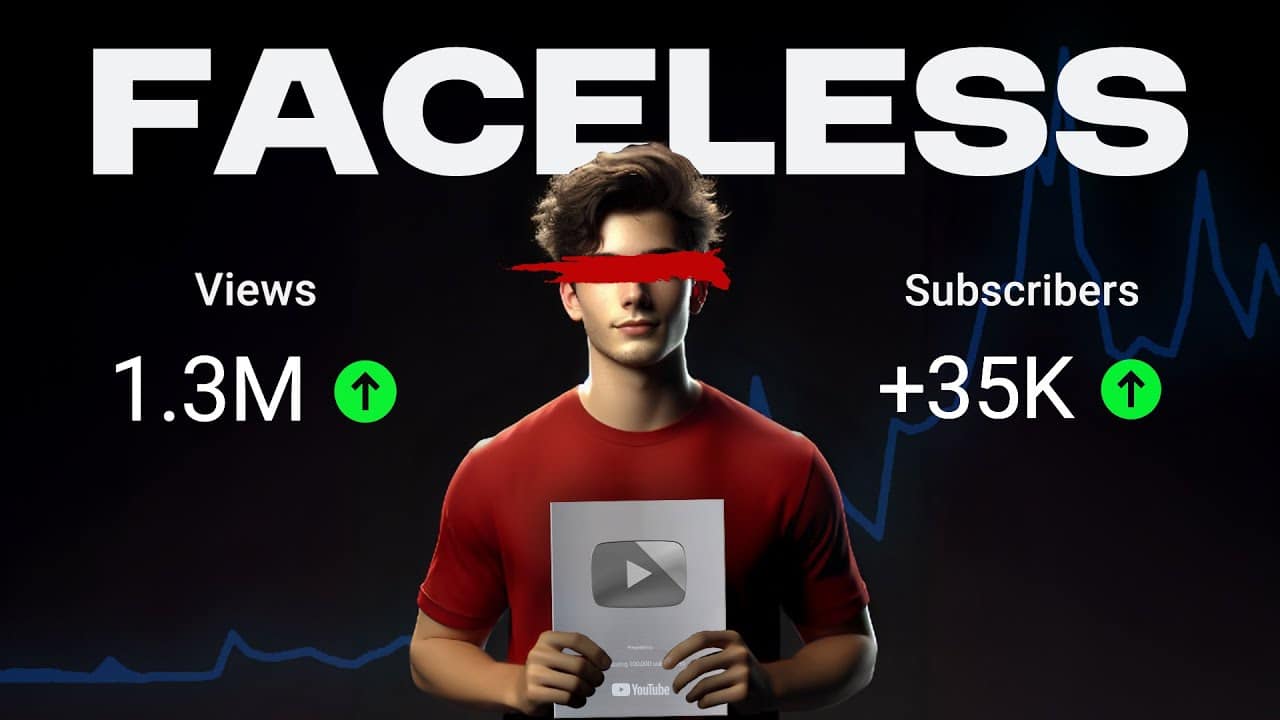
- Relevant Imagery & Emotion: Use an image that directly relates to your video content. Ideally, use a high-quality screenshot or photo from your video or a relevant graphic. Faces work especially well – a thumbnail showing a person with an expressive face can draw viewers in (people are naturally drawn to faces). Emotion is powerful: a shocked, happy, or excited facial expression can spark curiosity. If your video doesn’t feature a person, you can use an object or scene that represents the topic. Just make sure it’s clear what viewers are looking at.
- Consistent Branding: Over time, having a consistent style helps loyal viewers pick out your videos instantly. You might use a certain color scheme, a small logo or watermark, or a consistent layout theme. For example, maybe all your thumbnails have a specific corner where your logo appears, or you use the same font/style for text. This brand consistency makes your channel look polished. Just be careful not to make every thumbnail look too identical – they should be sisters, not twins, if that makes sense (recognizable, but each with its own relevant visuals).
- Proper Size & Quality: Always design with the correct thumbnail size in mind. The ideal size is 1280 x 720 pixels (which is a 16:9 ratio). YouTube’s minimum is 640 px width, but go for 1280×720 to ensure it looks crisp. Save your thumbnail as a PNG or JPG under 2 MB so YouTube can accept it. High resolution is important because thumbnails might appear larger on some devices. Blurry or pixelated thumbnails are a big no-no – they scream unprofessional and will turn people away.
- Accuracy (No Misleading Clickbait): This is more of a principle than design element, but it’s worth noting. Your thumbnail should accurately represent your video. It’s fine (even recommended) to create intrigue or highlight the most exciting aspect of your video, but don’t flat-out mislead people. If your thumbnail shows something that isn’t actually in the video (or implies an outcome that doesn’t happen), viewers will feel tricked and may drop off fast or avoid your channel in the future. Clickbait that disappoints can hurt your retention and reputation. So, aim for enticing and honest.
Keep these principles in mind as you craft or customize thumbnails. You don’t have to be a professional graphic designer to implement them – simple tweaks like increasing font size, upping contrast, or cropping in on a face can take a thumbnail from “meh” to “wow!”
Common Struggles YouTubers Face with Thumbnails

If making amazing thumbnails were easy, everyone would have them. But let’s be real: designing thumbnails can be challenging, especially if you’re new to it. Here are some common struggles YouTubers (especially small creators) face, and you might find yourself nodding along:
- “I’m not a designer!” – Lack of Skills or Resources: Not everyone has a background in graphic design, and that’s okay. Many creators struggle because they don’t have the design skills or tools to create professional-looking thumbnails. You might be using basic tools like MS Paint or default Canva layouts and not getting the result you want. Without guidance, it’s easy to end up with cluttered or amateur-looking designs that don’t attract clicks.
- Time-Consuming Process: Let’s face it, making a custom thumbnail from scratch for every video can be a time drain. If you’re trying to pump out content regularly, spending hours in Photoshop for each thumbnail is not ideal. Many YouTubers either rush the thumbnail design (and end up unhappy with it) or procrastinate on publishing because the thumbnail isn’t ready. Neither is a great scenario for consistent content creation.
- Idea and Style Block: Staring at a blank canvas can be intimidating. What layout to use? What colors? Should it have text or just an image? Analysis paralysis is real. You may also worry about looking good: “Are my thumbnails on par with top creators in my niche?” Without inspiration or reference, it’s hard to know where to start. This struggle often leads to creators defaulting to a still frame from the video as the thumbnail – which rarely stands out unless it’s perfectly framed.
- Tool Barriers (Software Issues): Some folks think you must have Photoshop or expensive software to make good thumbnails. Not true! There are free tools out there (more on that soon). But if you’re not aware of them, you might feel stuck if you can’t afford Adobe Creative Cloud. Even with tools like Photoshop, if you’ve never used them, the learning curve can be steep. On the flip side, easy tools like Canva are great, but if you only use super-popular Canva templates without customization, your thumbnail might end up looking like many others’. It’s a catch-22: no tool = stuck, new tool = overwhelm.
- Maintaining Consistency: Another struggle is keeping a consistent style without being boring. Some creators swing between totally different thumbnail looks for each video (because they’re experimenting or haven’t settled on branding), which can confuse your audience’s visual expectation. Others might stick so rigidly to a template that all thumbnails look identical, which can also be a problem if viewers think they’ve seen it before. Striking that balance is tricky when you’re doing it all yourself.
Do any of those sound familiar? If you’ve felt any of these pain points, just know you’re so not alone. Virtually every YouTuber goes through a learning curve with thumbnails. I did too – I remember early on spending way too long fiddling with fonts and weird color combos, only to end up with something that looked… off.
The good news is there are shortcuts and tools to help with these struggles. You don’t have to reinvent the wheel for each video. In fact, this leads us to a solution many smart creators use: thumbnail templates.
25 Free YouTube Thumbnail Templates to the Rescue!
Here’s the part you’ve been waiting for. 🎉 To make your life easier, I’ve put together a free pack of 25 YouTube Thumbnail Templates that you can download and start using right away. These templates are designed to address the exact struggles we just talked about. You get a head-start on design without needing to stare at a blank screen, and you don’t need pro design skills to make them look awesome.
Why use templates? Because they save you time and effort while still giving you eye-catching results. As one article noted, using simple tools and pre-made thumbnail templates can make design much easier and more effective. You can think of templates as training wheels or a safety net – they ensure you follow good design principles (since the layout/colors/text style are already optimized) and you just plug in your specifics. Even many top YouTubers use templates or have a few go-to thumbnail layouts that they tweak for each video.
What’s Inside the Thumbnail Template Pack?

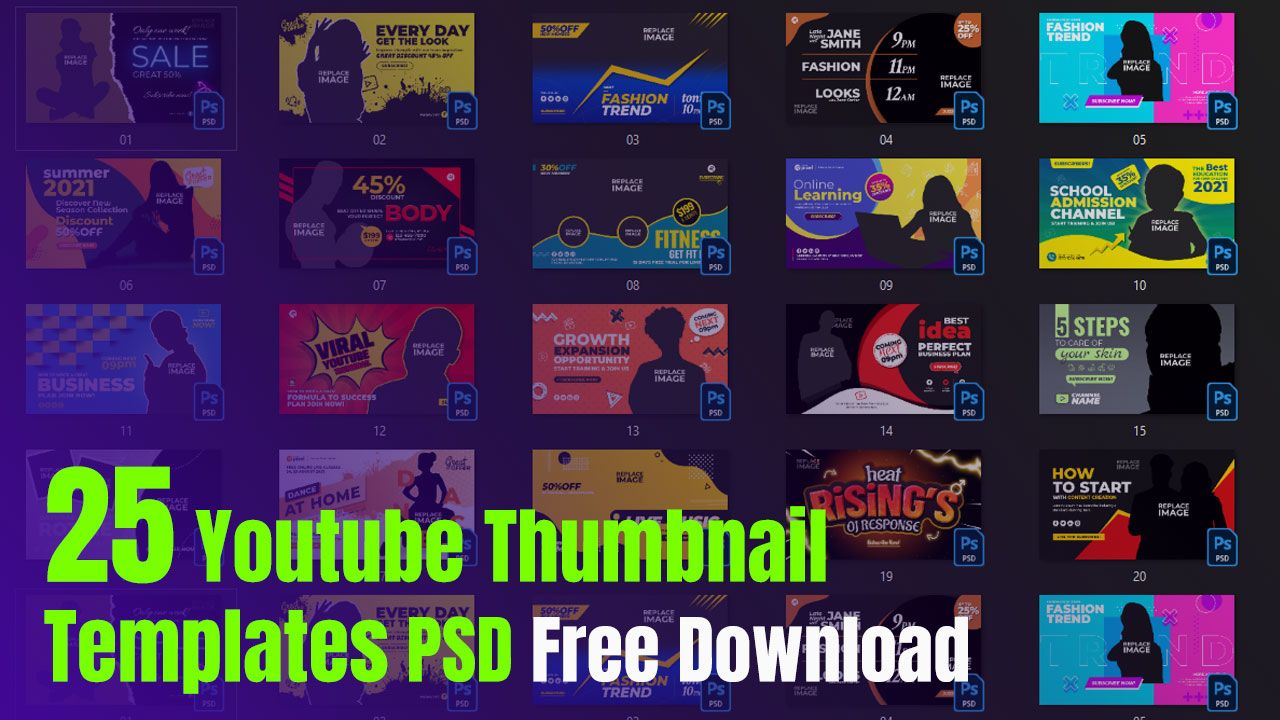
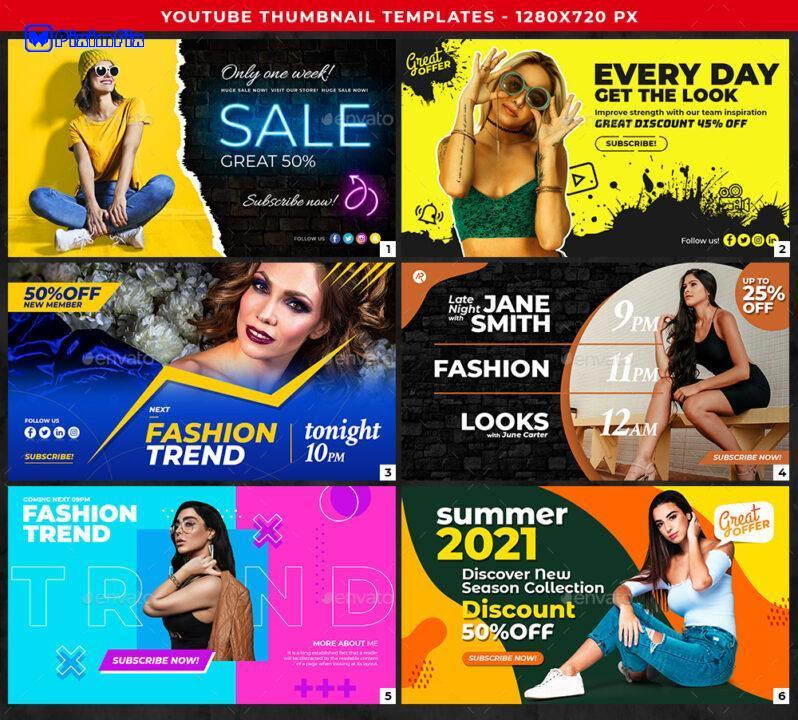
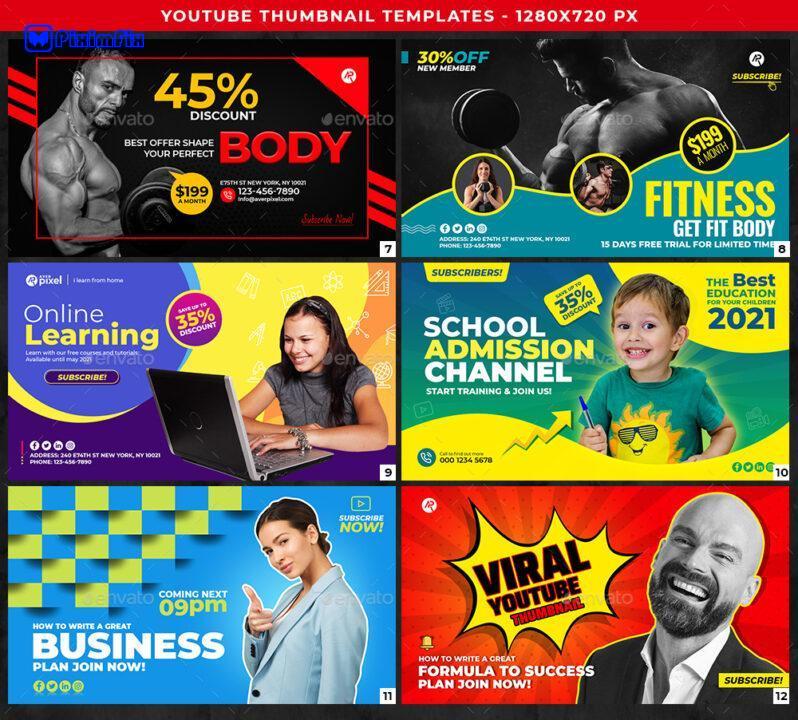
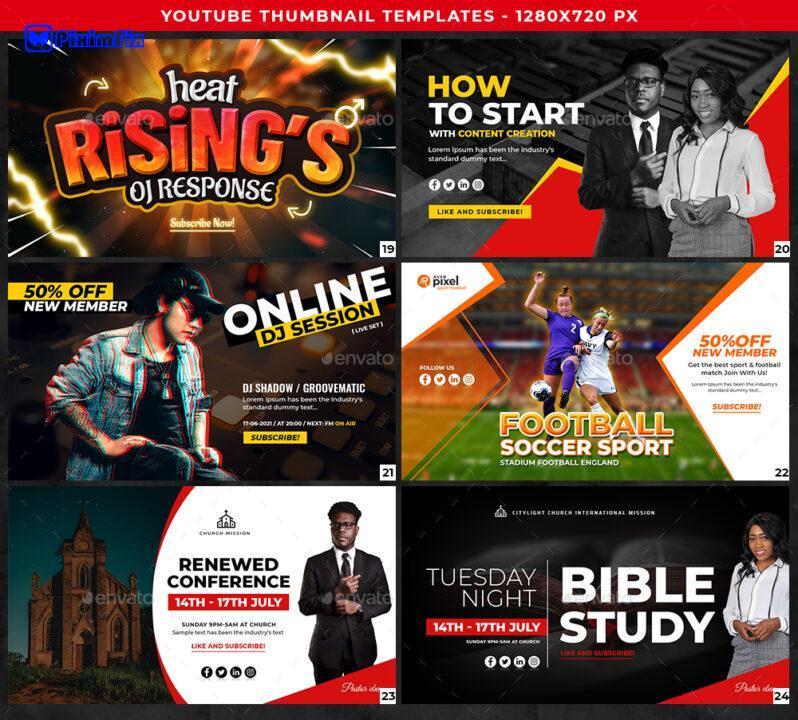
Inside this free pack, you’ll find 25 professionally designed thumbnail layouts that you can customize. Here’s a quick rundown of what you get:
- Variety of Styles & Niches: The templates are diverse, covering different vibes and video types. For example, you’ll find templates suitable for vlogs or lifestyle content (think bright, friendly, with space for a face and a bold title), tech or tutorial videos (clean, modern designs with sleek text), gaming or high-energy content (edgy fonts, dramatic imagery), and more. We tried to include a bit of everything: travel, food, beauty, fitness, business – you name it. No matter your channel’s genre, there’s a thumbnail style here that can work for you.
- Eye-Catching Layouts: Each template is already crafted with best practices – you’ll notice bold text placements, high-contrast color schemes, image placeholders for faces or product shots, etc. They’re designed to stand out in the YouTube feed. You might see, for instance, a template with a dynamic diagonal split (image on one side, text on the other), or a template that puts a big number (for list videos) front and center. All those decisions were made to attract viewer attention.
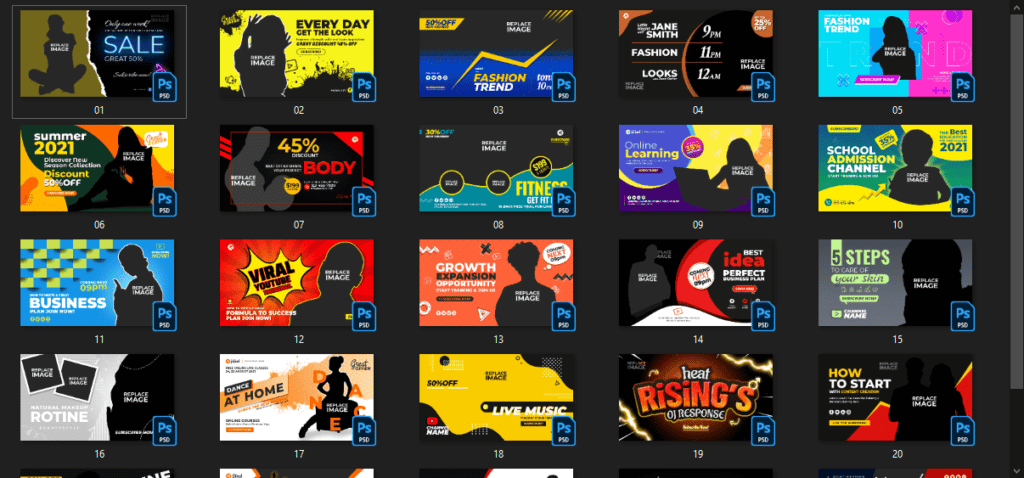
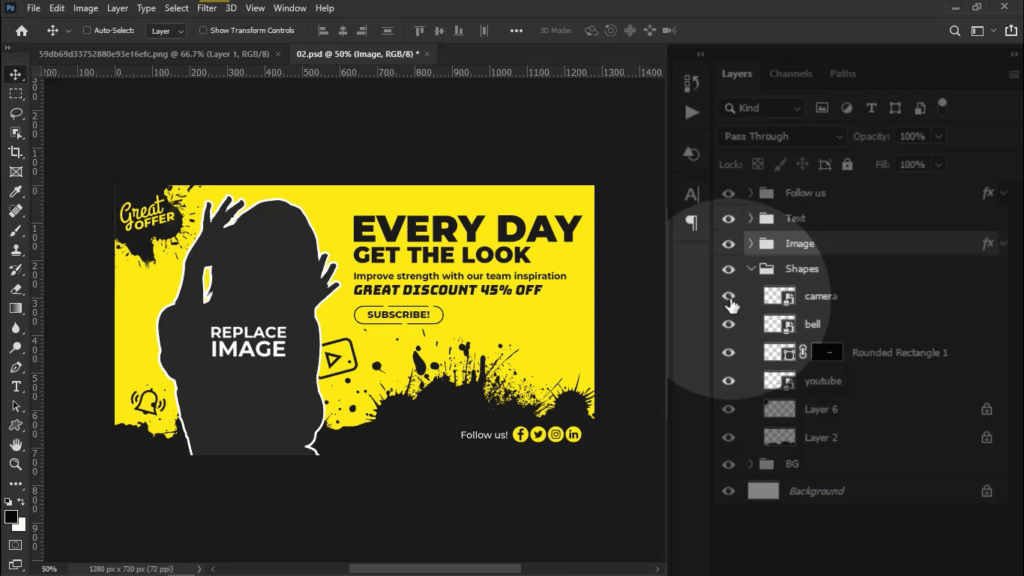
- Fully Customizable Files: You get the templates in formats that are easy to edit. We’ve included PSD files (for Photoshop users and also compatible with Photopea, a free online editor) and PNG/JPG versions for quick edits or use in any editor. Bonus: We also provide a few of the templates in Canva format – so if you love using Canva, you can import these and edit them there with drag-and-drop ease. No matter which software you prefer, you can work with these templates.
- Proper Sizing & Quality: All templates are 1280x720px, the perfect YouTube thumbnail Templates dimensions, so you don’t have to worry about resizing. They’re high-resolution and optimized to look crisp on YouTube. Just remember to export your final thumbnail under 2MB (most of the templates will easily be within that range unless you add tons of stuff).
- Free Fonts & Images: We used free fonts in these designs (Google Fonts and other free license fonts), which means when you edit the text, you can either keep the font (we’ll name the font in the file) or change it to something else you like. Either way, you won’t run into any “font not available” problems. For any image placeholders (like a silhouette of a person or a generic graphic), we made sure they’re either original or free stock images, so you can either use them or replace them with your own images without legal worries.
In short, this pack is a thumbnail toolkit. It’s like having a starting point for 25 different videos. You can use them as-is by just swapping in your content, or you can mix and match elements from multiple templates to create your own hybrid. And yes, you can reuse a template design multiple times – many channels establish a few consistent looks and cycle through them.
How to get it: Just hit the download link below, and the whole pack (in a ZIP file) is yours, gratis. No catches. 👍
📥 Download the 25 Free YouTube Thumbnail Templates Pack
(It’s instant download, no email signup required – though I certainly won’t mind if you subscribe to the blog for more goodies!)
Now that you’ve got the templates, let’s walk through how to actually use and customize them for your videos.
How to Customize Your YouTube Thumbnail Templates (Step-by-Step)
Don’t worry if you’ve never edited images beyond maybe cropping a photo. I promise, using these templates is not rocket science. The whole point is to make this process easy and accessible. You can use a variety of tools to edit the templates – I’ll cover the popular options like Canva, Photoshop, and Photopea (a free Photoshop alternative). Follow these simple steps to get your perfect thumbnail ready:
- Download and Unzip the Pack: First, go ahead and download the template pack from the link (if you haven’t already). It will come as a ZIP file. Unzip/extract it to a folder on your computer. Inside, you’ll see folders for different formats (e.g., “Photoshop_PSD”, “Canva_Templates”, etc.). Choose the format that suits you best.
- Pick a Template That Fits Your Video: Browse through the templates and pick one that matches the vibe of your video. For example, if your video is a travel vlog about a beach trip, you might choose a template that has a big scenic photo placeholder and bold text. If it’s a tech tutorial, maybe pick a cleaner template with a title bar. Don’t overthink it – you can always change elements, but starting with a fitting style helps. (Each template file might have a name or thumbnail image so you can preview how it looks.)
- Open the Template in Your Editing Tool:
- Canva: If you’re using the Canva version, click the Canva template link or file (it might be provided as a special link you open in your browser). It will open in Canva and usually prompt you to “Use template”. Click that, and it will create an editable design in your Canva account. Now you can edit text, colors, images, etc. right in Canva’s interface (no installs needed).
- Adobe Photoshop: If you have Photoshop, open the
.psdfile of the template. Everything will be nicely layered for you (text layers, image layers, shapes, etc.). - Photopea (Free, no install): If you don’t have Photoshop, Photopea is a fantastic free alternative. Go to Photopea.com, then click File > Open and choose the template
.psdfile. Photopea can handle the Photoshop file in your browser and the interface is very similar to Photoshop. This way, you get the power of Photoshop editing for free! - Other Editors: You can also use other image editors that support layers (like GIMP, or even Pixlr). But Canva/Photopea are the easiest free routes in my opinion.
- Canva: If you’re using the Canva version, click the Canva template link or file (it might be provided as a special link you open in your browser). It will open in Canva and usually prompt you to “Use template”. Click that, and it will create an editable design in your Canva account. Now you can edit text, colors, images, etc. right in Canva’s interface (no installs needed).
- Swap in Your Own Text: Double-click or select the text on the template to edit it. The templates have placeholder words (like “Your Title Here” or some catchy phrase). Replace that with your video’s keyword or a short phrase that complements your title. For example, if your video title is “10 Best Italian Pasta Recipes”, your thumbnail text could be “Top 10 Pasta!” or “Italian Pasta Secrets”. Keep it punchy. Ensure the font size and style is still looking good – adjust if needed. All templates use free fonts, so if you’re in Photoshop/Photopea and you don’t have the font installed, the file should include it or default to a similar one. In Canva, the font will be there in the design itself.
- Insert Your Image(s): Now make the thumbnail truly yours by adding your images:
- If the template has a placeholder image (like a gray box or a sample image), you can click that layer. In Photoshop/Photopea, either drag and drop your image into the file (it will usually create a new layer) and position it under/over the right layer as needed, or right-click the placeholder layer and choose Replace Contents (if it’s a smart object). In Canva, use the Uploads section to upload your photo or screenshot, then drag it onto the existing image in the template – Canva will replace it maintaining the sizing.
- Use a high-quality image from your video or related to your video topic. You might use a frame from your video (most editors let you export a frame, or take a screenshot) – just make sure it’s not blurry. Or take a separate photo if needed (like a reaction face or a product shot). For example, for a travel video, you might drop in a beautiful photo of the location; for a tutorial, maybe an image of the final product or a relevant graphic.
- Position and crop the image appropriately. You can move it around, zoom in/out (scale it) until the important part of the image is well-framed in the thumbnail. All our templates are already the correct size, so you’re just adjusting the content within that frame.
- If the template has a placeholder image (like a gray box or a sample image), you can click that layer. In Photoshop/Photopea, either drag and drop your image into the file (it will usually create a new layer) and position it under/over the right layer as needed, or right-click the placeholder layer and choose Replace Contents (if it’s a smart object). In Canva, use the Uploads section to upload your photo or screenshot, then drag it onto the existing image in the template – Canva will replace it maintaining the sizing.
- Tweak Colors or Graphics (Optional): The template’s colors (background, shapes, text color) are all editable. Feel free to change them to match your branding or just to something you prefer. For instance, if a template has a bright pink background but your channel’s theme color is blue, you can absolutely change that shape’s color to blue. In Photoshop/Photopea, select the shape layer and pick a new color. In Canva, click the element and use the color picker. The same goes for text color. The templates use color intentionally (high contrast, etc.), so keep contrast in mind if you deviate from the original scheme. But a little personalization can go a long way to make it feel yours.
- Add Any Extra Flair: This is optional, but you might want to add a small branding element like your logo or a tiny watermark. Many creators put a small logo at a corner of the thumbnail. You can drag in an image of your logo and place it subtly (make sure it’s not distracting from the main content though). Or add an icon if it suits the content (like a small YouTube play icon, or a themed emoji – e.g., a travel icon for travel video, etc.). Just don’t overload it. The templates are a solid base, so you usually don’t need to add much.
- Preview at Thumbnail Size: Here’s a pro tip: zoom out or preview your design at roughly the size it will appear on YouTube. This means making it pretty small on your screen (like 10% zoom or so in Photoshop, or use Canva’s preview). This way, you can check readability and clarity. Can you read the text when it’s tiny? Does the main subject still stand out? This step helps you catch issues like text being too small or an image not being recognizable when scaled down. If something’s off, go back and adjust (bump the font size up, increase contrast, etc., as needed).
- Save and Export: Once you’re happy with how it looks, it’s time to save the final image. In Canva, click Download (top right) and choose PNG (recommended for quality) or JPG. In Photoshop/Photopea, go to File > Export as > JPG or PNG. Make sure the exported file is under 2 MB (if you’re using dimensions 1280×720 and a reasonable quality setting, it should be well under that). JPG is usually fine for thumbnails and keeps file size low; PNG can be a bit higher quality (lossless) but might result in a larger file – either is accepted by YouTube. Name the file something relevant so you can find it, like “myvideo-thumbnail.jpg”.
- Upload to YouTube: Now go to your YouTube Studio and upload this custom thumbnail to your video! If you’re uploading a new video, you’ll see an option to upload a thumbnail in the details step. If the video is already up, you can edit the video in YouTube Studio and change the thumbnail. Note: If you’re a brand new YouTuber, YouTube might require you to verify your account by phone to enable custom thumbnail uploads – it’s a quick process in your account settings. Once verified, you can use custom thumbnails freely.
Boom – you just created a pro-looking thumbnail! 🚀 Using a template significantly cuts down the time and guesswork, doesn’t it? You can repeat this process for each video. Over time, you might favor a few templates or refine them to develop your signature style.
One more tip: Pay attention to your analytics after you change/use thumbnails. Did the CTR improve? Which thumbnails seem to perform best? This can guide which templates or designs to use more often. Some creators even A/B test thumbnails (upload one, check performance, try an alternate) to really optimize – but that’s a more advanced topic for another day.
By now, you should be feeling pretty empowered to create click-worthy thumbnails. Below, I’ve also answered some common questions about YouTube thumbnails that you might be curious about.
YouTube Thumbnail FAQ (Frequently Asked Questions)
Q1: What is the ideal size and format for a YouTube thumbnail?
A: The best size for a YouTube thumbnail is 1280 pixels x 720 pixels with a 16:9 aspect ratio. This is the standard for all YouTube thumbnails and ensures your image looks crisp on any device. In terms of format, YouTube accepts JPEG, PNG, or GIF (static GIF, not animated) formats. JPEGs are common due to good quality with smaller file size. PNG can be higher quality (less compression), which is great if your thumbnail has text or graphics, but the file size might be larger.
Keep the file under 2 MB in size (that’s YouTube’s limit for uploads). Also, use a 16:9 ratio so that it displays properly without cropping. All the templates in our free pack are already in the ideal size and ratio, so you can export and upload without worry.
Q2: How do I add or change a custom thumbnail on my YouTube video?
A: You can upload a custom thumbnail during or after the video upload process on YouTube. If you’re uploading a new video via YouTube Studio, after you fill in details like title and description, you’ll see a section to upload a thumbnail – click that and select your image file.
If your video is already uploaded and you want to change or add a thumbnail, go to YouTube Studio > Content, click on the video you want to edit, and in the details, you’ll find the thumbnail section where you can upload a new image or choose one of the auto-generated ones (always go custom if you can!).
Important: If you don’t see the option to upload a thumbnail, it might be because your channel isn’t verified yet for custom thumbnails. New channels need to verify their account (a simple step: YouTube will ask for a phone number to send a code) – after that, you’ll have the ability to add custom thumbnails. It’s a one-time verification and totally worth it, since custom thumbnails are crucial.
Q3: Do good thumbnails really make a difference in views?
A: Absolutely, yes! A good thumbnail can have a dramatic impact on your video’s performance. As we discussed earlier, thumbnails are closely tied to CTR (click-through rate). If your thumbnail catches people’s attention and makes them curious, more people will click to watch. More clicks = more views, and also a positive signal to the YouTube algorithm that can lead to your video being suggested more often. There’s a reason why 90% of the top videos have custom thumbnails – it’s a best practice for success. Even the best content can underperform if the thumbnail doesn’t draw people in.
Think of your thumbnail as the cover of a book or the movie poster for your video – it sets the expectation and hooks the viewer. On the flip side, a misleading thumbnail might get you a quick click, but if viewers feel tricked (say, they clicked thinking your video was about one thing and it isn’t), they’ll drop off and possibly give negative feedback. So a good thumbnail isn’t just clickbait; it’s enticing while still relevant to the content. When you upgrade a mediocre thumbnail to a great one, you’ll often see a noticeable uptick in your view count over time. It really does matter.
Q4: What if I don’t have Photoshop? Can I still make awesome thumbnails for free?
A: Definitely! You do not need Photoshop to create awesome thumbnails (though Photoshop is great if you have it). There are plenty of free and easy tools:
- Canva: A popular online design tool that’s very user-friendly. It has drag-and-drop functionality and lots of free elements. You can use our Canva templates included in the pack or start from Canva’s own thumbnail templates and modify. Canva is great for beginners.
- Photopea: This is a free web-based tool that mimics Photoshop. You can open PSD files (like those in our pack) directly in your browser and edit layers just like in Photoshop. It’s perfect if you want that Photoshop power without buying software.
- Other Tools: There’s also GIMP (a free open-source image editor), which is powerful but has a steeper learning curve. Mobile apps like Pixlr, PicsArt, or even the YouTube Studio app’s thumbnail editor can be used in a pinch, though they might be less flexible.
- PowerPoint or Google Slides: Believe it or not, some people even use presentation software to design thumbnails by arranging text and images, then exporting as an image. Use whatever you’re comfortable with!
The key is following the design principles we went over. Our free templates give you a huge head start, and they’re compatible with free tools. For instance, open a template in Photopea or import it into Canva, and you’re off to the races. So, no Photoshop? No problem!
Q5: Are there any rules or guidelines from YouTube about thumbnails I should know?
A: Yes, YouTube has some policies for thumbnails. The main things to keep in mind are:
- Community Guidelines: Thumbnails must follow YouTube’s community guidelines. That means no explicit nudity/pornography, no hate symbols, no extreme gore/violence, or other prohibited content in the thumbnail. Even if your video content is fine, an inappropriate thumbnail can get flagged or removed.
- No Misleading Content: While YouTube might not explicitly ban all clickbait, they do discourage misleading thumbnails. If you use a thumbnail that has nothing to do with the video just to trick people into clicking, your video could get penalized (and viewers might report it). Repeated offenses could lead to strikes. It’s best to avoid deceitful tactics.
- Readable Text & No Spammy Images: This is more of a best practice than a strict rule, but YouTube suggests using high-quality images that are easy to see, even at small sizes. If you upload a thumbnail that is very low-quality or just spammy (like stuffing a bunch of text or flashy arrows all over), it might not perform well and could be flagged by users. Always aim for clear, visually appealing thumbnails.
- Avoid Embedding Important Info in Bottom Right: Tiny tip – YouTube overlays the video duration timestamp on the bottom right corner of thumbnails. So don’t put any critical text or logos in that exact spot, or it’ll be covered. Keep important elements toward the center or left side as much as possible (our templates consider this safe zone).
In short, use common sense and keep your thumbnails clean and relevant. If you wouldn’t put it on a poster in public, it probably doesn’t belong in a thumbnail. Stick to enticing but honest visuals, and you’ll be fine.
Happy thumbnail designing! By now, you should have a solid grasp on why thumbnails matter, how to make them great, and you have 25 free templates at your disposal to jumpstart your creativity. No more staring at a blank canvas, and no more settling for whatever random frame YouTube picks as your thumbnail. You’ve got the tools to create thumbnails that demand to be clicked.
Remember, improving your thumbnails is one of the quickest wins for boosting your channel’s performance. It’s relatively easy and fun to do (especially with templates), and the payoff can be huge in terms of views and growth. Plus, as you keep using and tweaking templates, you’ll naturally get better at design. Soon, you’ll develop a style that viewers recognize instantly.
Go ahead – give the templates a try on your next video. Experiment, customize, and watch those view counts climb! And if you found this pack and guide helpful, I’d love to hear about your success. Feel free to drop a comment or share a link to a video where you used one of the templates. I’m excited to see your awesome thumbnails in the wild.
Lastly, if you want to continue leveling up your YouTube game, don’t forget to explore our other resources on the blog (like the ones on growing your YouTube channel and optimizing video SEO I mentioned). Thumbnails are just one piece of the puzzle, but now you’ve got that piece mastered.
Now go forth and create some click-worthy thumbnails – and enjoy that surge in views! 🚀
A sharp, creative and professional package of Youtube thumbnail templates for any type of Youtube channel that will perfectly suit your business company or personal Youtube channel.
25 fantastic quality creative Youtube thumbnail templates, the profile is suitable for companies or personal channels in the following industries: (25 designs, 1280 × 720px each) Youtube thumbnail templates, post, business, services, products, fashion sales, marketing, multipurpose campaigns.
Each PSD file is layered and fully organized. The package also contains a help file and editable PSDs.