• Home
  • Tutorials
  • Contact
  • About
Menu
  • Home
  • Tutorials
  • Contact
  • About
  • Home
  • Tutorials
  • Contact
  • About
Menu
  • Home
  • Tutorials
  • Contact
  • About

republic day photo manipulation In Photoshop 2021

republic day photoshop edit

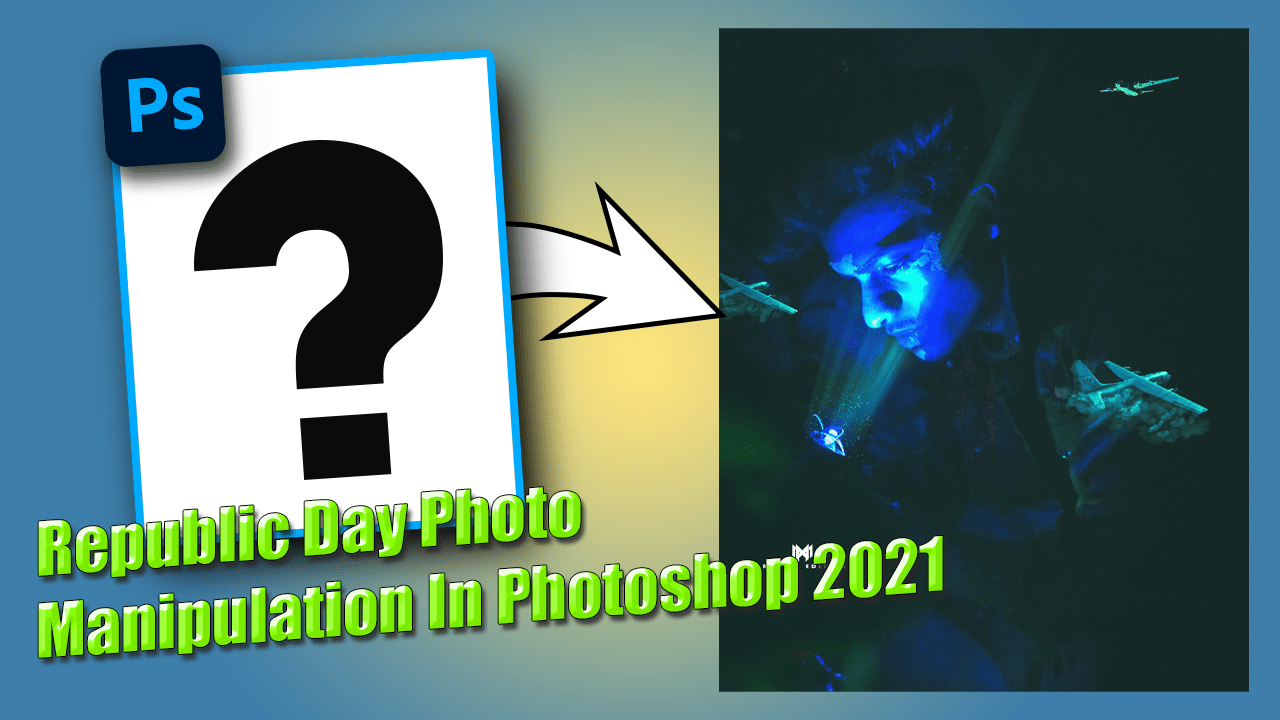
Today I will show you how to create this interesting republic day photo manipulation. and don’t worry about the stock images, and brushes, it’s all down there you can easily download them


so lets start

Screenshot 260

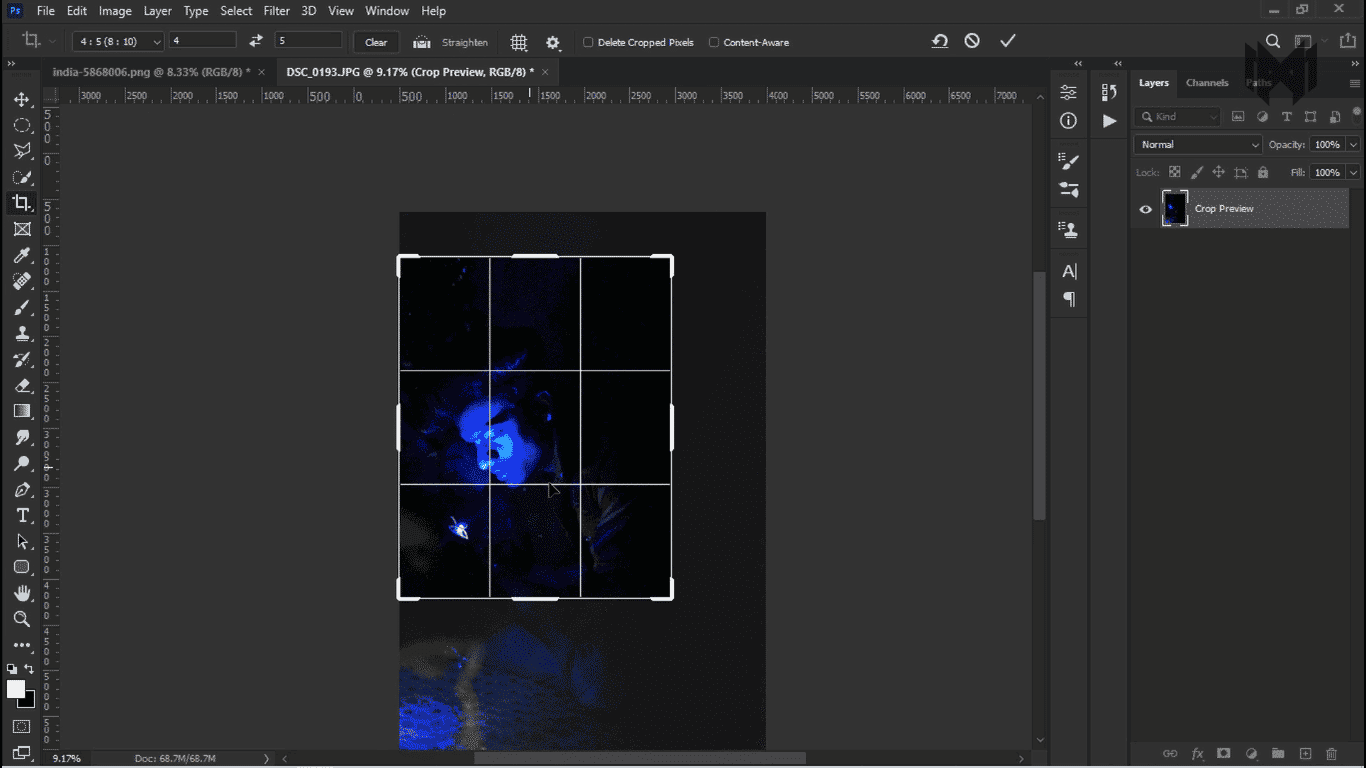
first i want to crop the image little bit because i want to upload this image into my instagram feed,

Screenshot_20210125-194337
Screenshot_20210125-194358
Screenshot_20210125-194421
Screenshot_20210125-194414
Screenshot_20210125-194427
Screenshot_20210125-194435
Previous
Next

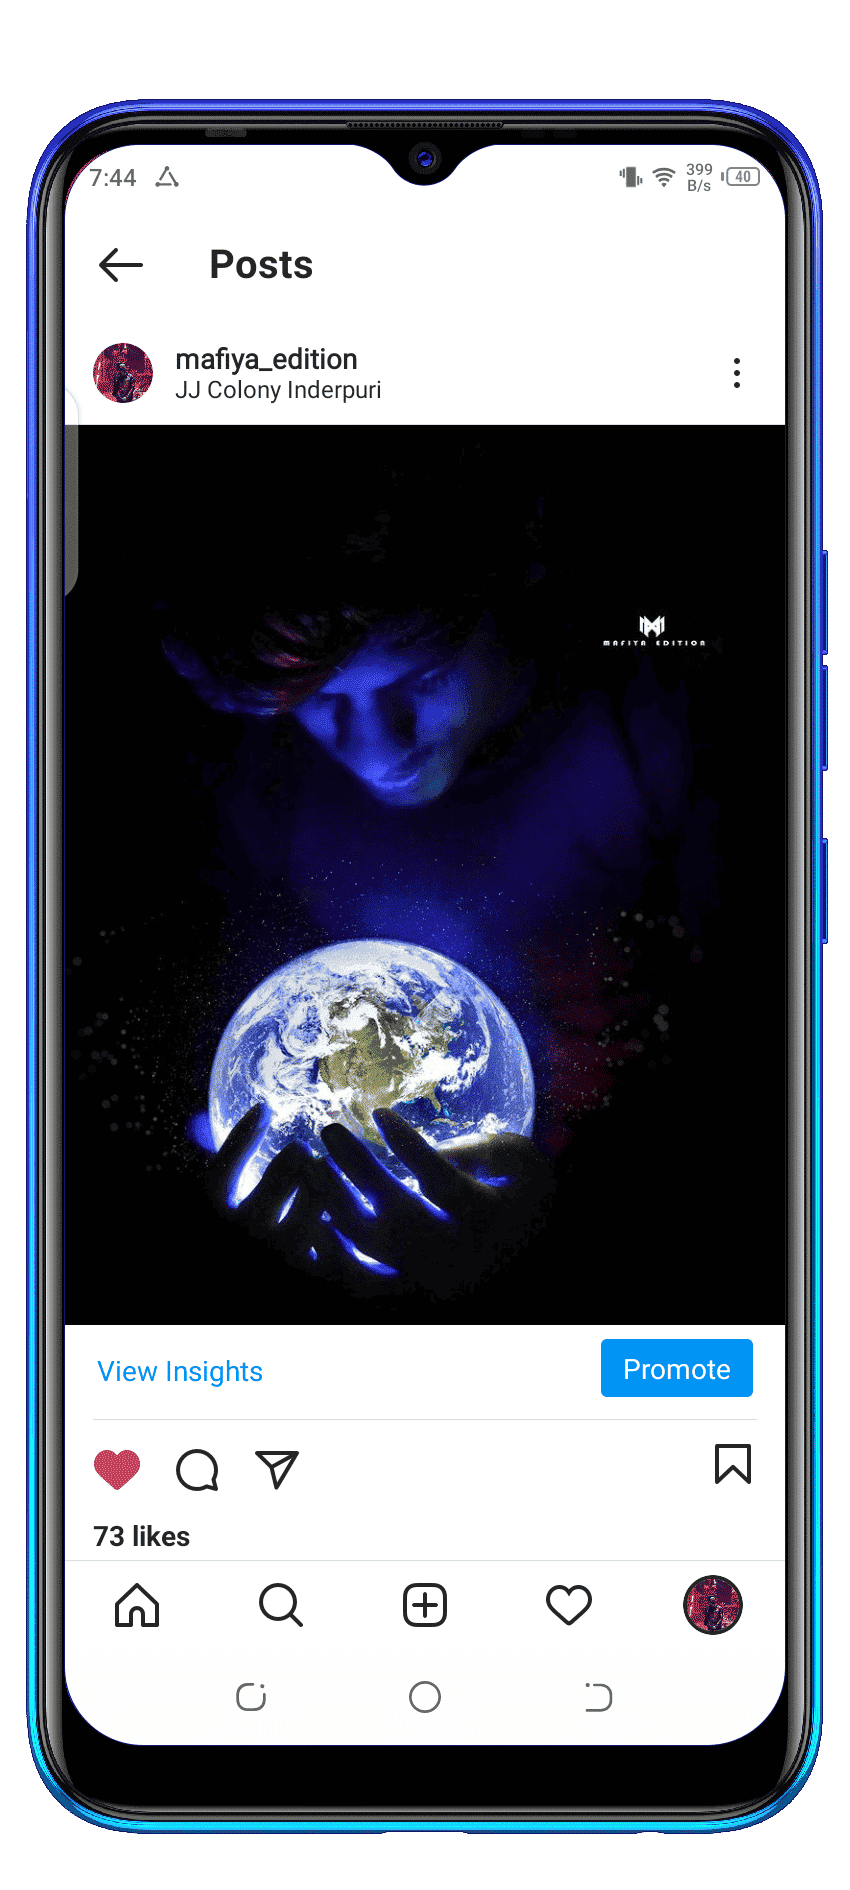
And if you have not yet followed me on Instagram then @mafiya_edition there its my Instagram handle you can follow me on Instagram for more amazing stuff like that. 

remove blemishes

Screenshot (262)
Screenshot (263)
Screenshot (264)
Previous
Next

Now we have to remove all the blemishes from the face, there are many ways to remove the blemishes. And today I am going to show you one of those ways
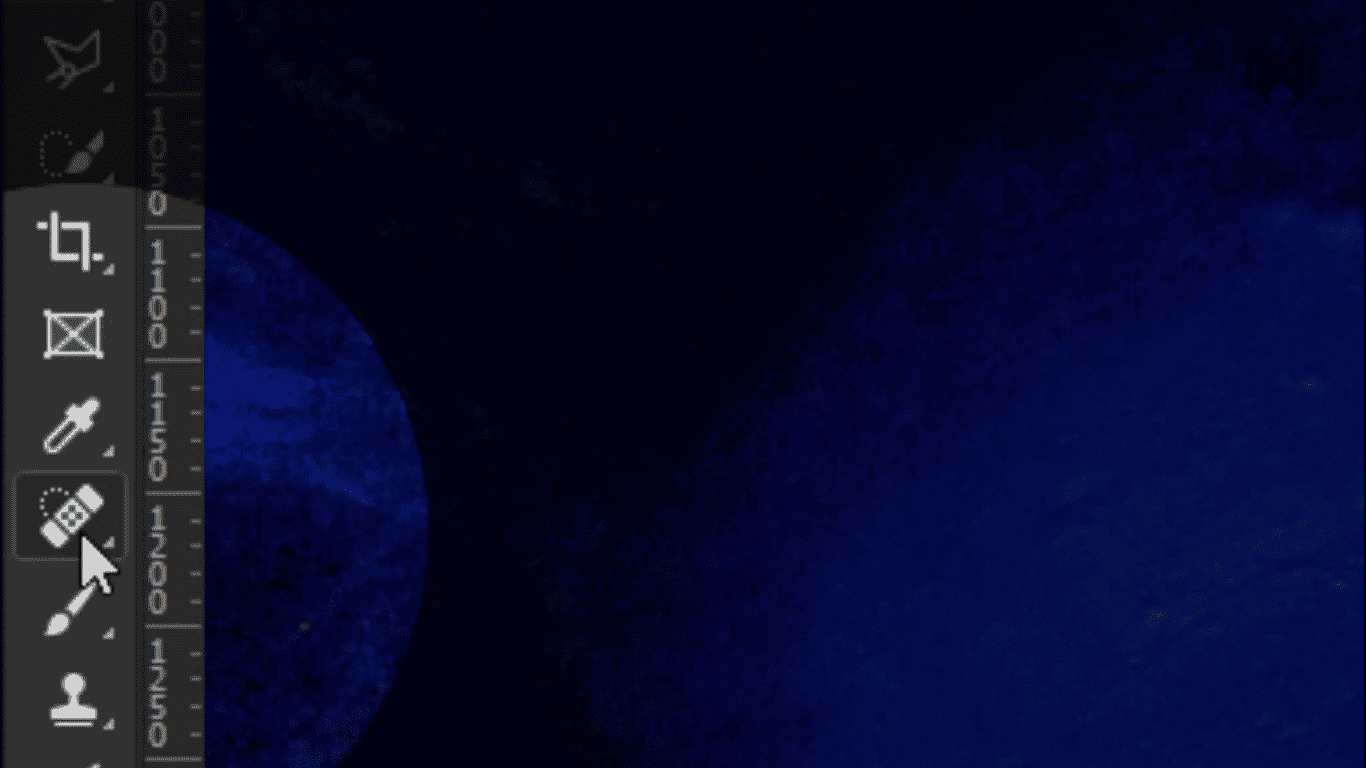
  • take a new layer
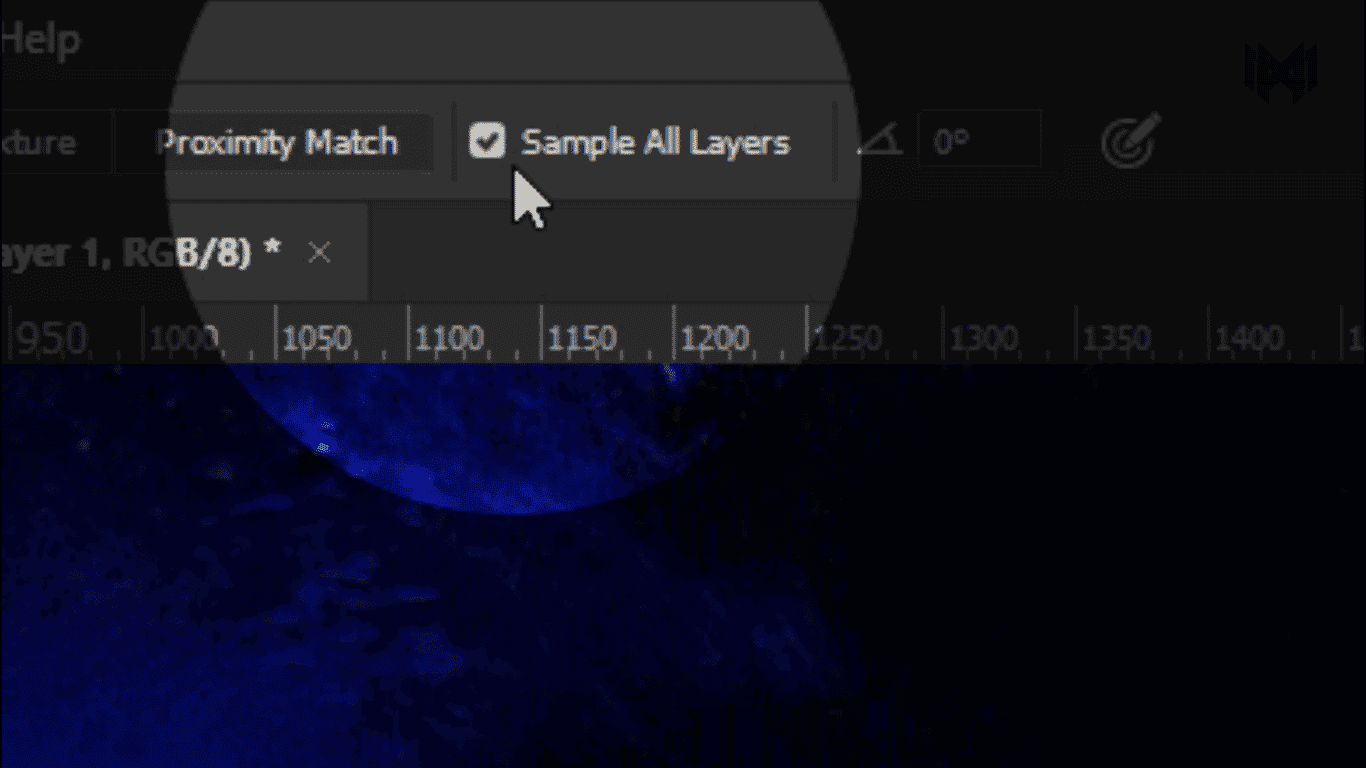
  • and select spot healing brush tool
  • and make sure sample all layers is checked
Screenshot (265)
Screenshot (266)
Screenshot (267)
Previous
Next

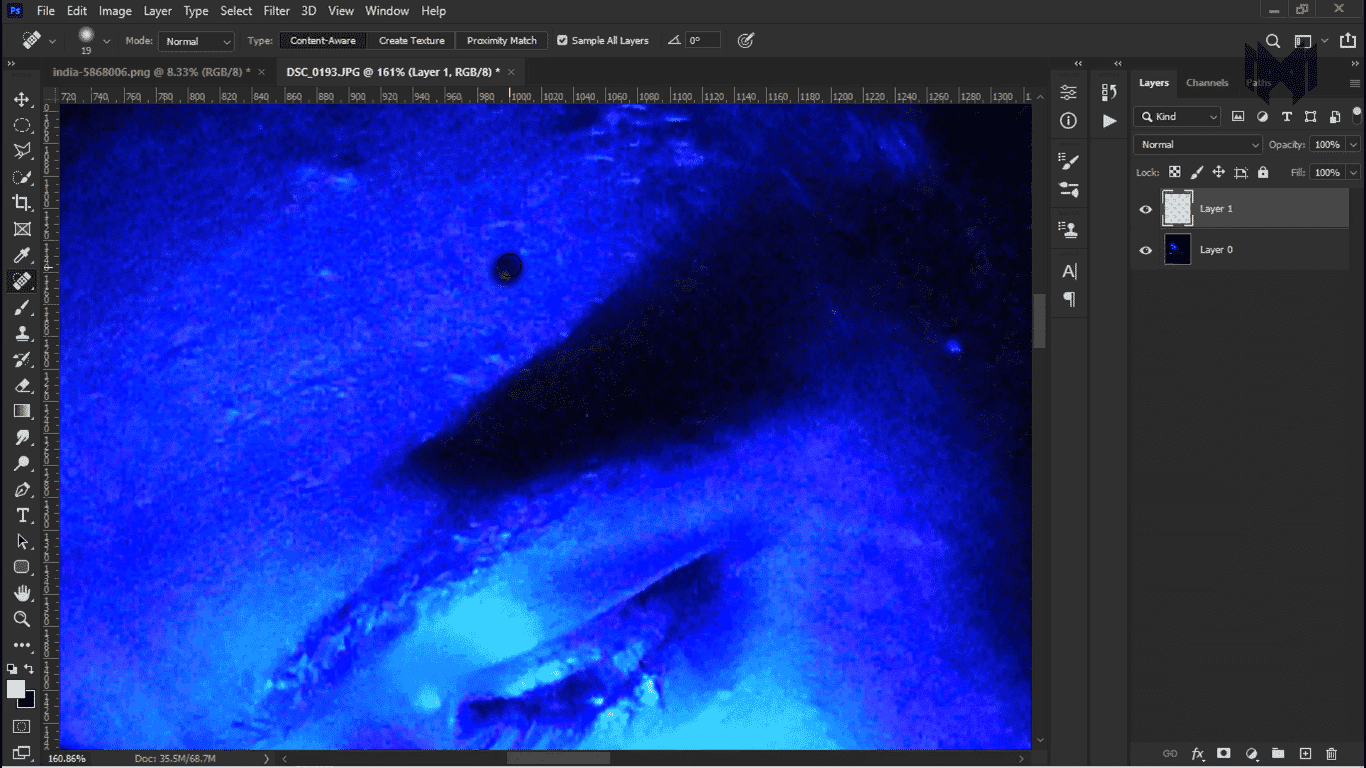
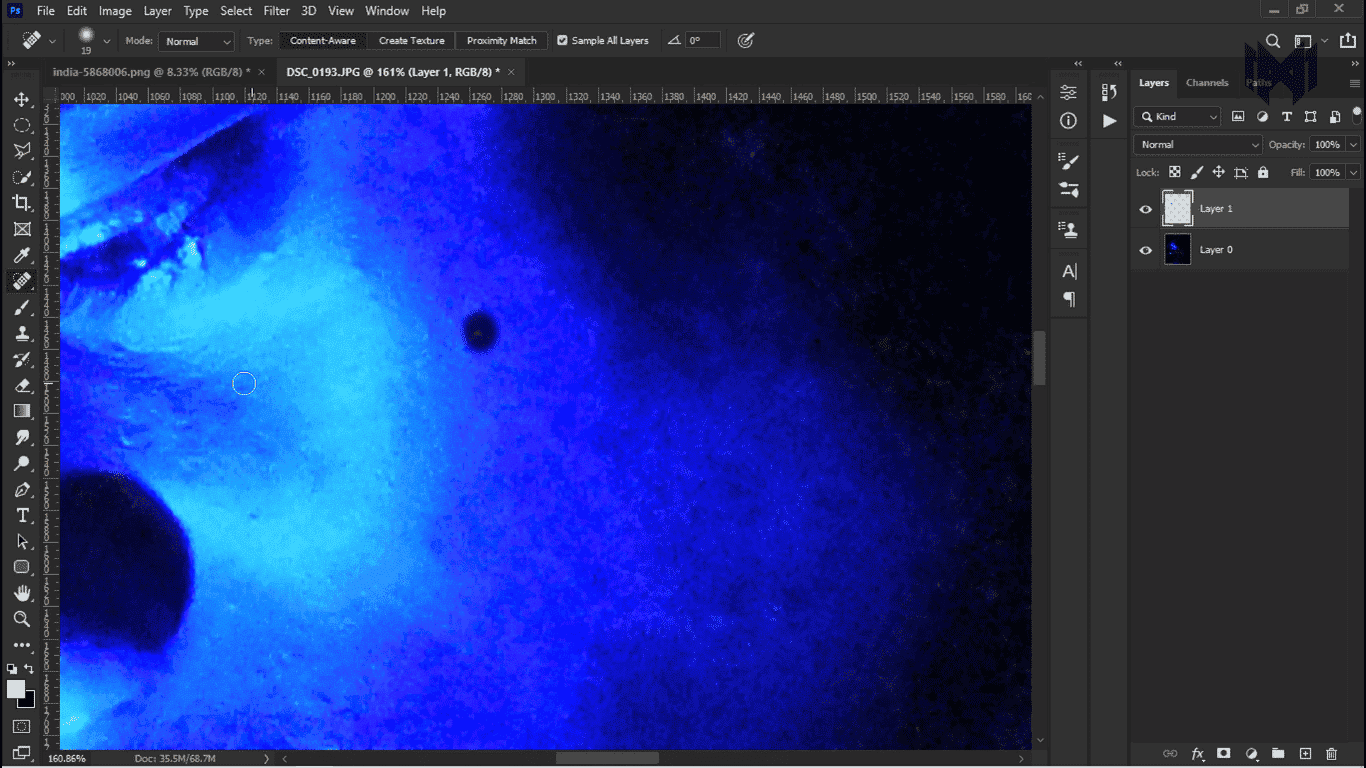
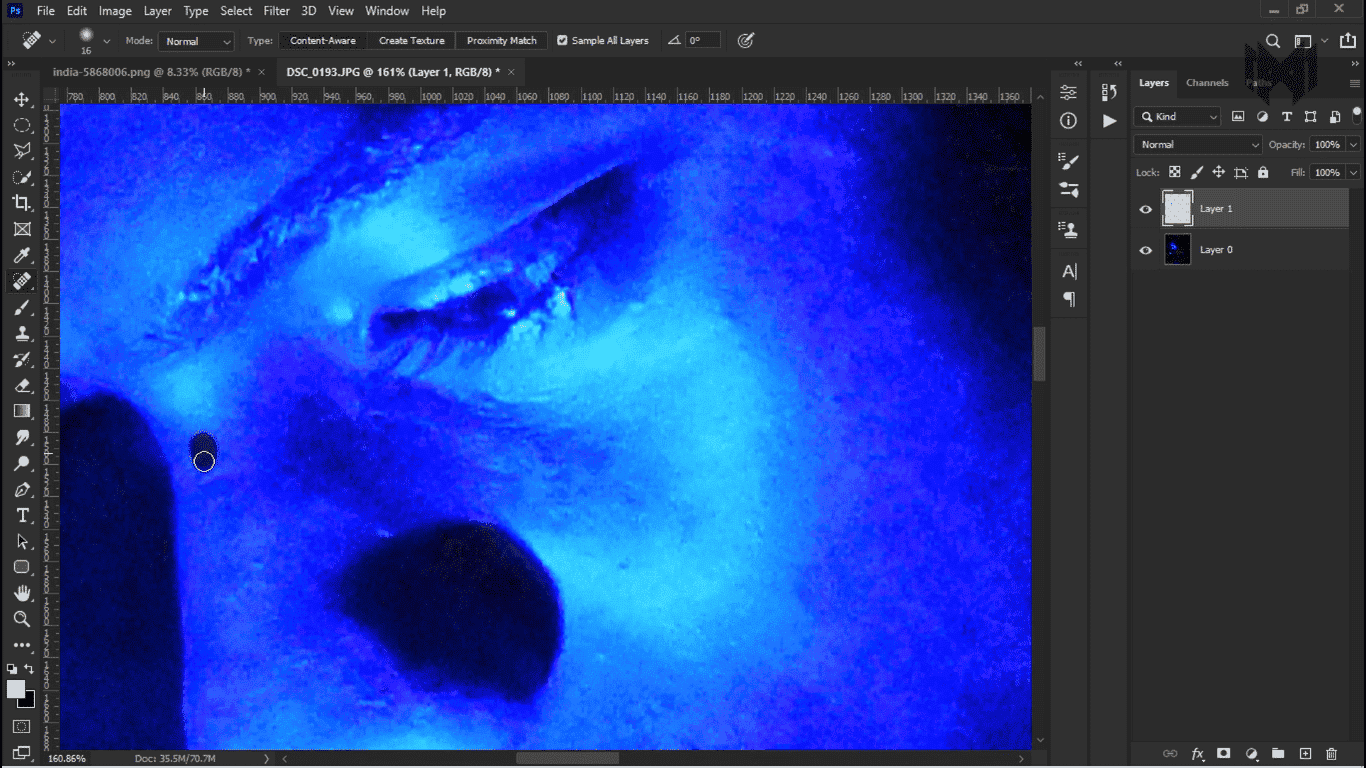
now just paint on the blemishes, just like that

Screenshot (268)
Screenshot (269)
Previous
Next
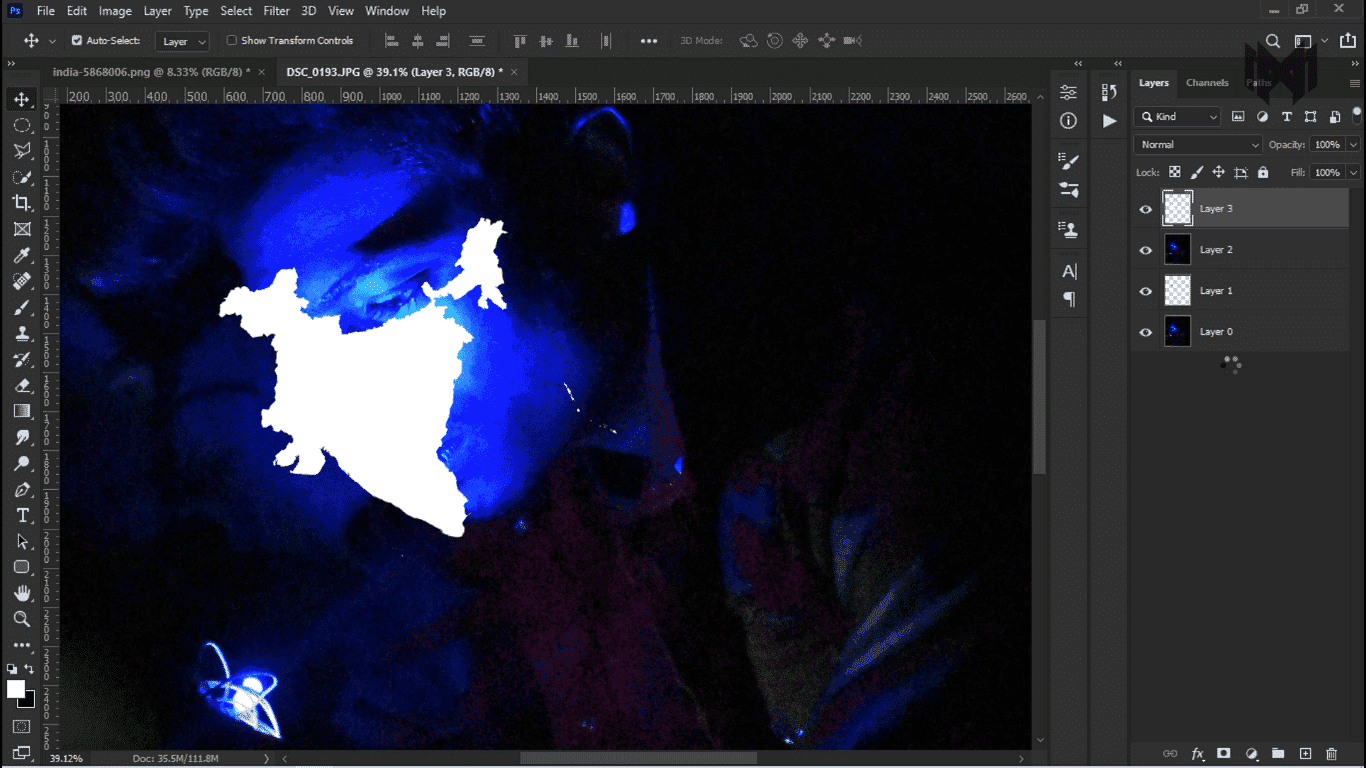
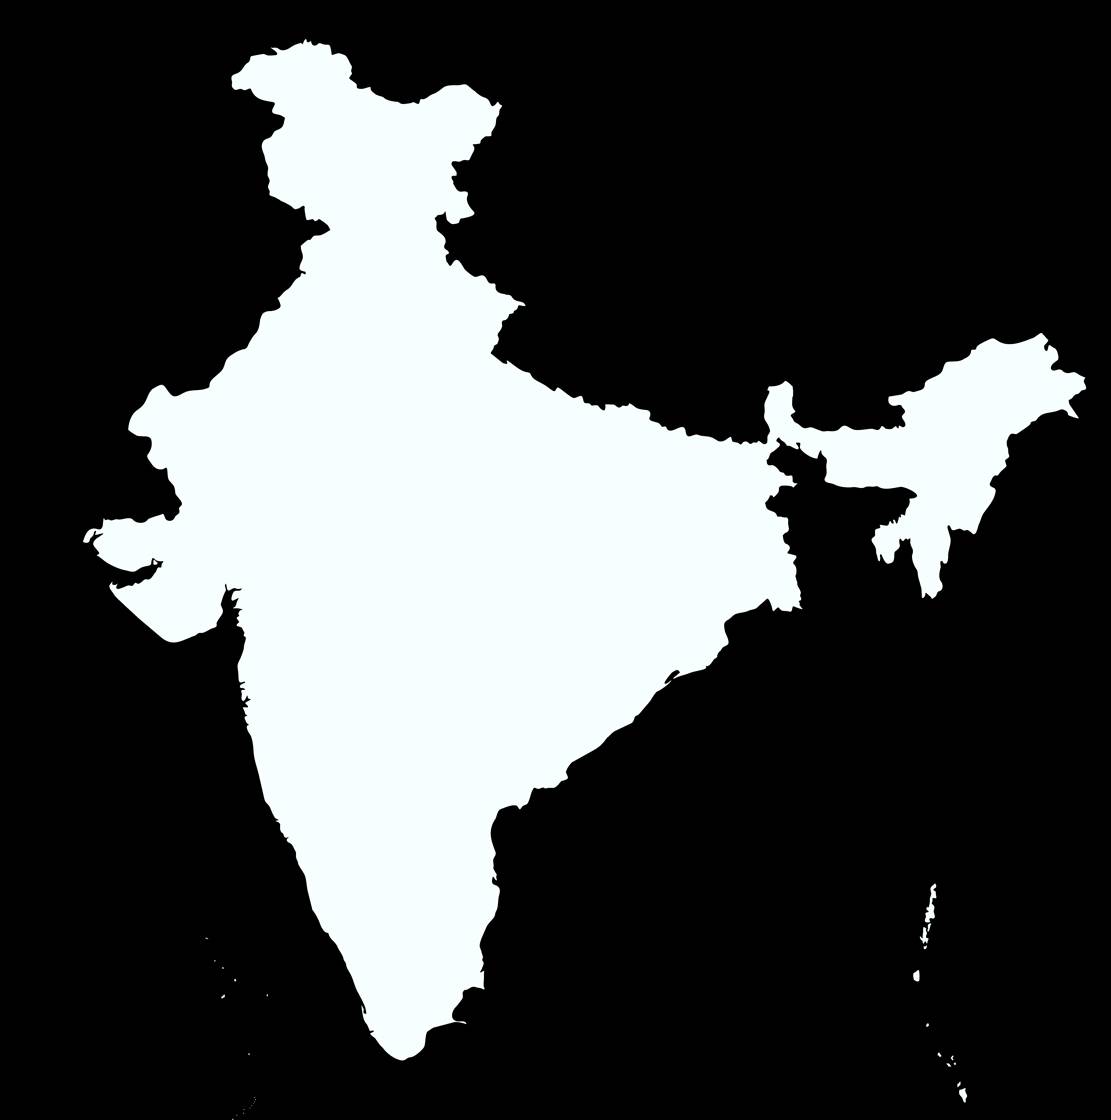
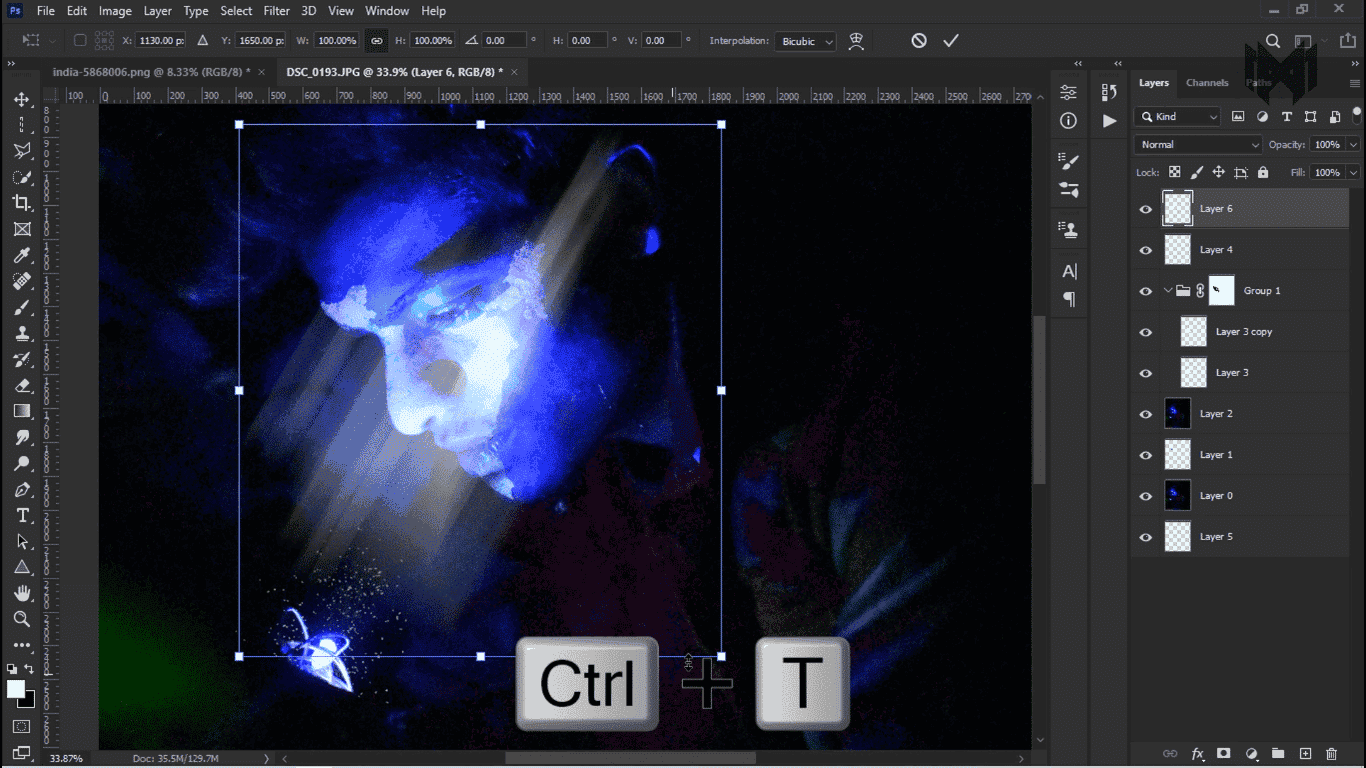
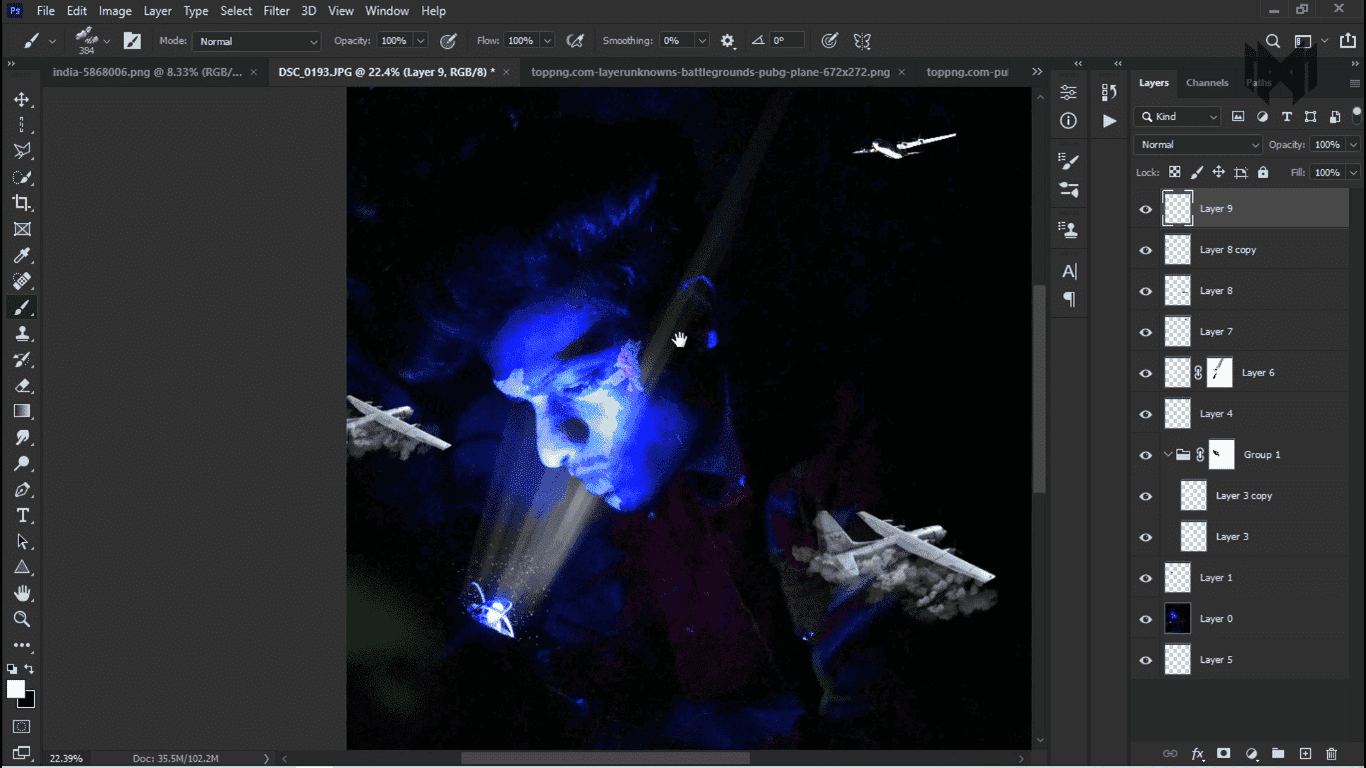
  • then i added this png into the face,
  • press control + T for transform the png, and adjust it according to you

and don’t worry about the assets You can download all the stock images & brushes to make this concept 

india-map
Screenshot (270)
Screenshot (271)
Previous
Next

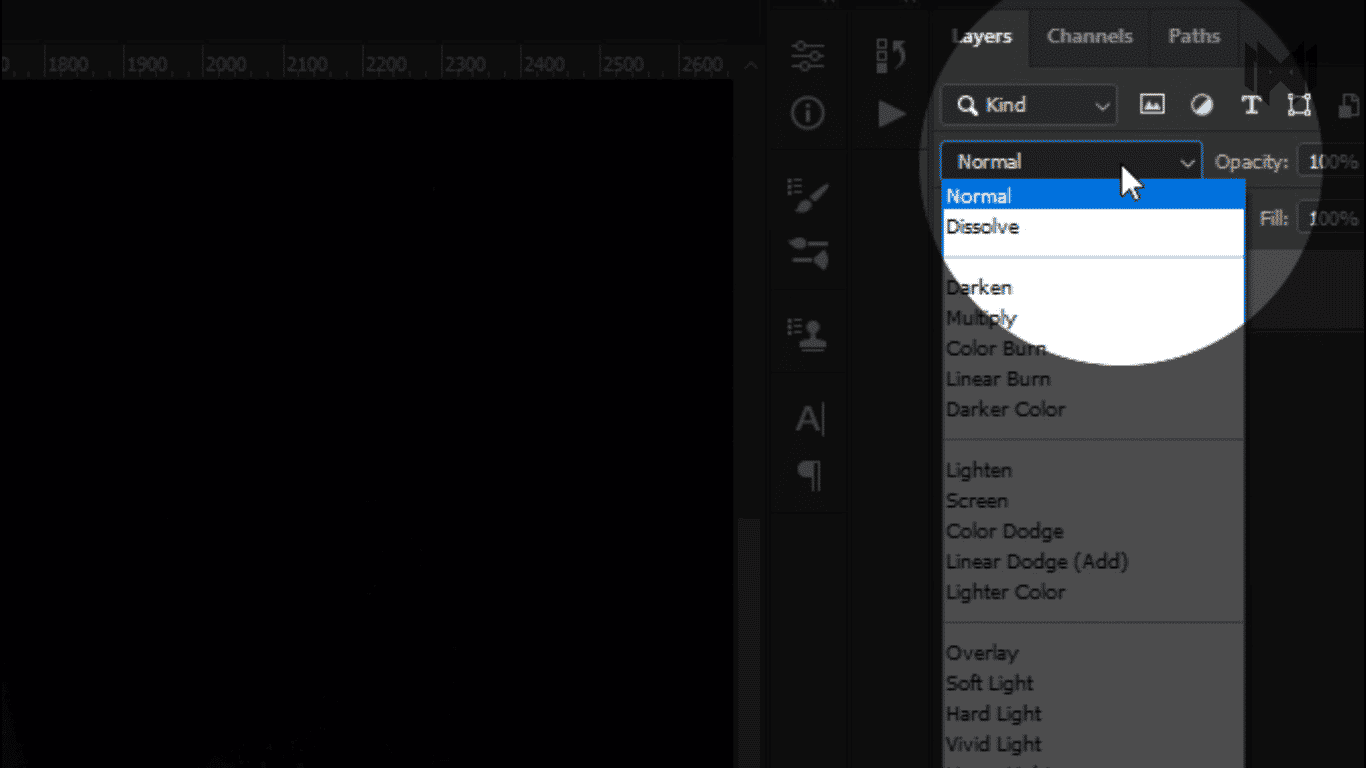
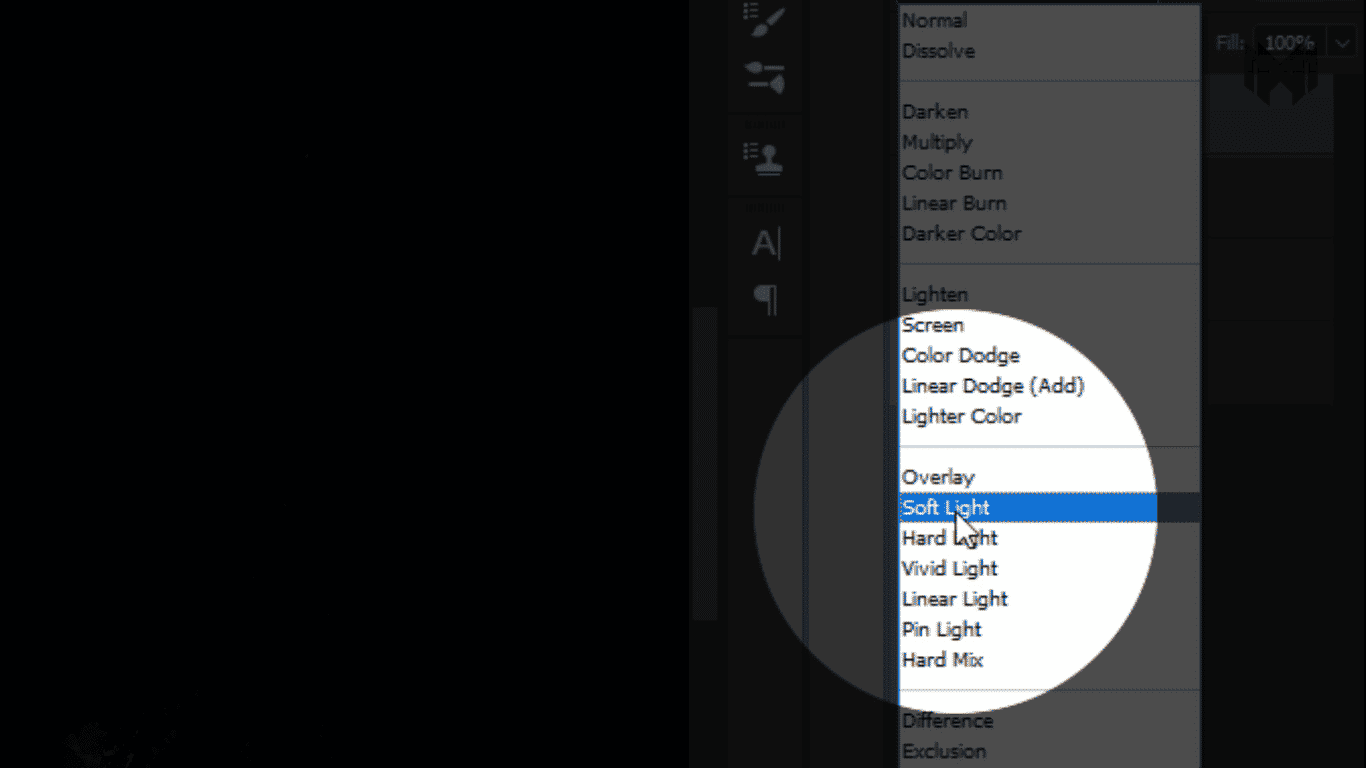
and I change the blend mode  normal to soft light,

Screenshot (272)
Screenshot (273)
Screenshot (274)
Previous
Next
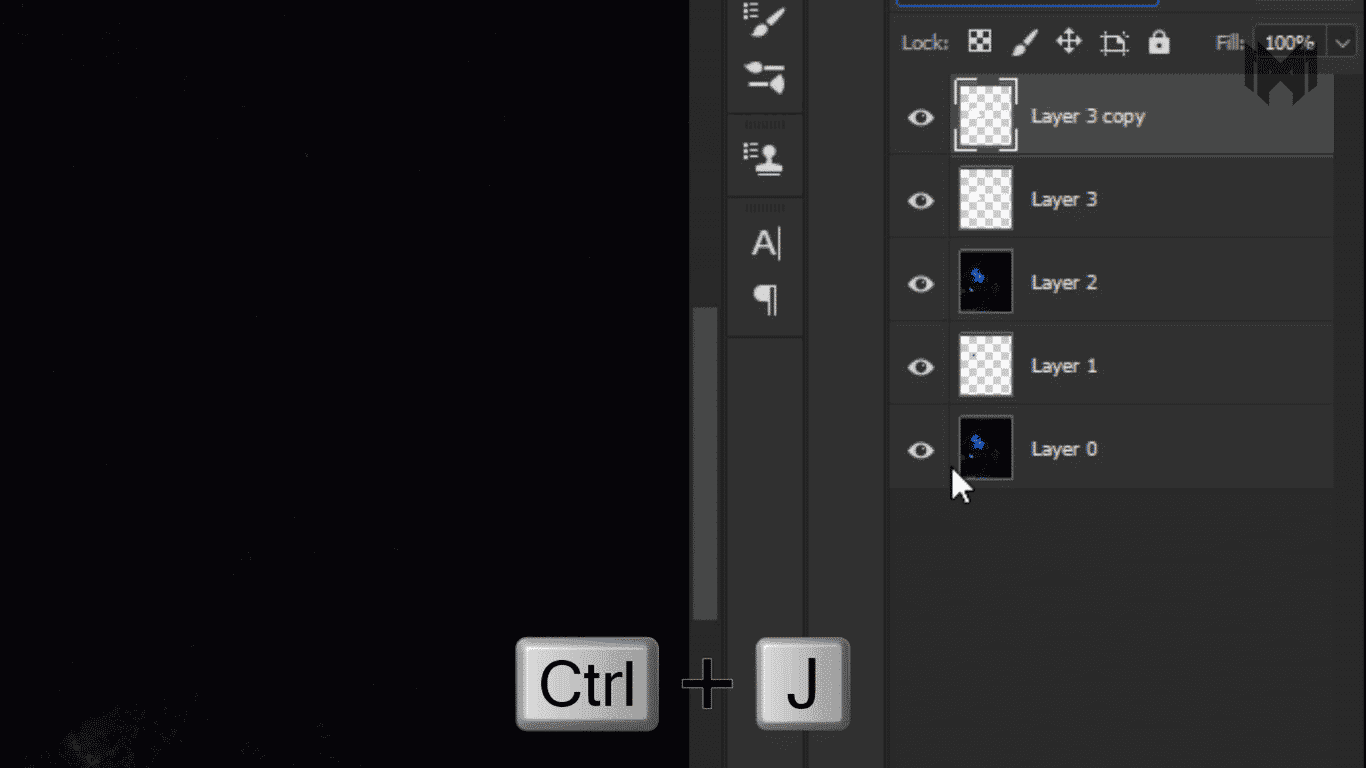
  • then I make a copy of this layer by pressing control + J
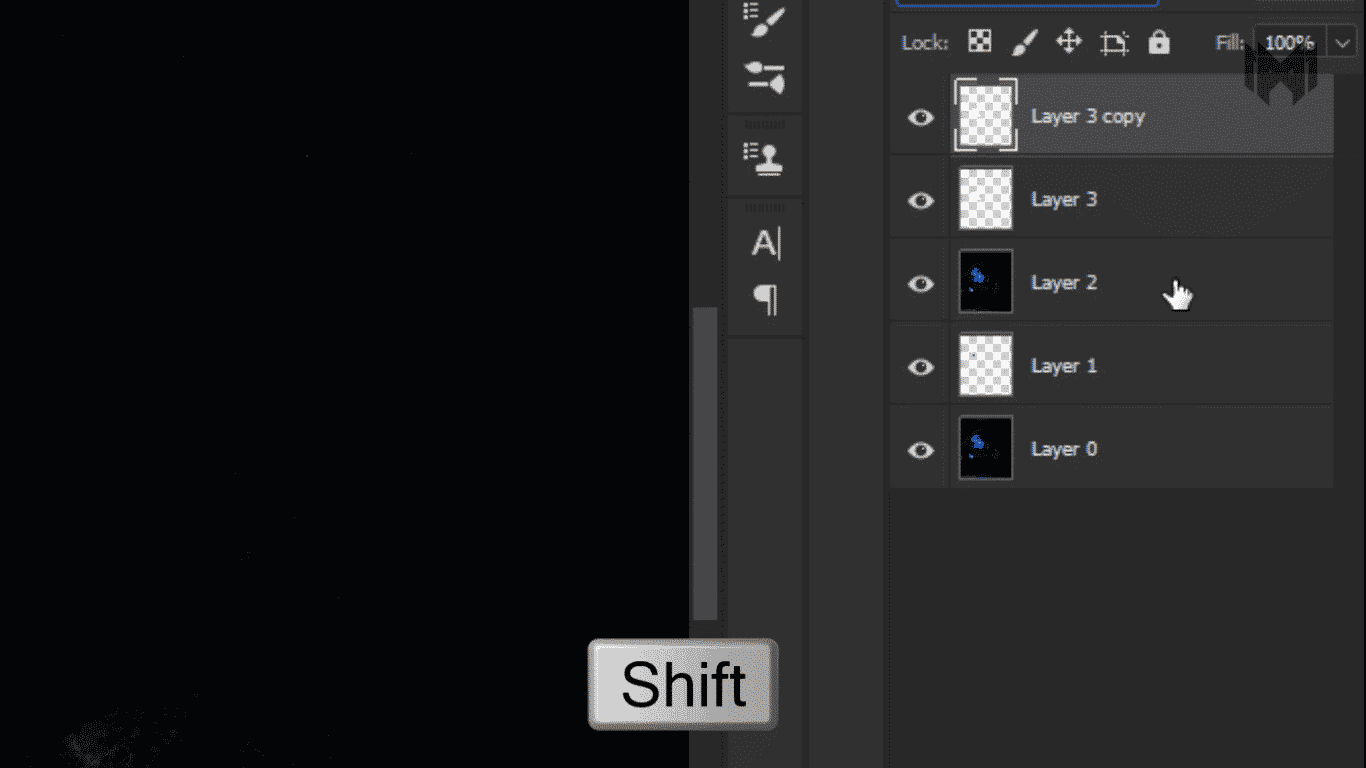
  • and make a group of both layers by holding the shift key and click on those layers one by one and press control + G to group them
Screenshot (275)
Screenshot (276)
Screenshot (277)
Previous
Next

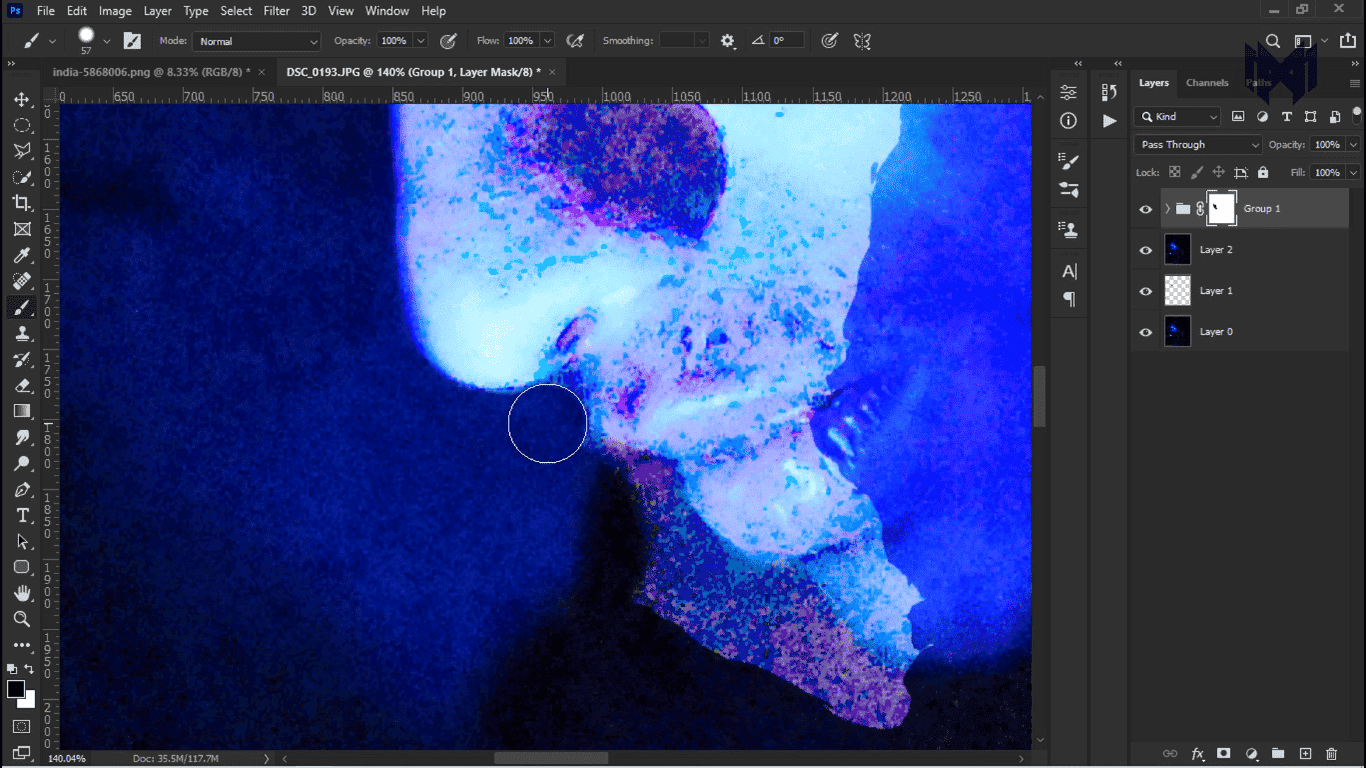
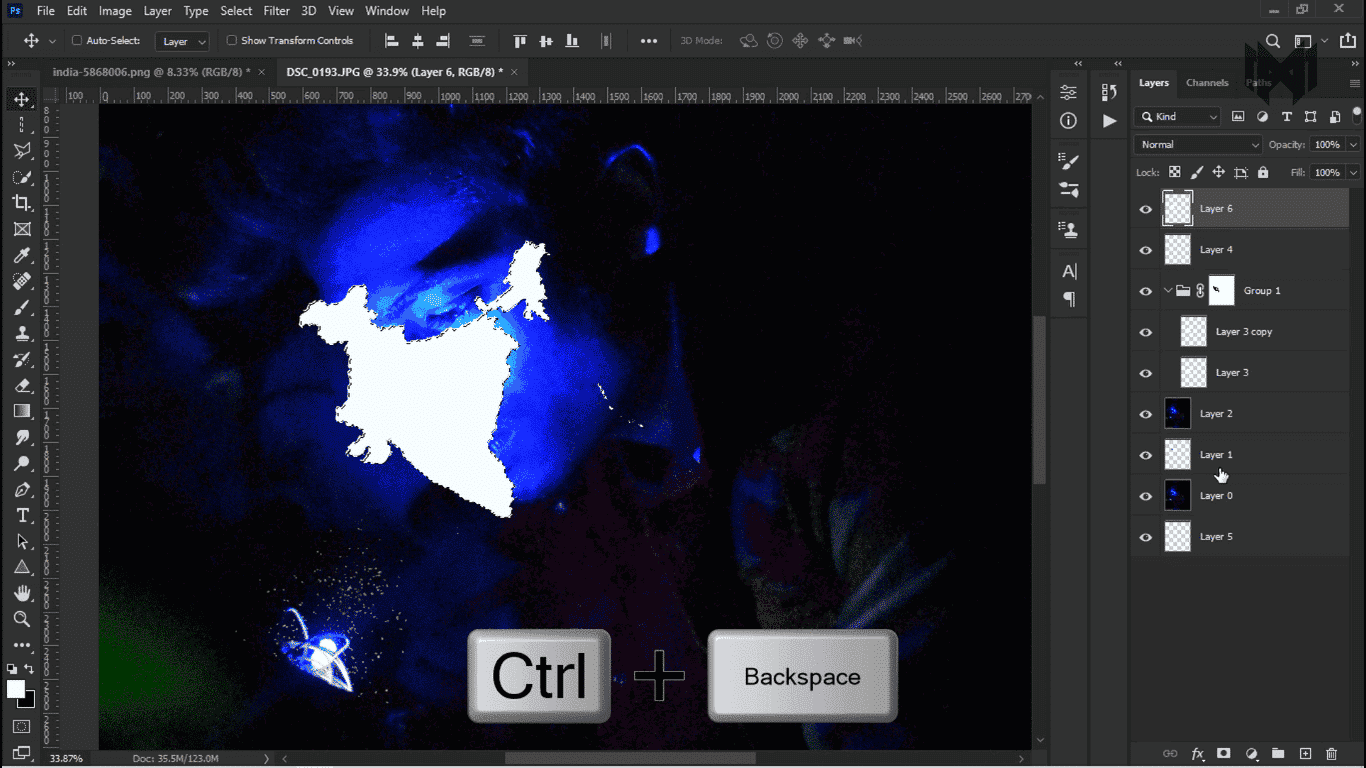
Then I wiped off the excess part of PNG with the layer mask

Now we have to make some dust particles where the light is coming from. This will bring more realism in your photo. 

Screenshot (278)
Screenshot (279)
Screenshot (280)
Screenshot (281)
Screenshot (282)
Previous
Next

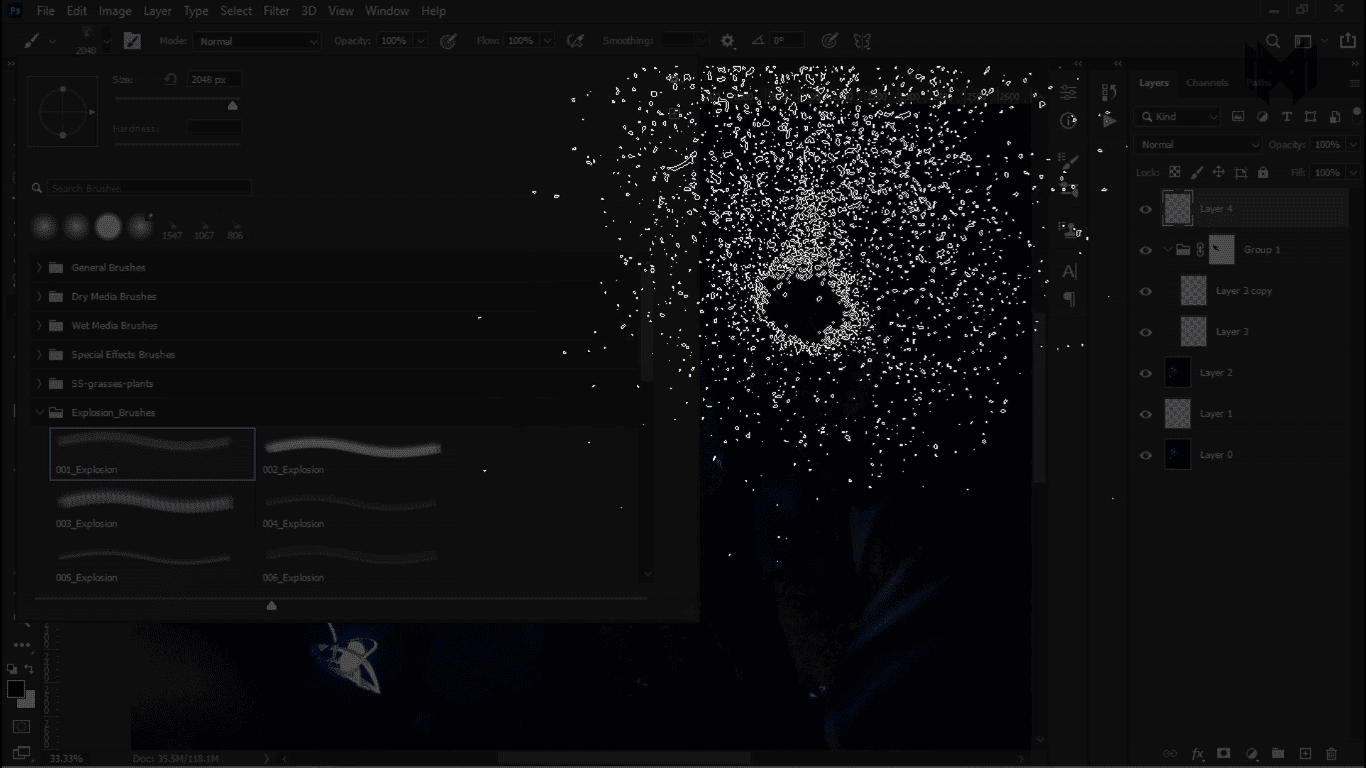
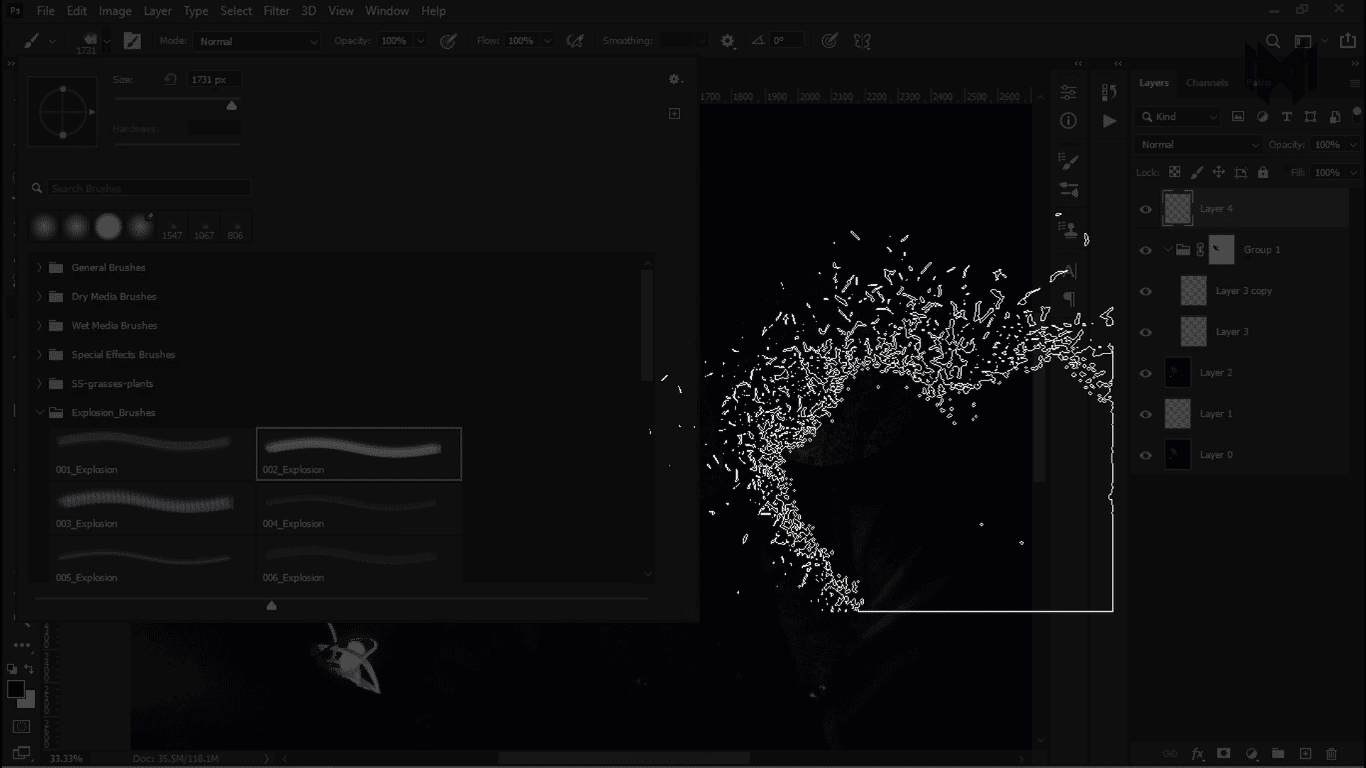
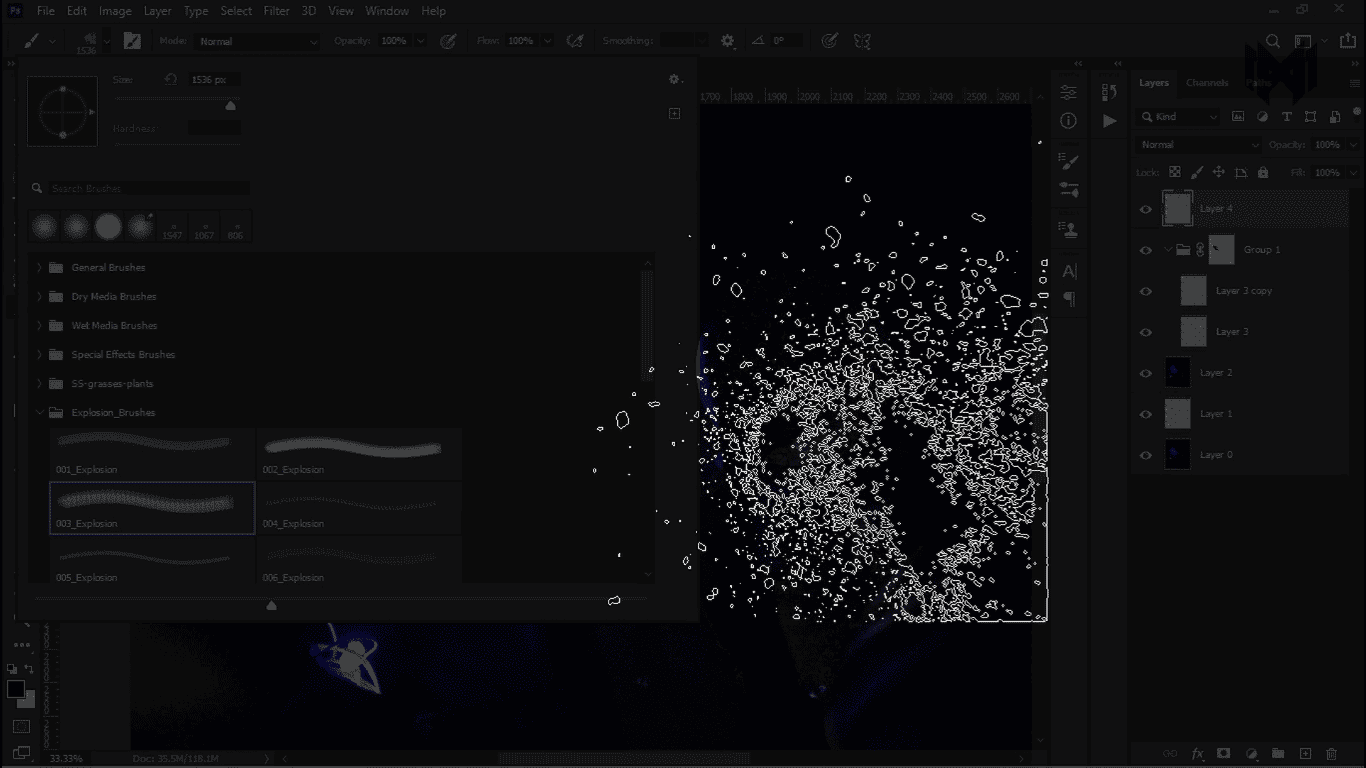
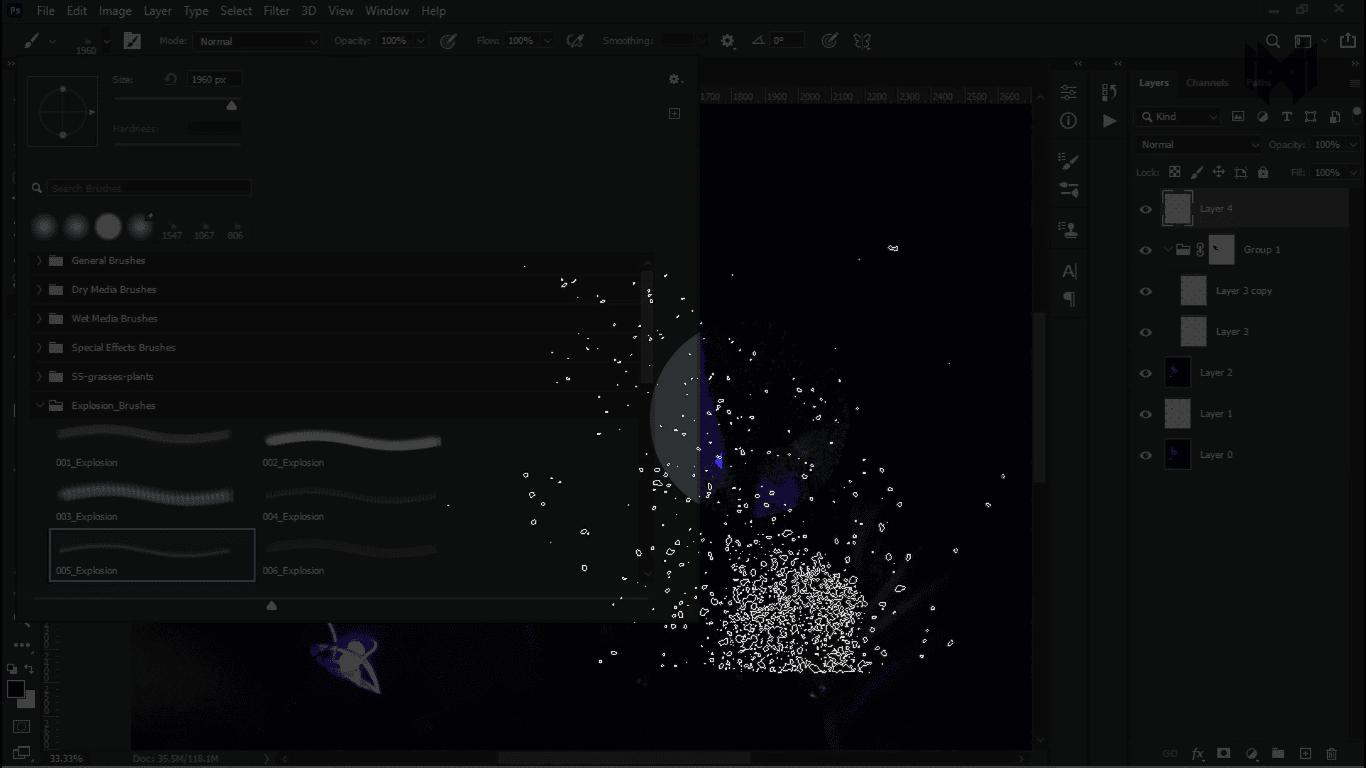
here you can download all the explosion brushes 

Explosion Brushes

Feel free to use explosion brushes. that can be used to create your own photo manipulation or anything else. In this pack you will be seeing 12 sets of free explosion brushes.

Go To Downloading Page
Screenshot 283

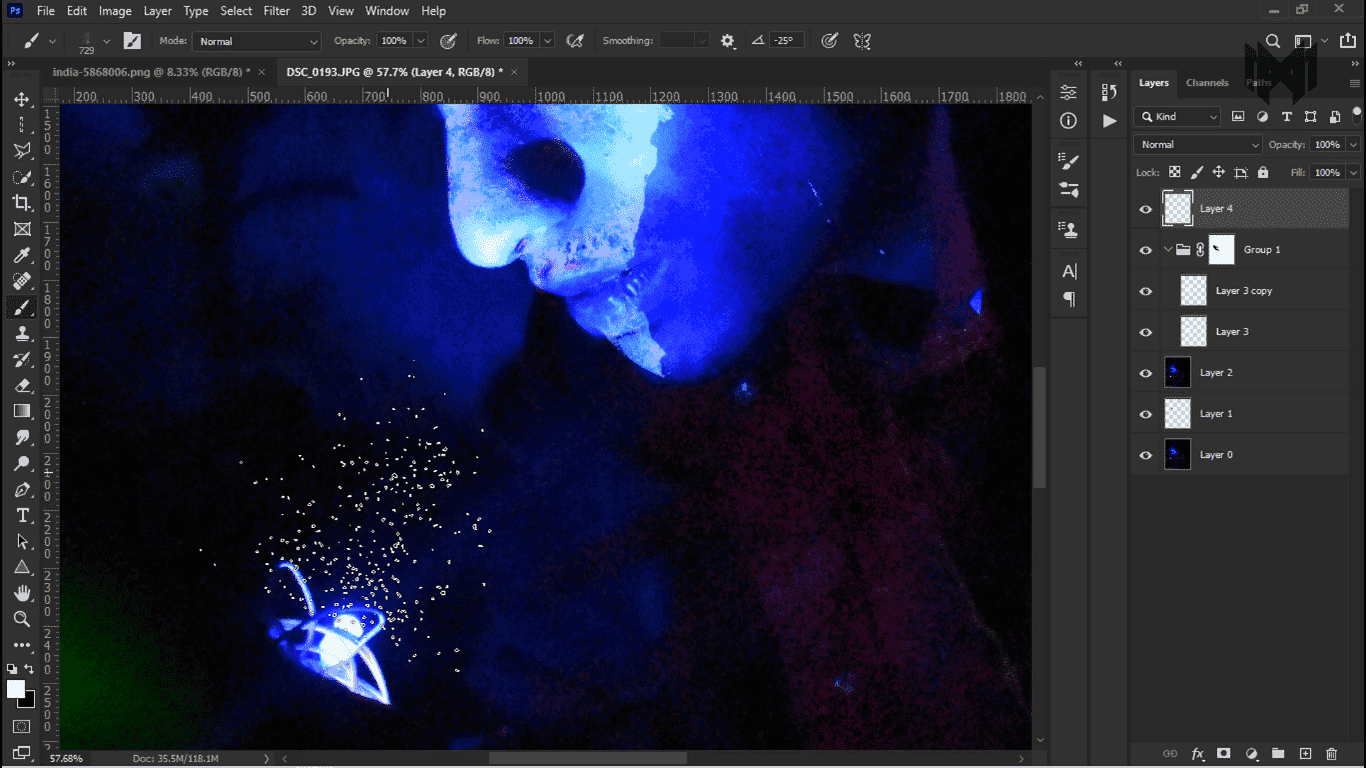
to create dust particles i take explosion brush number six. now take a new layer and just dab where you want to create dust

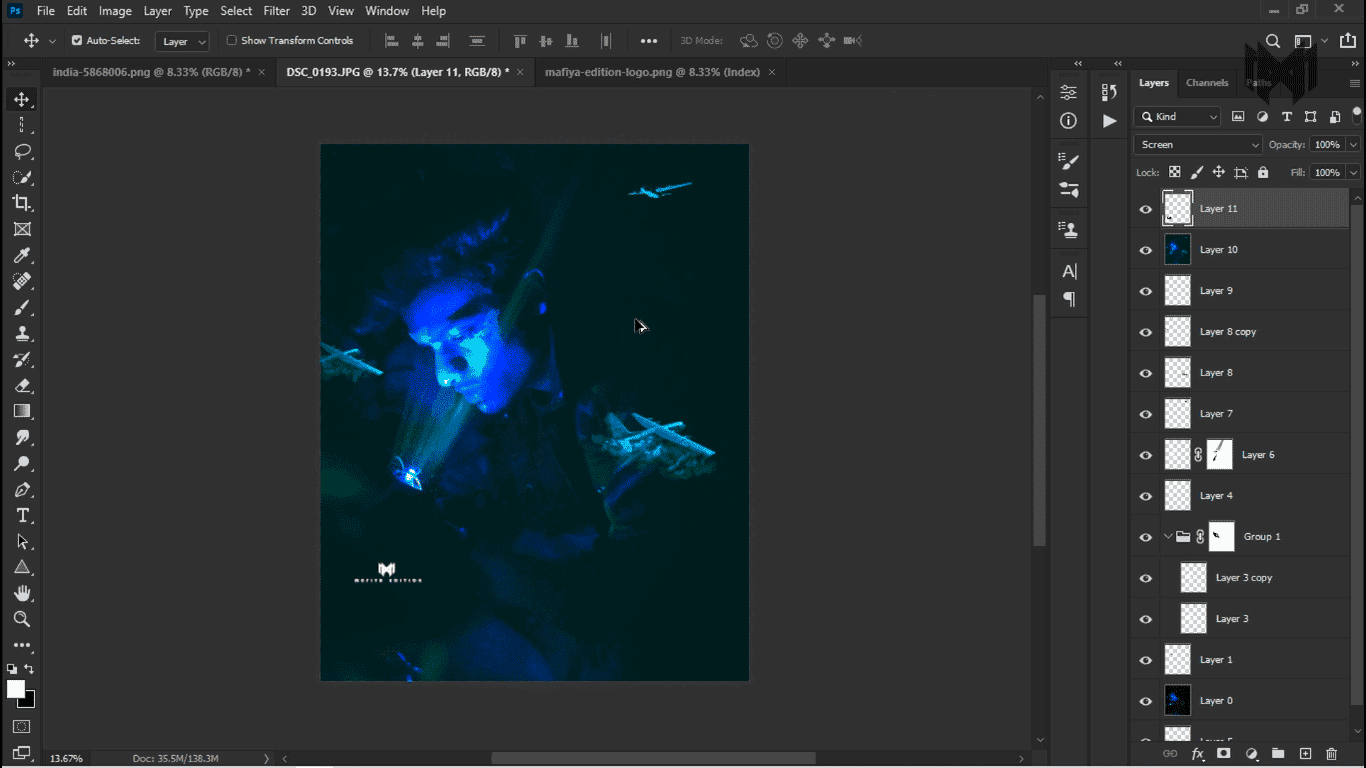
And now we are going to make light rays, this will make our photo look more amazing

Screenshot (284)
Screenshot (285)
Screenshot (286)
Screenshot (287)
Previous
Next
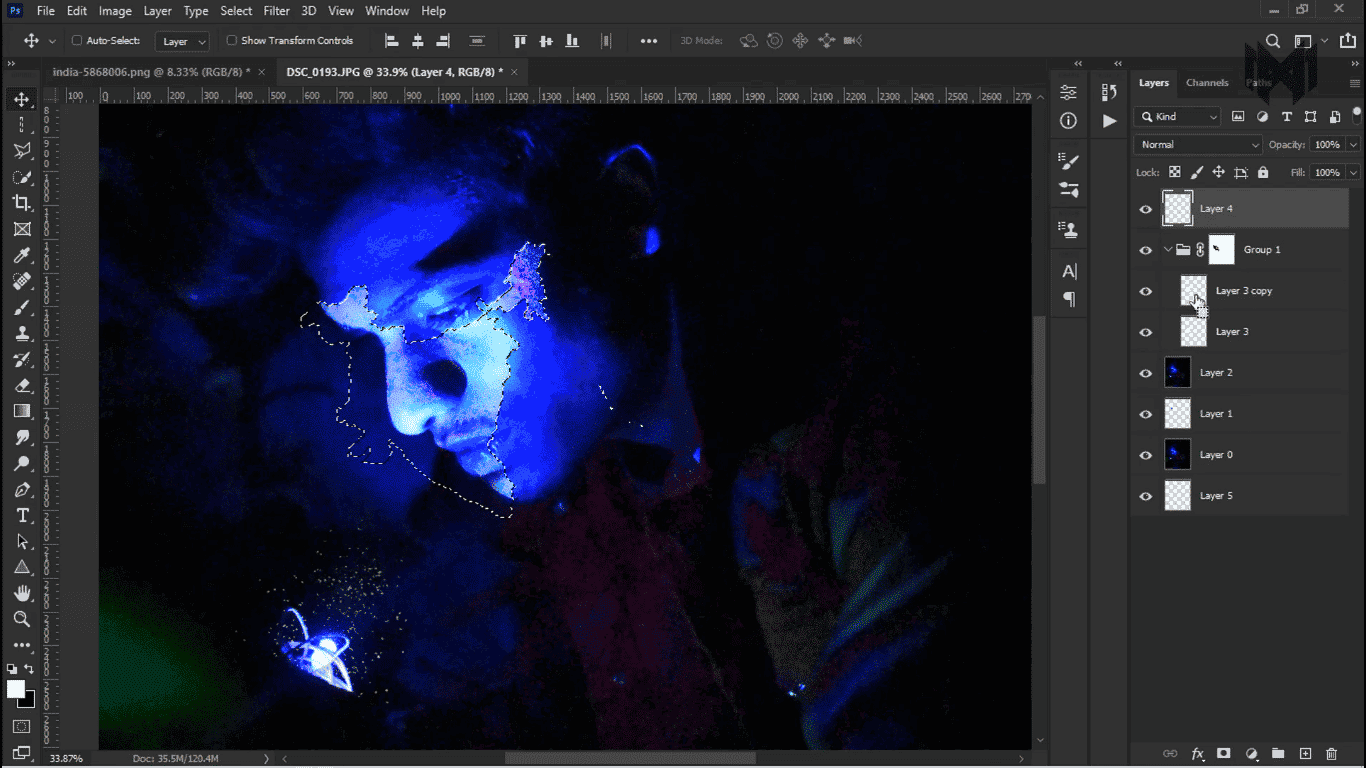
  • to create a light rays, i need a selection of the map, so click on the map layer by holding the control key
  • then take a new layer and fill it with white color
Screenshot 288

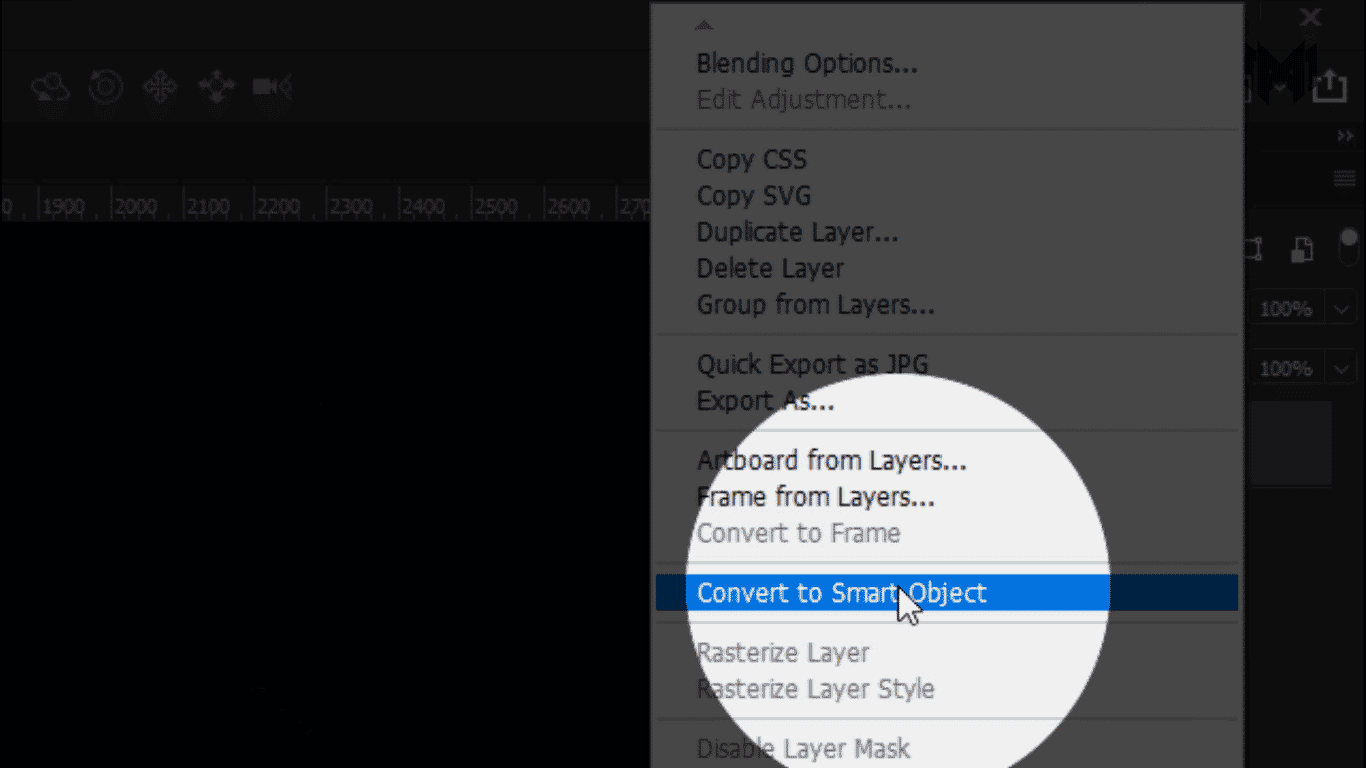
and convert this layer into smart object
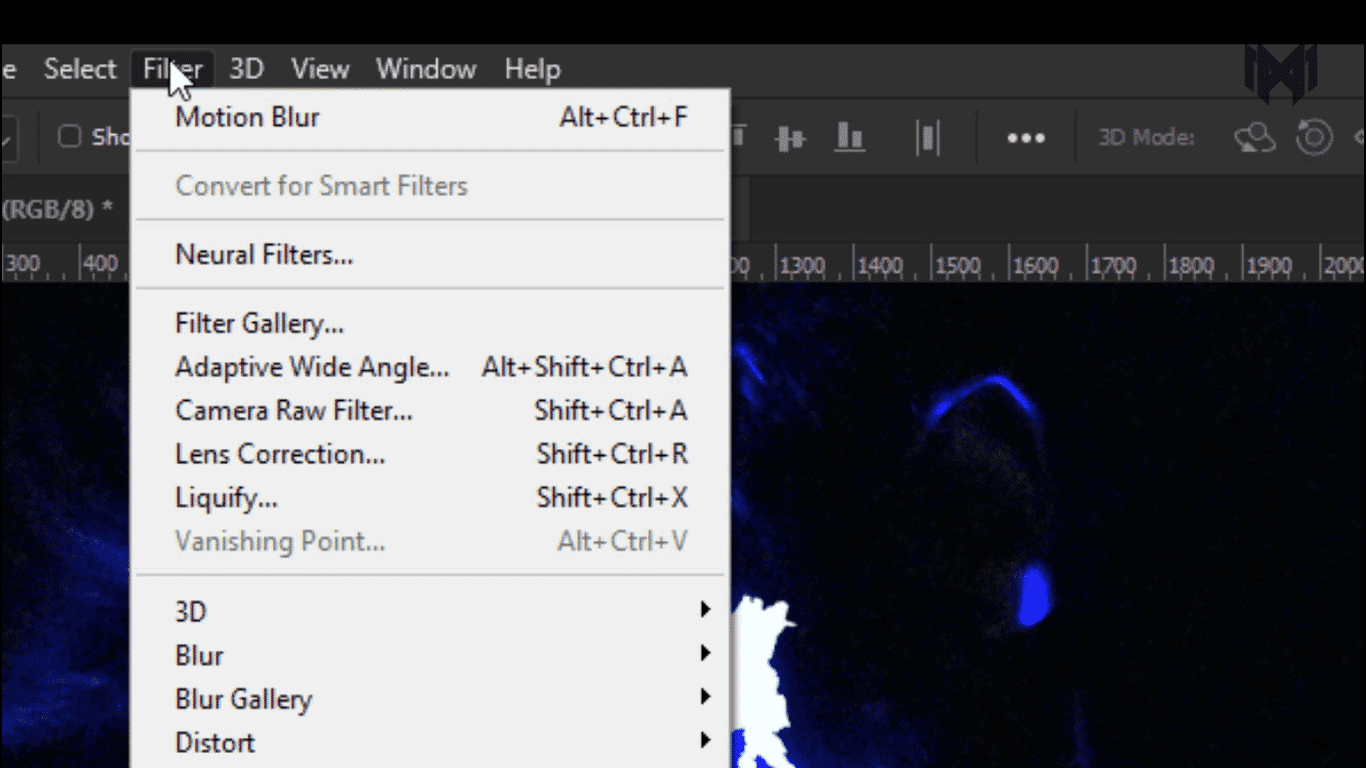
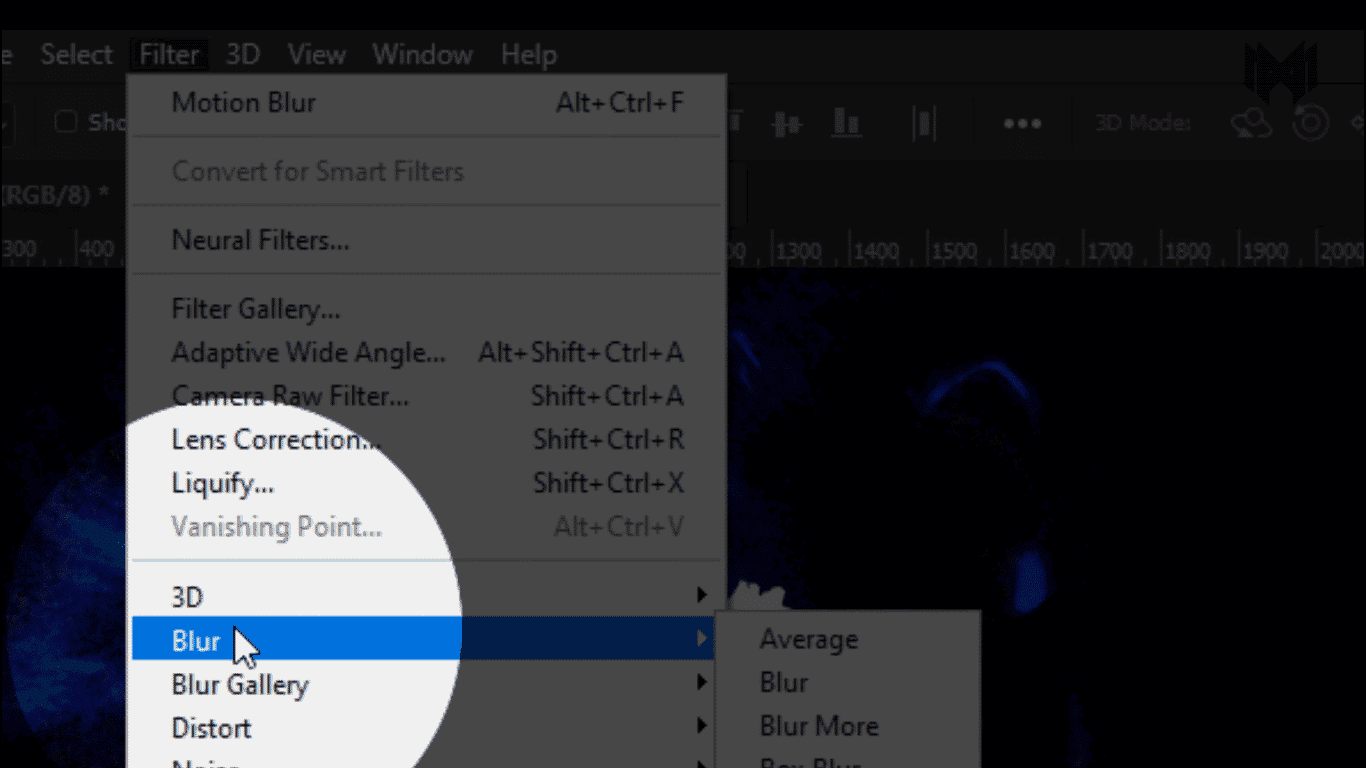
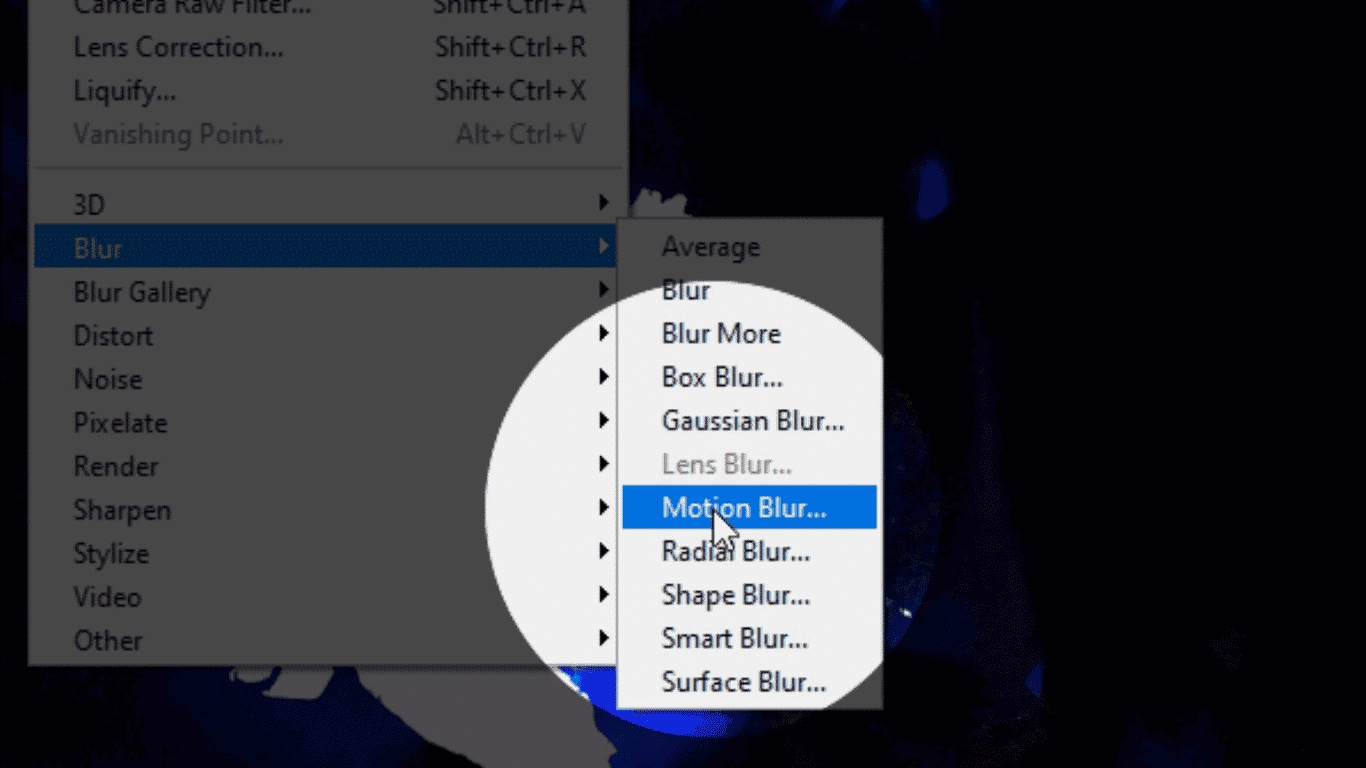
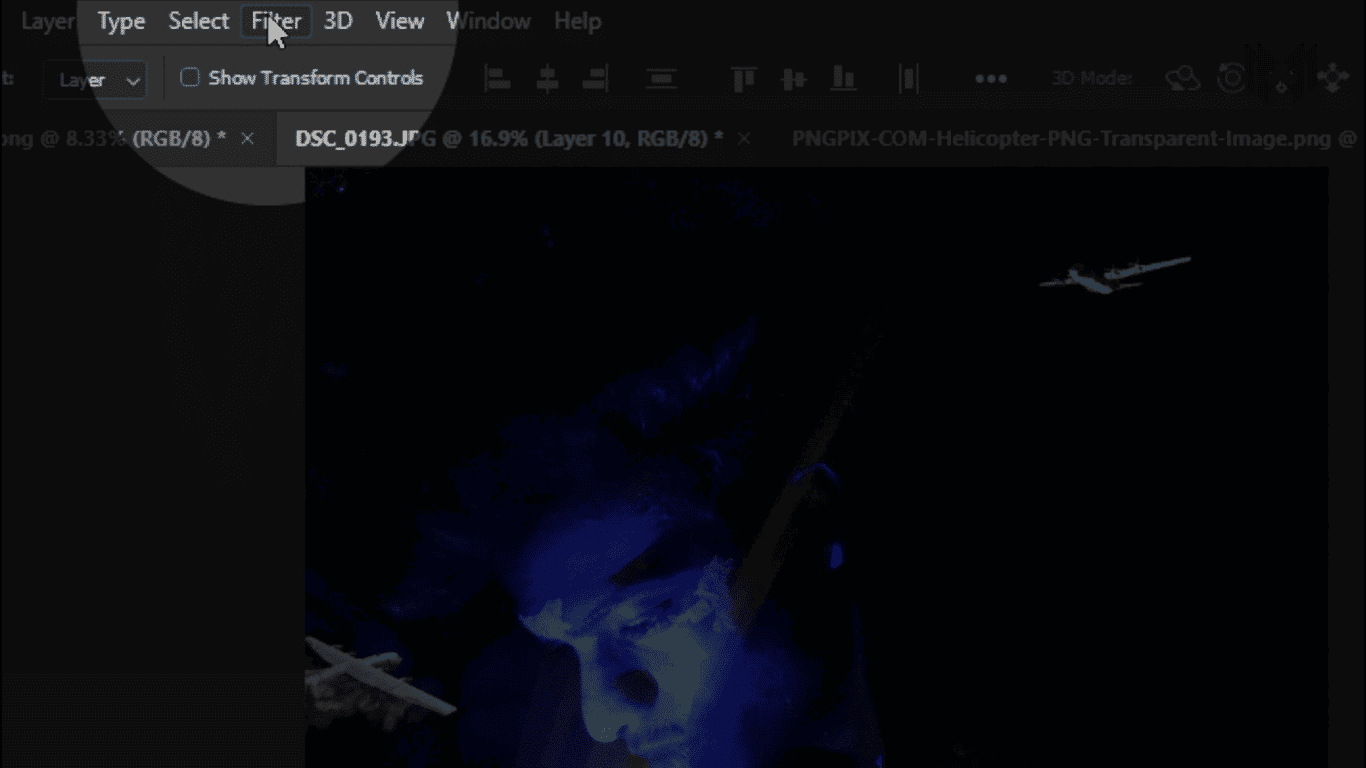
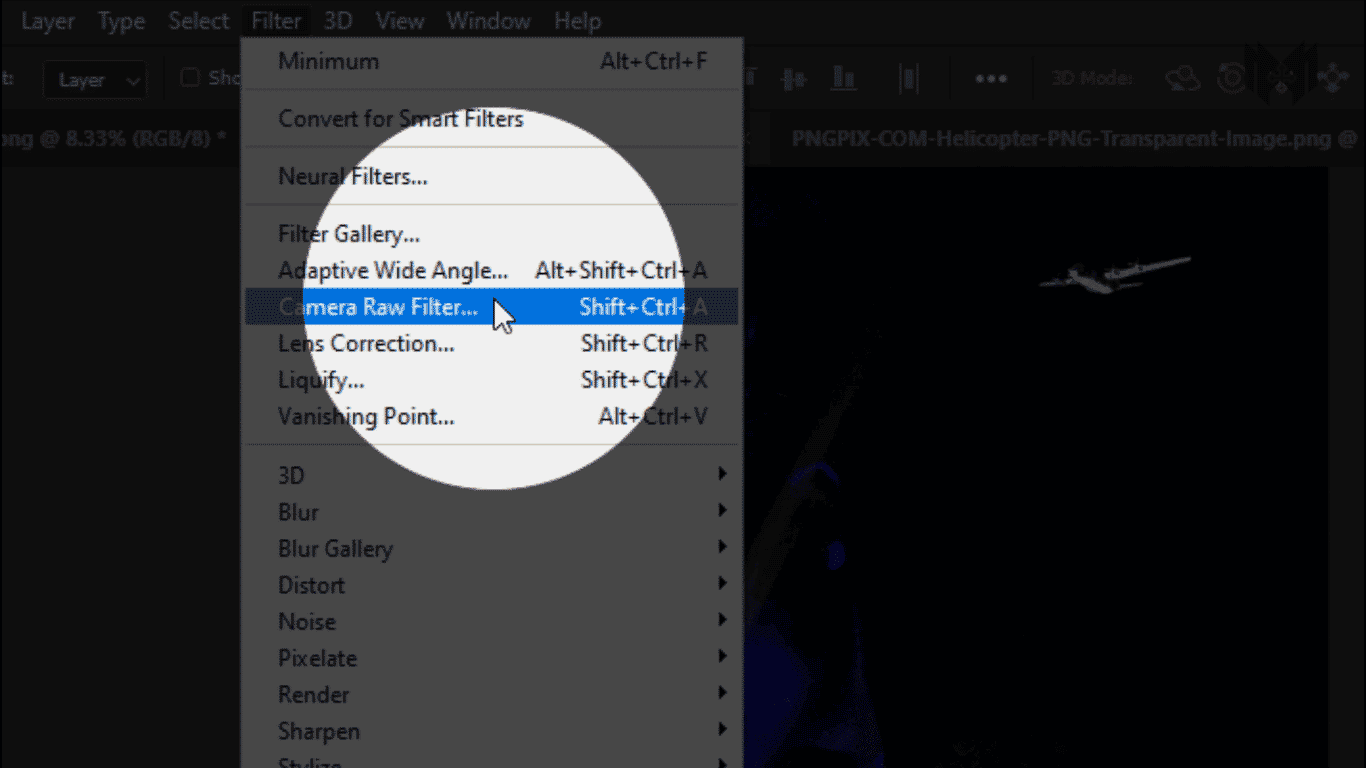
Screenshot (289)
Screenshot (290)
Screenshot (291)
Previous
Next
  • now go to filter
  • blur
  • and motion blur
Screenshot 292

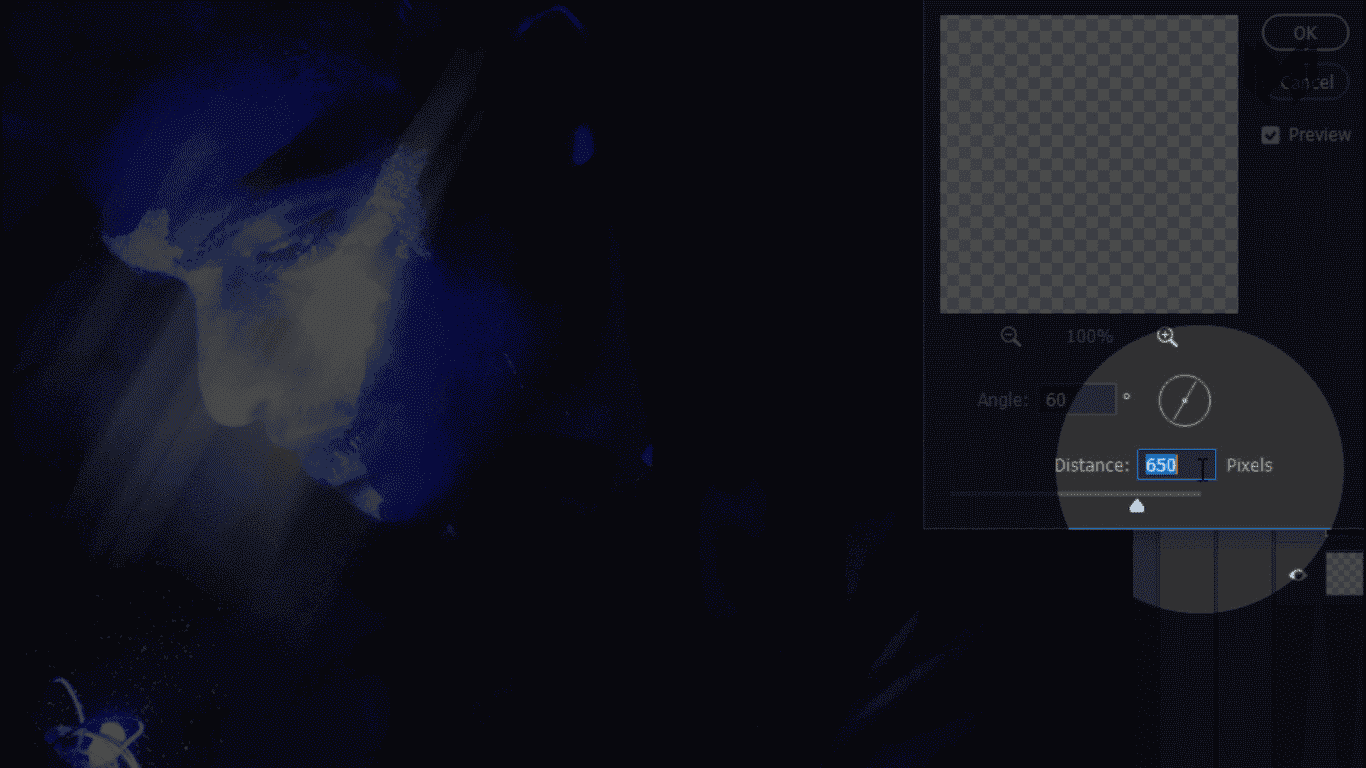
You can keep the distance according to you. as soon as it starts coming in a shape of light rays. hit okay 

Screenshot 293

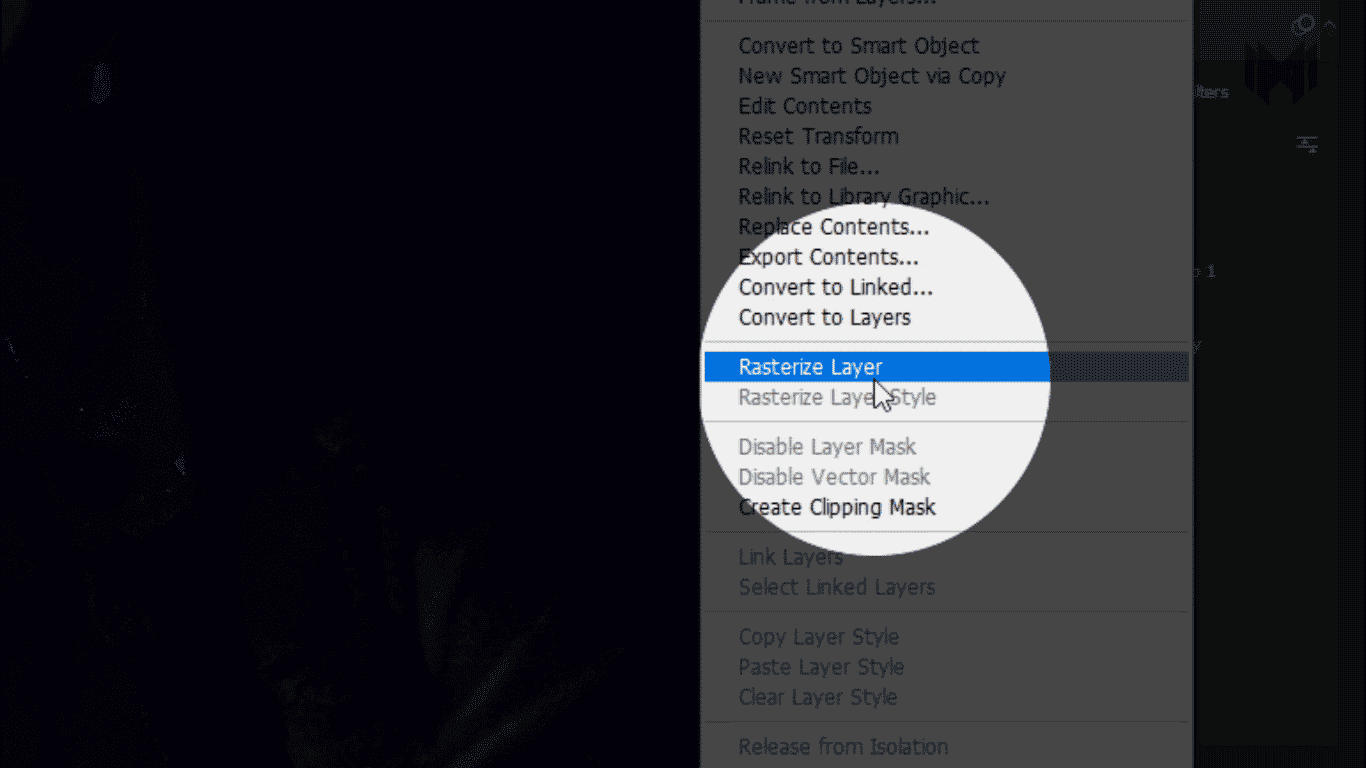
After you are satisfied with the result, you can rasterize the layer the layer

Screenshot (294)
Screenshot (295)
Screenshot (296)
Previous
Next
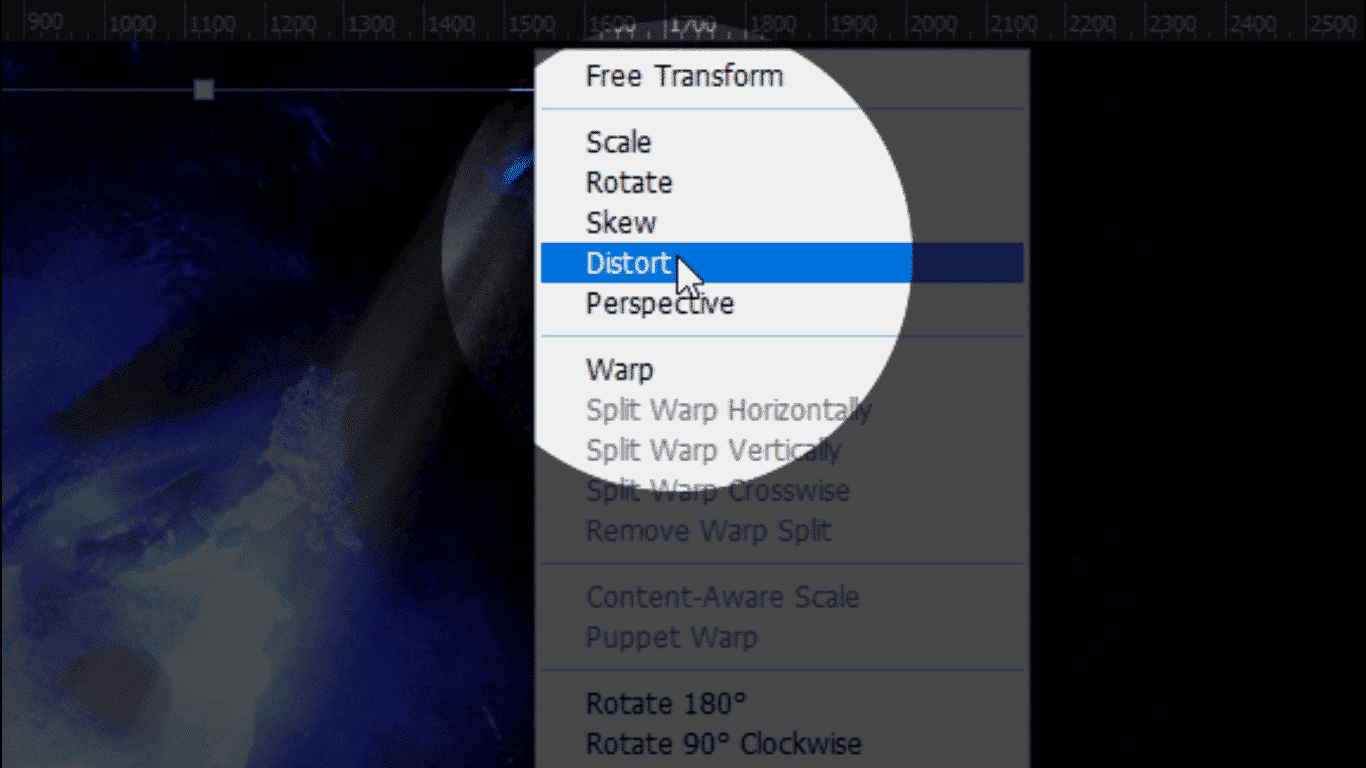
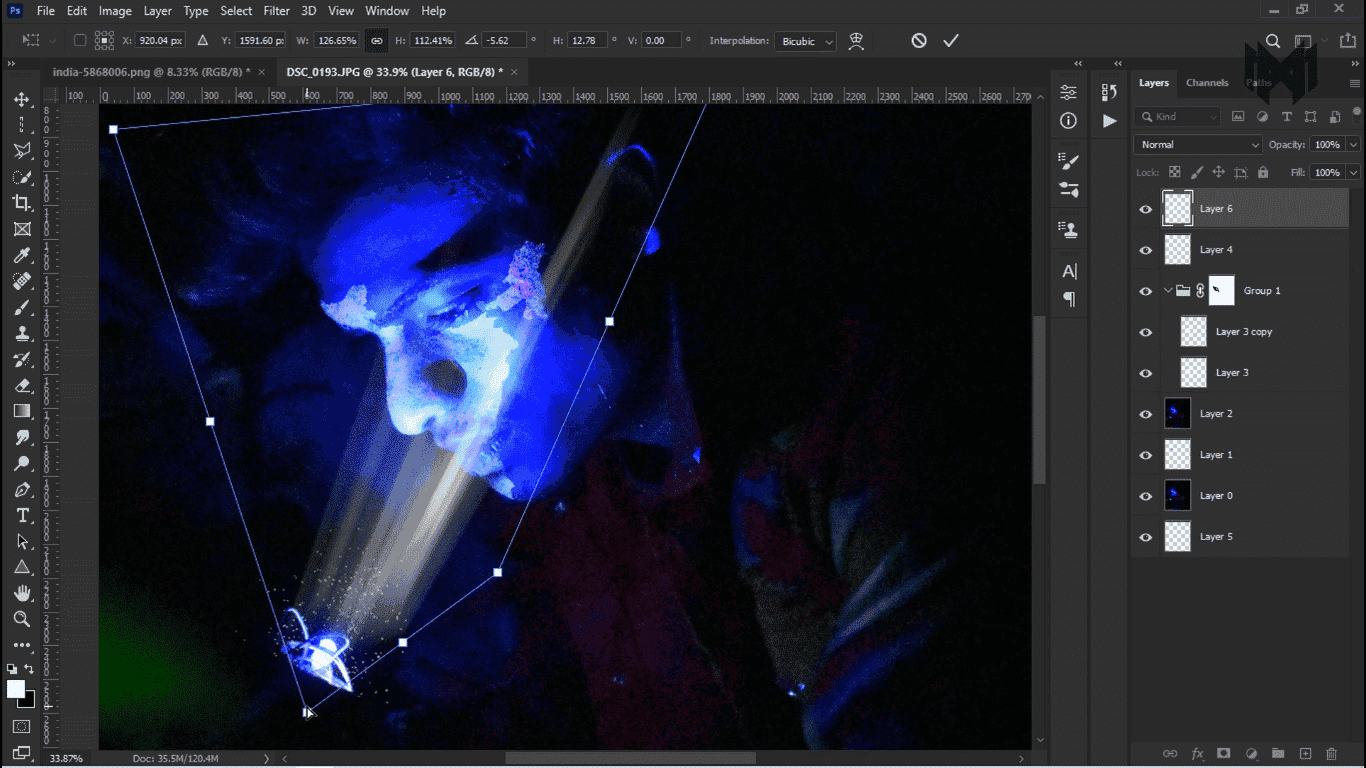
  • then press control + T
  • and right click on mouse and select distort
  • Now you can position it between the face and where the light is coming out
Screenshot 297

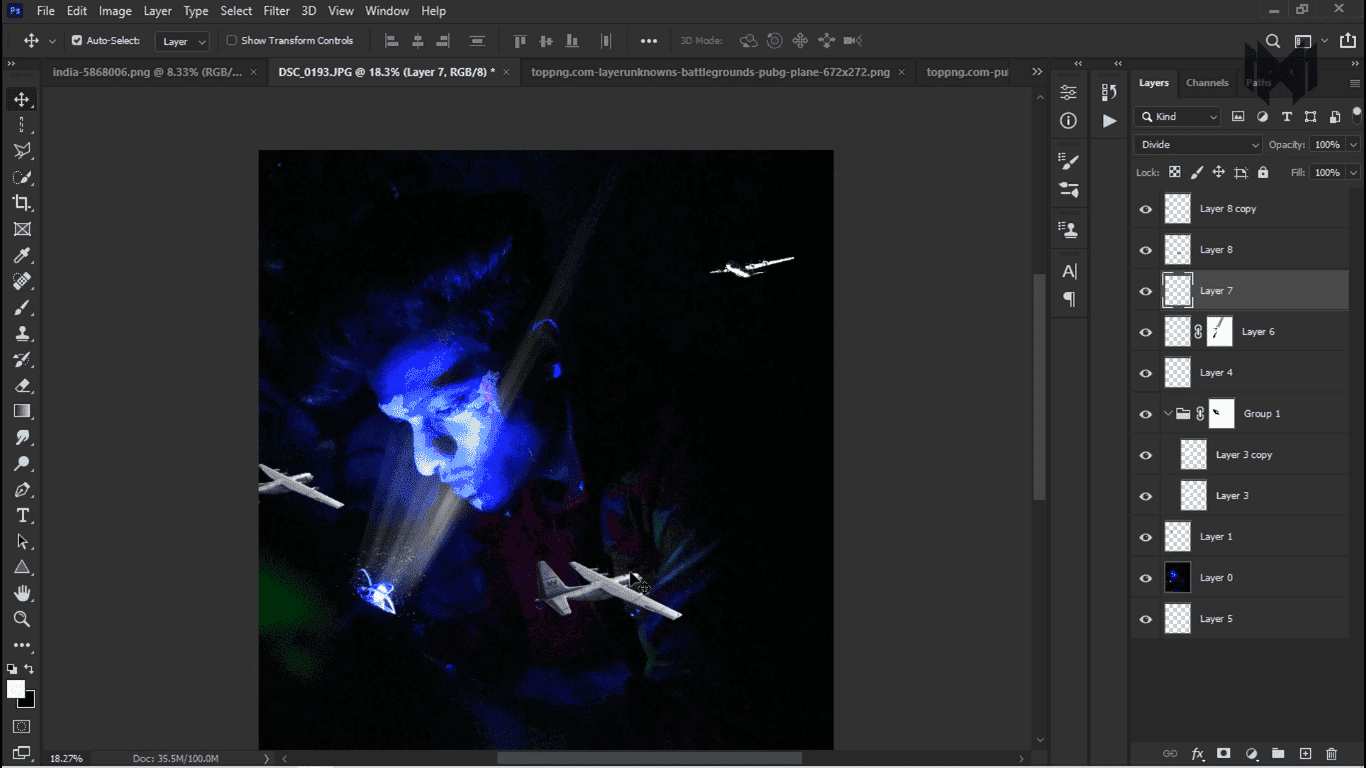
And then I put some pngs for the plane. 

Screenshot (312)
Screenshot (311)
Previous
Next

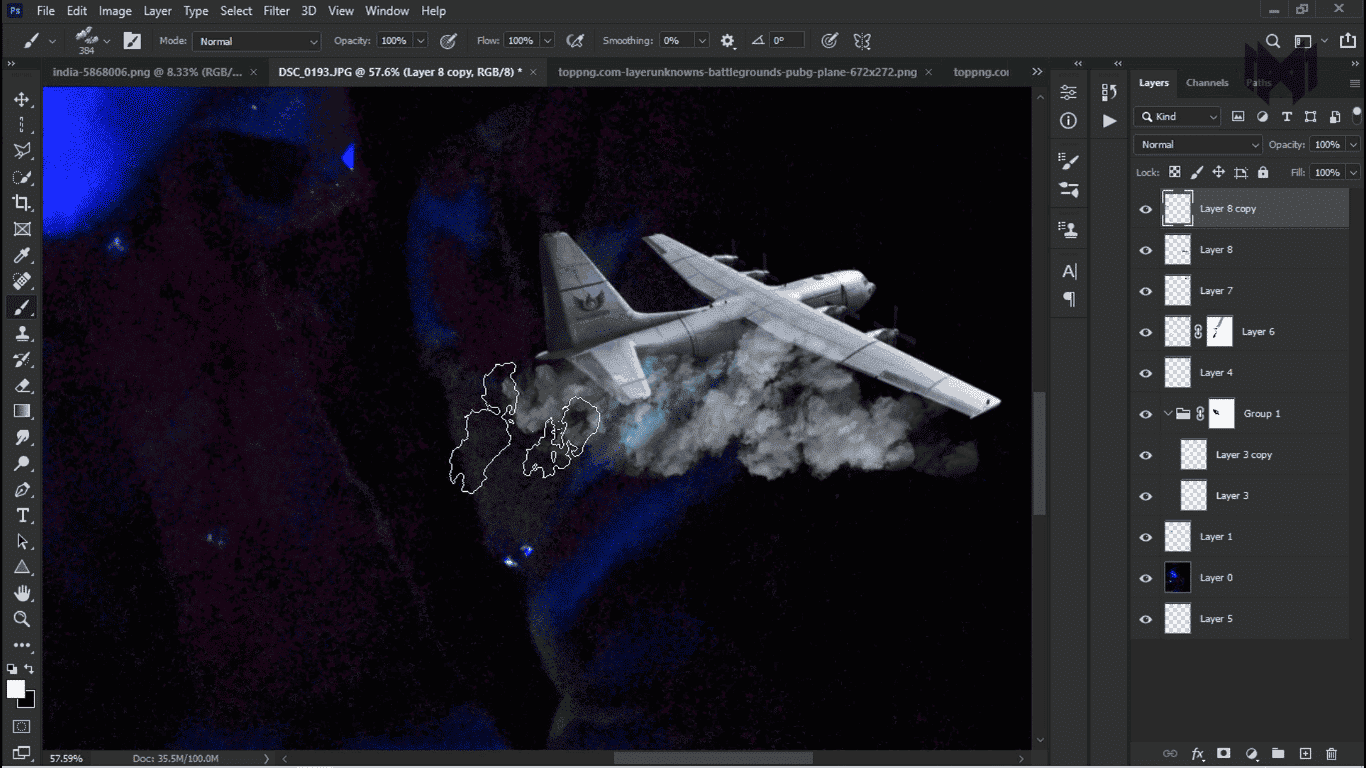
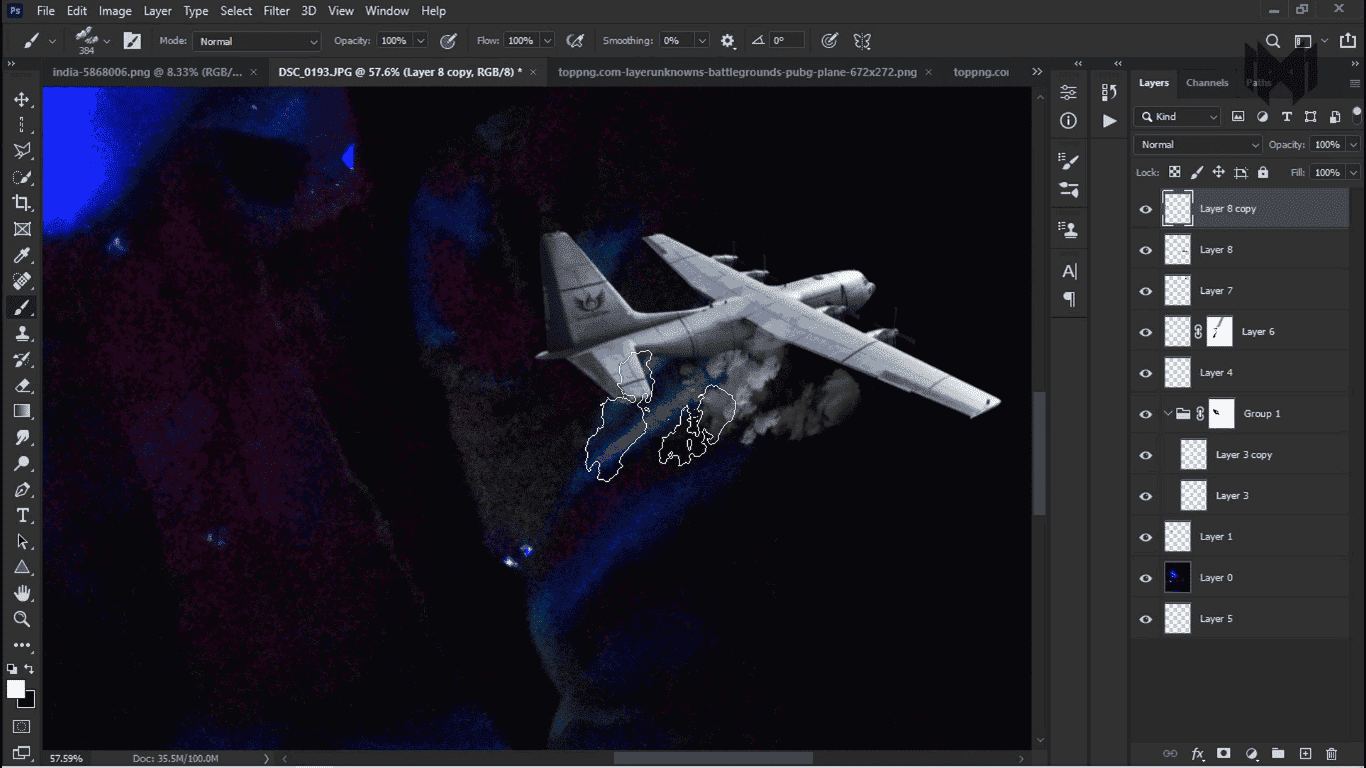
now i want to add some smoke around the plains

Screenshot 298

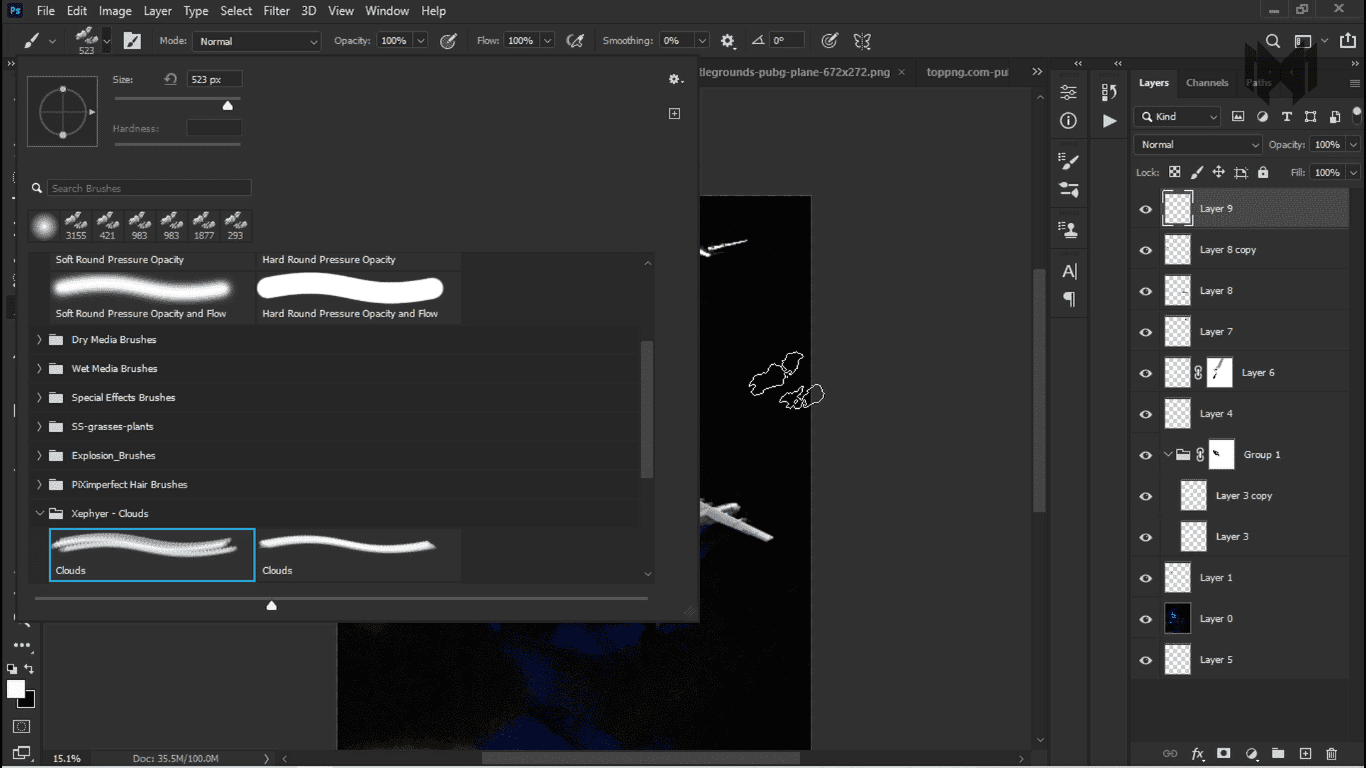
to create smoke i use this cloud brush

Cloud Brushes

Feel Free To UseCloud Brushes . That Can Be Used To Create Your Own Photo-Manipulation Or Anything Else. In This Pack, You Will Be Seeing 12 Sets Of Free Cloud Brushes

Go To Downloading Page

we have to do some setting in the brush to make smoke
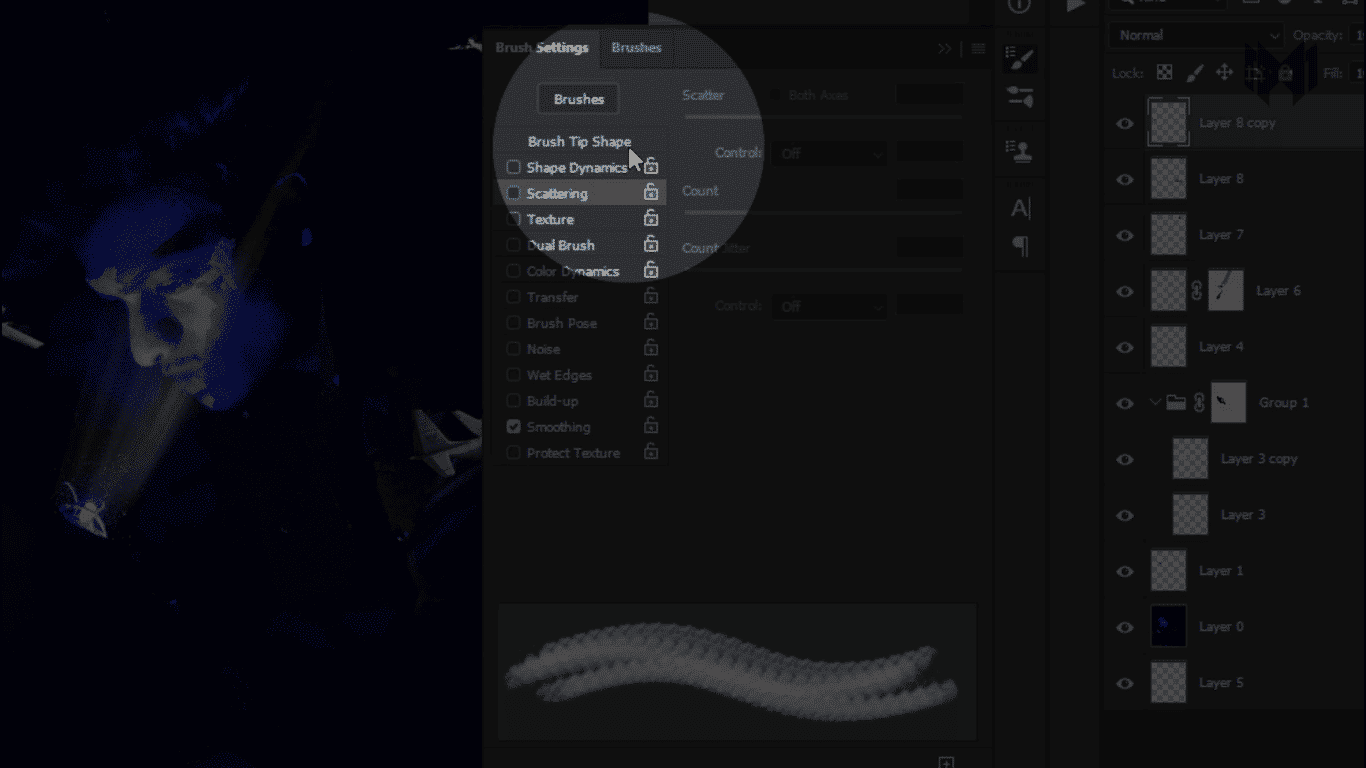
Screenshot (299)
Screenshot (301)
Previous
Next
  • click on this icon
  • to open the brush properties
Screenshot (301)
Screenshot (302)
Previous
Next
  • so first i go to brush tip shape
  • and increase the spacing
Screenshot (303)
Screenshot (304)
Screenshot (305)
Screenshot (306)
Previous
Next
  • now in the shape dynamics
  • increase size jiiter
  • and change the angle littel bit
  • and the control select direction
Screenshot (307)
Screenshot (308)
Screenshot (309)
Previous
Next
  • in the transfer
  • opacity 100%
  • flow is 100%
Screenshot 310

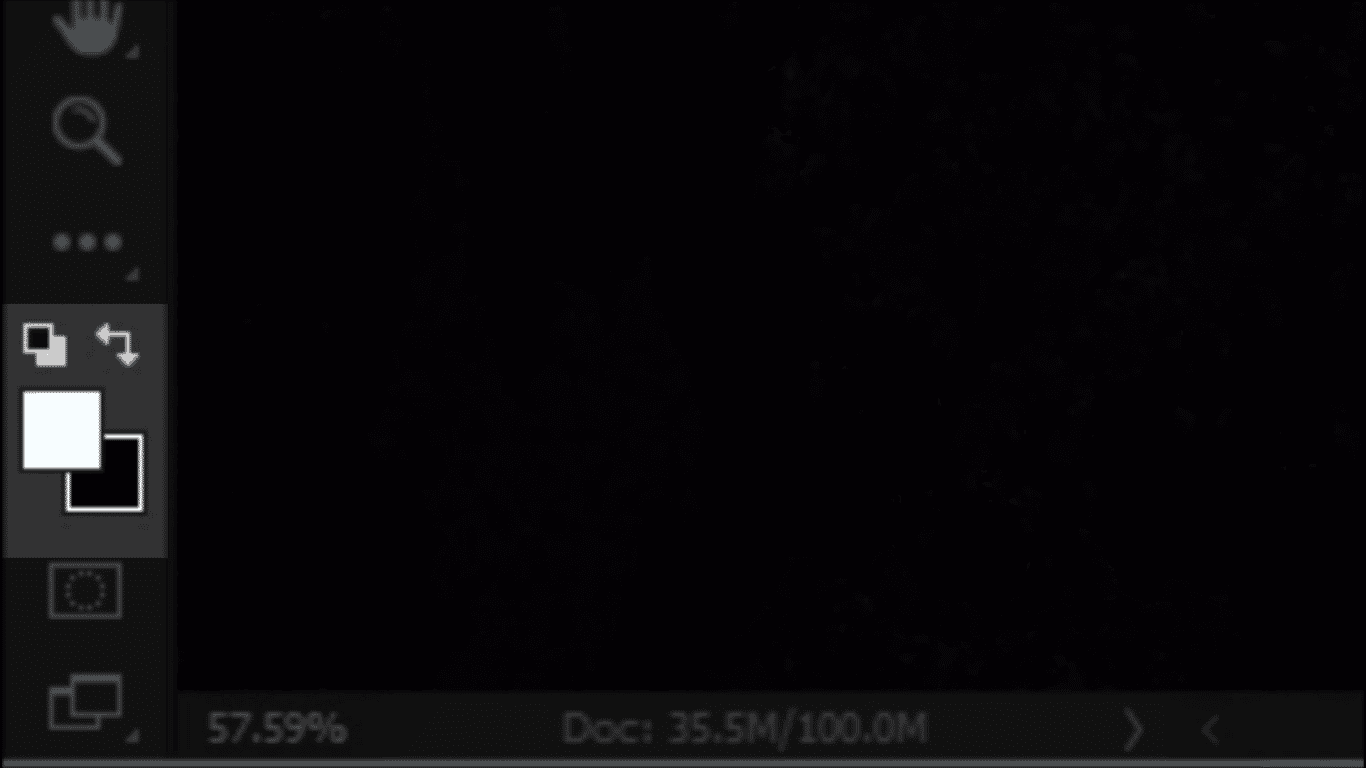
and take a new layer make sure your foreground and background color is in black and white

Screenshot (311)
Screenshot (312)
Screenshot (313)
Previous
Next

now just drag the brush around the planes

Screenshot (314)
Screenshot (315)
Screenshot (317)
Screenshot (316)
Previous
Next

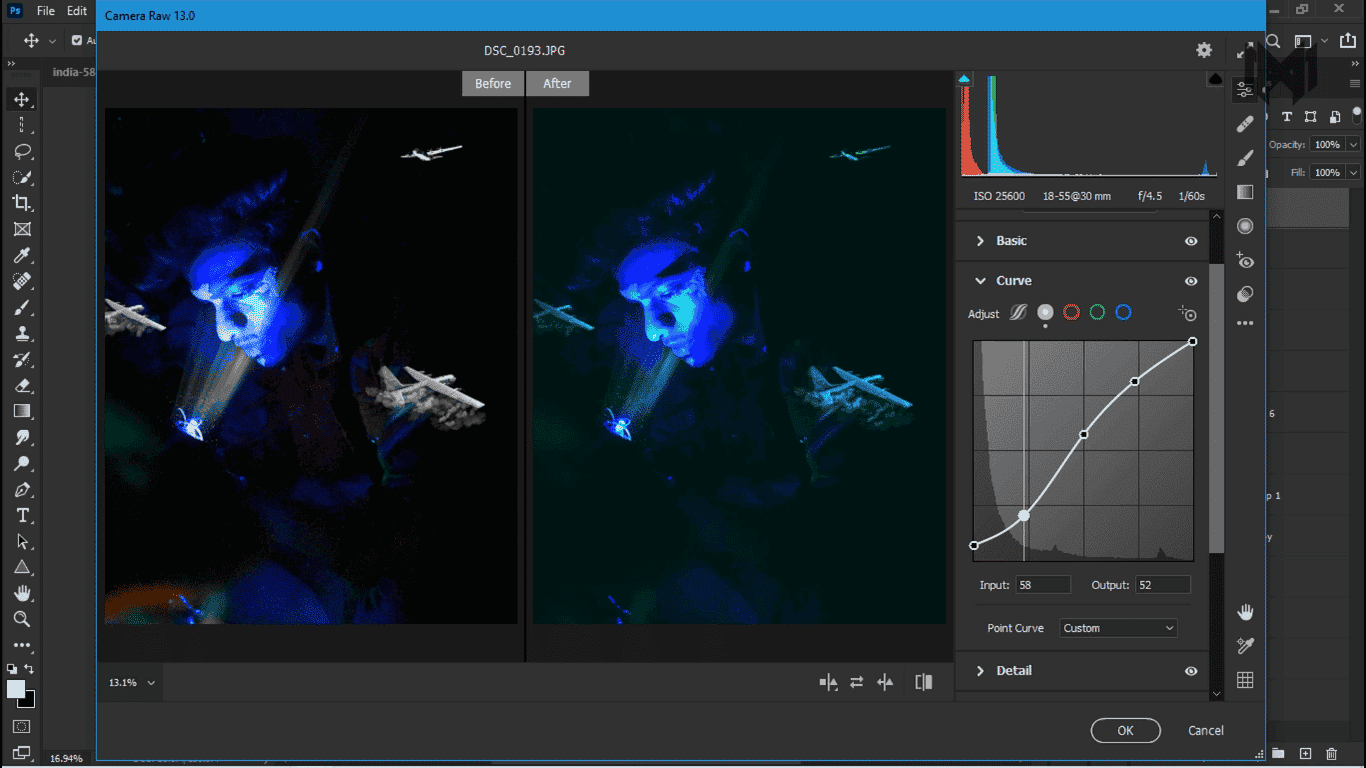
Then I gave this photo the final touch using the camera RAW filter.

Download Stocks

video tutorial

0Like
0Dislike
50% LikesVS
50% Dislikes
PrevPreviousVector Art Painting In Photoshop 2021 (without pen tool )
Share on facebook
Facebook
Share on twitter
Twitter
Share on pinterest
Pinterest

Latest Tutorials

Photoshop

Vector Art Painting In Photoshop 2021 (without pen tool )

Read More »
attractive nature photo manipulation
Photoshop

Attractive Nature Photo Manipulation In Photoshop CC 2021

Read More »
how-to-speed-up-photoshop
Photoshop

How To Speed Up Photoshop Faster Than Ever 2021

Read More »
How To Smooth Skin In Photoshop
Photoshop

How To Skin Soften And Smooth In Photoshop

Read More »
mafiya-logo

PIXIMFIX

Piximfix regularly publishes video tutorials, blogs and more. If you also want to publish your articles on Pisimfix, then you are welcome

Guest Post
  • About
  • Contact
  • Privacy Policy
  • disclaimer
Menu
  • About
  • Contact
  • Privacy Policy
  • disclaimer
  • Guest Post
  • My Posts
  • Draft Posts
  • Pending Posts
Menu
  • Guest Post
  • My Posts
  • Draft Posts
  • Pending Posts

protected by DMCA

DMCA.com Protection Status

Copyright © 2020 Piximfix - All Rights Reserved All Logo, Trademark &  Files Belong To Their Respective Owners

We use cookies on our website to give you the most relevant experience by remembering your preferences and repeat visits. By clicking “Accept”, you consent to the use of ALL the cookies.
Cookie settingsACCEPT
Privacy & Cookies Policy

Privacy Overview

This website uses cookies to improve your experience while you navigate through the website. Out of these, the cookies that are categorized as necessary are stored on your browser as they are essential for the working of basic functionalities of the website. We also use third-party cookies that help us analyze and understand how you use this website. These cookies will be stored in your browser only with your consent. You also have the option to opt-out of these cookies. But opting out of some of these cookies may affect your browsing experience.
Necessary
Always Enabled

Necessary cookies are absolutely essential for the website to function properly. This category only includes cookies that ensures basic functionalities and security features of the website. These cookies do not store any personal information.

Non-necessary

Any cookies that may not be particularly necessary for the website to function and is used specifically to collect user personal data via analytics, ads, other embedded contents are termed as non-necessary cookies. It is mandatory to procure user consent prior to running these cookies on your website.

SAVE & ACCEPT

Join PIXIMFIX


Login to PIXIMFIX


Lost Password?


Loading...

Don't have an account? Sign Up Already have an account? Login