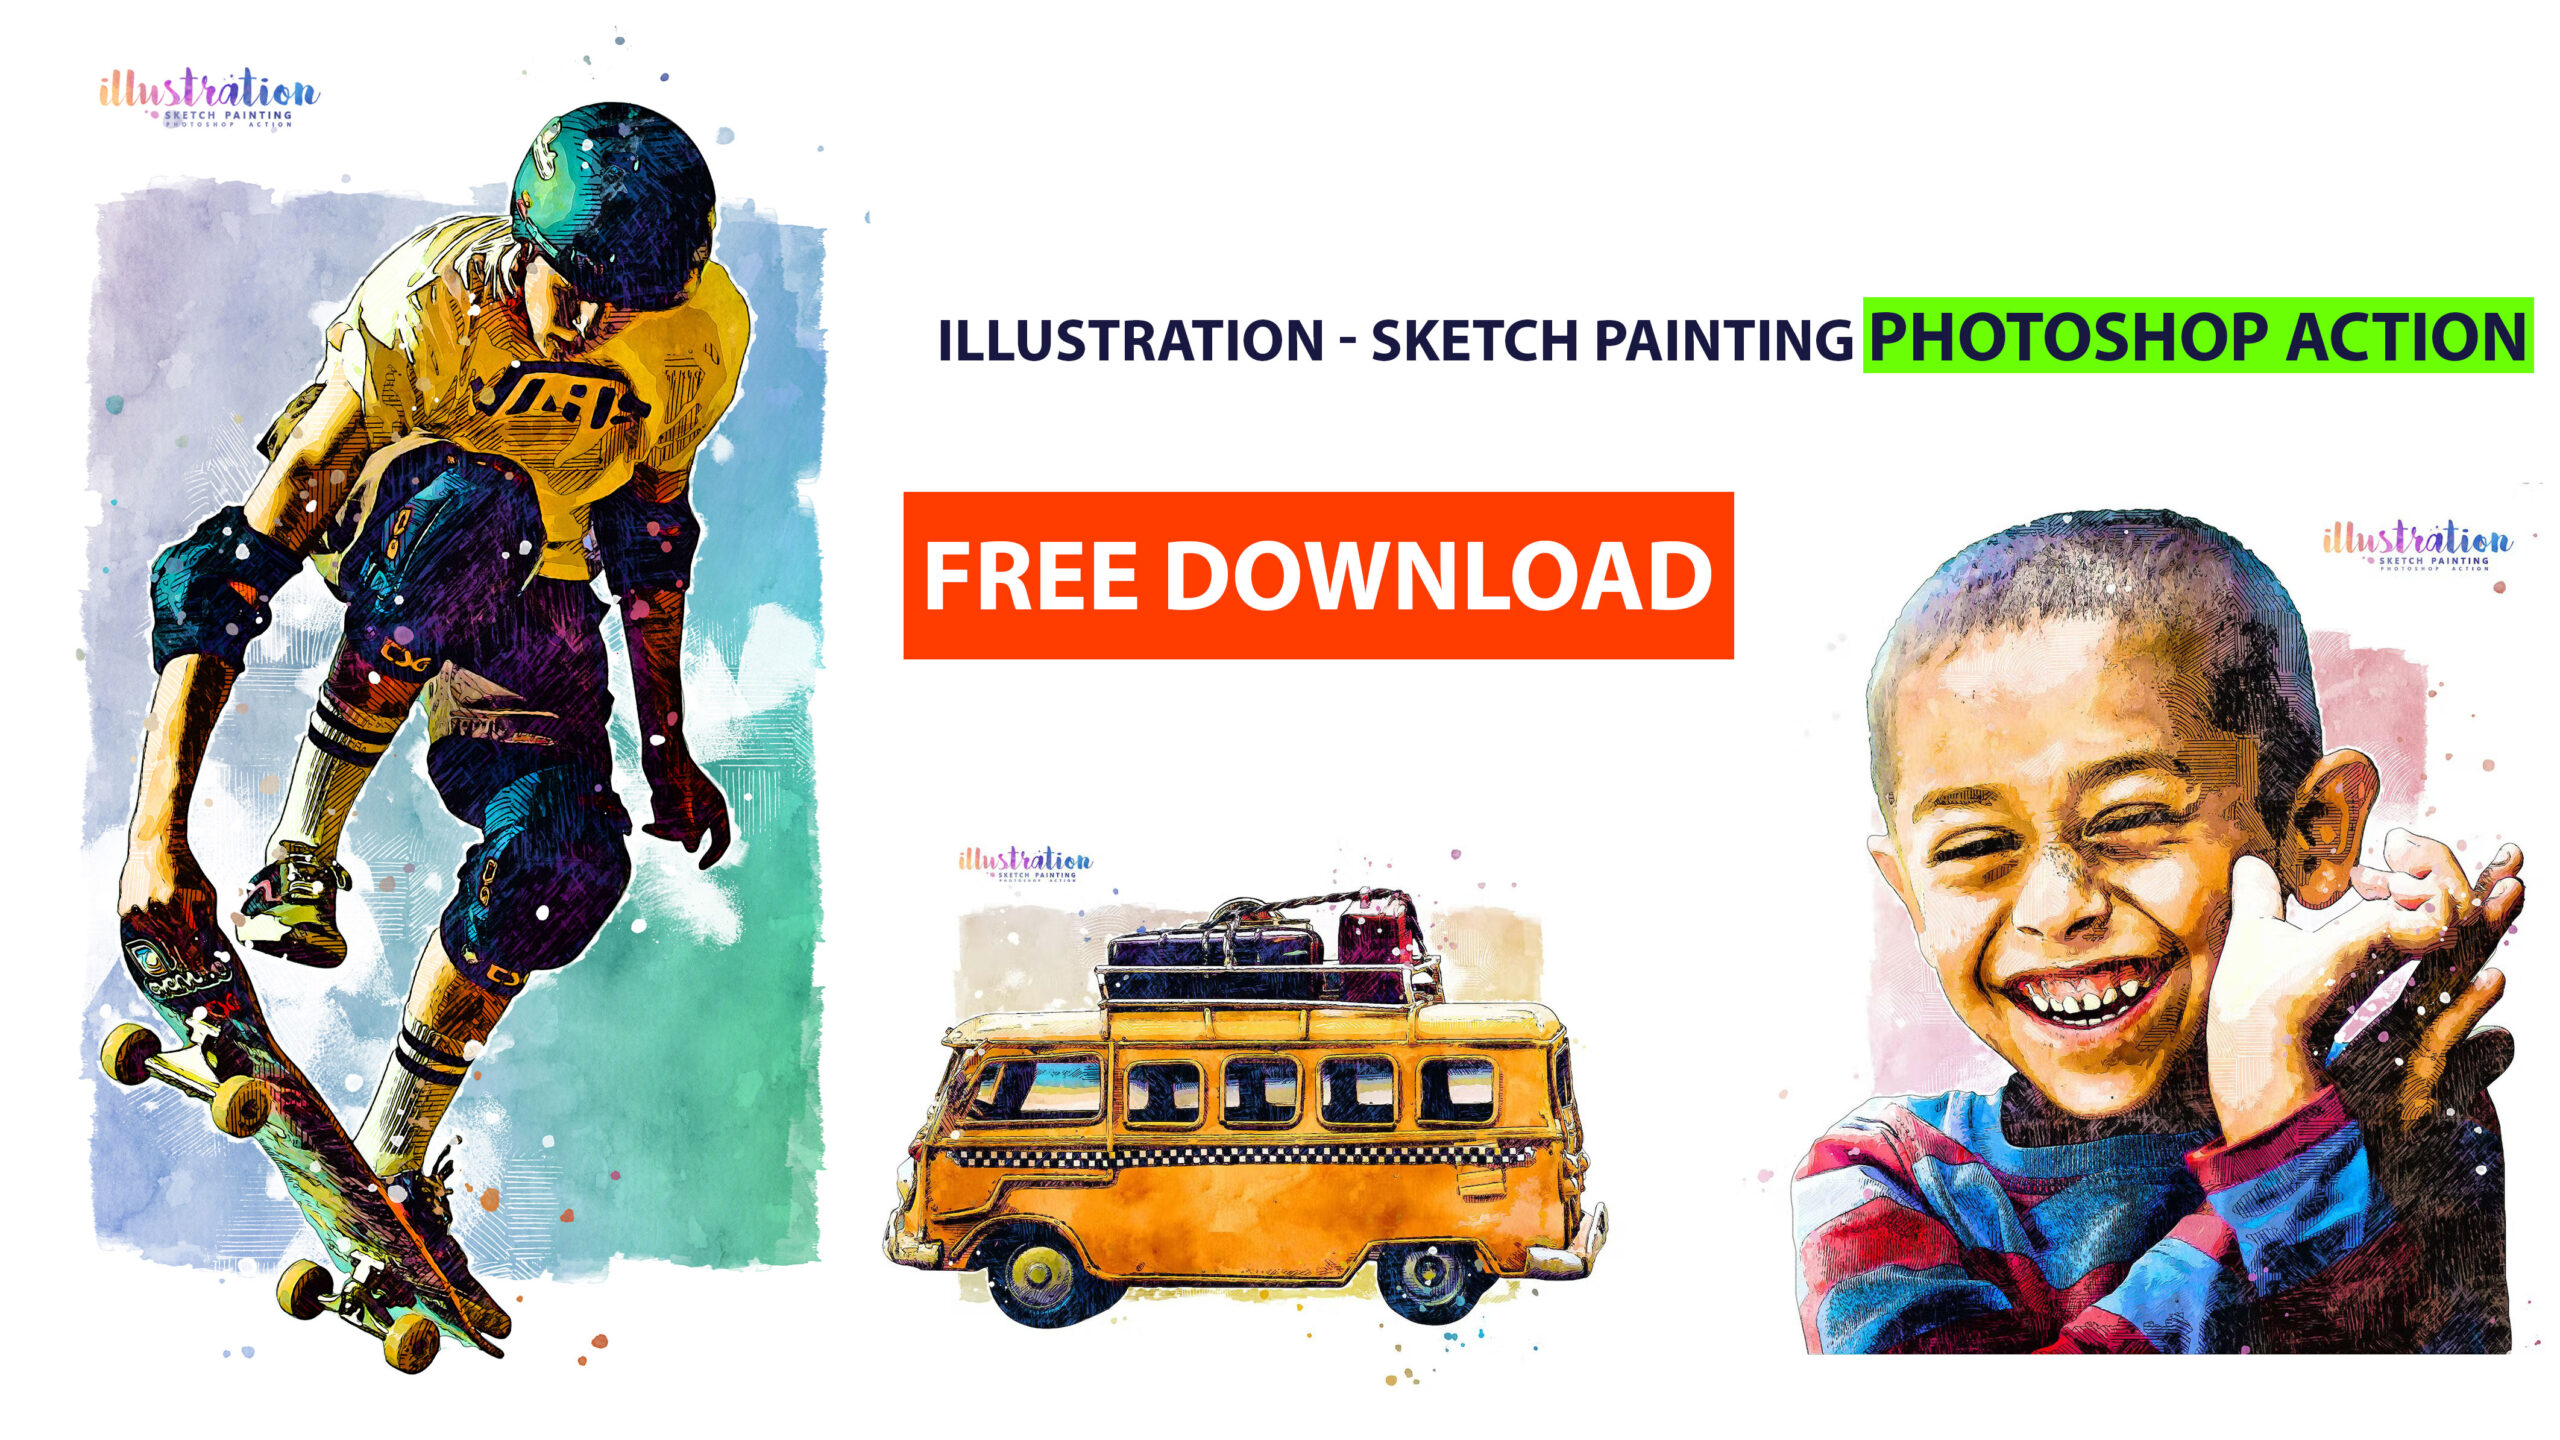
Hey everyone, Roshan here! I’ve spent years tinkering with Photoshop and exploring various illustration and sketch actions in the quest for that perfect artistic effect. From classic pencil sketch filters to modern digital painting tools, I’ve tested more than I can count. In this journey, I stumbled upon the Illustration Sketch Painting Photoshop Action, and it quickly became my favorite. This action has been creating quite a buzz among designers and photographers – in fact, one marketplace listing shows it has over 1,190 sales and a near-perfect rating, highlighting just how popular these creative effects have become. In a world where Photoshop actions are downloaded by the thousands each day, sketch-style effects are in especially high demand.
In this post, I’ll walk you through everything about this Illustration Sketch Painting Photoshop Action: its features, how to use it (step-by-step), system requirements, and why I prefer it over other options like the Da Vinci Sketch or Vector Art actions I tried before. By the end, you’ll see why this action stands out and how it can transform your images into stunning works of art with just a few clicks. Let’s dive in!
Benny Productions Optics+ 250 Overlay Pack Free Download
Features of Illustration Sketch Painting Photoshop Action
The Illustration Sketch Painting Photoshop Action is packed with creative features that set it apart from the usual one-trick filters. Here’s a rundown of what you get when you use this action:
- Authentic Art Style: It intelligently combines hand-drawn sketch line art, gouache watercolor washes, and even doodle-like pen strokes to create a beautiful traditional illustration painting effect. The result isn’t just a simple filter – it truly looks like a mixed-media artwork done by hand.
- Editable Layers: The action produces a fully layered Photoshop file once it finishes running. All the effects (sketch lines, watercolor splashes, color tones, etc.) are organized into separate layers and adjustment folders. This means you can tweak every detail – turn off a layer of hatching if it’s too much, adjust the color wash intensity, or change the background tone easily. The non-destructive editing preserves your original photo beneath all the effects.
- One-Click Process: Despite the sophisticated result, the action is designed to be extremely easy to use. You don’t need advanced Photoshop skills at all. Just load the action and play it – the script is crafted to do everything for you. It even works regardless of your Photoshop interface language (many actions only run on English, but this one runs on any language setting).
- Broad Compatibility: This action works with Photoshop CS6 and above, including all Creative Cloud versions. It means even if you’re on an older Photoshop (from 2012 onward), you can still use it – no need for the absolute latest update (though having a recent version is always a plus).
- Versatile Results: I was impressed by how well the effect works on a variety of images. It’s not limited to portraits or one type of photo. Figures, portraits, still life, architecture, even text and logos – you name it, this action can probably make it look like an illustration. I’ve turned model photos, building shots, and even simple logo designs into rich sketches with painted textures. The output always has that artsy, printed illustration vibe that’s hard to achieve manually.
- High Resolution Support: The action is optimized for high-resolution images. It can handle around 2500px to 5000px images at 300 DPI (which is great for prints) without issues. The details in the sketch lines and watercolor scales nicely with larger images, so you get a crisp result even on big canvases.
- Detailed Help Guide: When you download the product, it comes with a step-by-step guide (and there’s also a video tutorial by the creator on YouTube). This guide shows you exactly how to prepare your file and apply the action. I found this super useful when I first tried it, to ensure I didn’t miss any steps. Not every Photoshop action out there includes a clear tutorial, so this is a welcome bonus.
- Created by a Reputed Designer: This action was created by IndWorks, an independent design studio known for unique Photoshop effects and add-ons. IndWorks has a portfolio of top-rated actions (you might have heard of their Pop Art Action or Aquarelle Watercolor Action). With IndWorks’ name behind it, you can expect professional quality. They’ve studied traditional art techniques to build these effects, and it shows in the final output.
- In short, the Illustration Sketch Painting Photoshop Action isn’t a gimmicky filter – it’s a well-crafted tool that blends multiple art techniques into one click. The combination of watercolor and sketch gives your photo depth and character, as if an artist sat down with paints and pens to create a custom illustration just for you.
Top 5 Photoshop Retouching Plugins You Need in 2025
How to Use the Action (Step-by-Step)
One of the best things about this action is how user-friendly it is. You don’t need to be a Photoshop wizard; if you can click “Play” on an action, you can do this! Let’s go through the easy steps to use the Illustration Sketch Painting Photoshop Action:
- Download and Install the Action: After purchasing or downloading the action, you’ll get a
.atnfile (the action file). Open Photoshop, go to the Actions panel (Window > Actions), click the menu icon on the panel and choose “Load Actions…”. Select theIllustration-Sketch-Painting.atnfile. You should now see a folder named Illustration – Sketch Painting in your Actions list. - Open Your Image: Choose a good quality photo that you want to transform. High resolution works best (ideally the subject is clear and in focus). Open that image in Photoshop. For consistency, it’s good to be in RGB color mode, 8-bit (check via Image > Mode).
- Prepare the Layer: Make sure your photo layer is set as the Background layer (it should be locked and called “Background” by default if you just opened it). If it’s not, simply go to Layer > New > Background from Layer. This ensures the action knows where to apply the effects. No need to create any additional layers or masks – this particular action does all the selection work for you.
- Play the Action: In the Actions panel, expand the Illustration – Sketch Painting action set, and select the action inside (there might be one labeled “Play All” or similar). Now hit the “Play” button at the bottom of the Actions panel. Sit back and watch Photoshop do its magic! The script will start transforming your photo step by step – you’ll see filters being applied, layers being created, and so on. This may take a minute or two depending on your computer speed, because it’s doing a lot of complex processing.
- Wait for Completion: Once the action finishes, it will prompt you or simply stop when done. You’ll see a whole bunch of new layers and groups in your Layers panel. Don’t be alarmed – this is the creative sauce! The image on your canvas should now look like a hand-drawn illustration.
- Review and Tweak: This step is optional but highly recommended. After the action completes, review the layered result. The action typically creates groups like “Sketch Lines”, “Watercolor Wash”, “Effects” etc. You can click the visibility (eye icon) on some layers to turn certain effects on/off. For example, you might see a Color Lookup adjustment for toning – feel free to try different color tone or adjust opacity of the watercolor layer if you want less or more intensity. The default result usually looks fantastic, but every photo is different, so these layers let you fine-tune the illustration to your taste.
- Save Your Artwork: Once you’re happy with how it looks, go ahead and save your work. You can save as a PSD if you want to keep layers for future editing, or export to JPEG/PNG for sharing. I personally love zooming in to appreciate the fine ink lines and paint textures the action generated – it’s hard to believe it was once a normal photograph!
- That’s it – seven simple steps and you have a stunning illustrated version of your photo. Even if it’s your first time using a Photoshop action, this process should be pretty straightforward. And remember, if you ever get stuck, the downloaded files include a help document, and IndWorks (the creator) provided a tutorial video on YouTube demonstrating the process. So you’re well supported throughout.
Before and After Examples
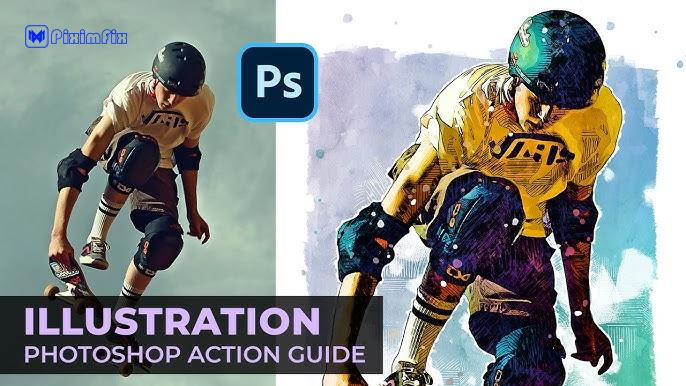
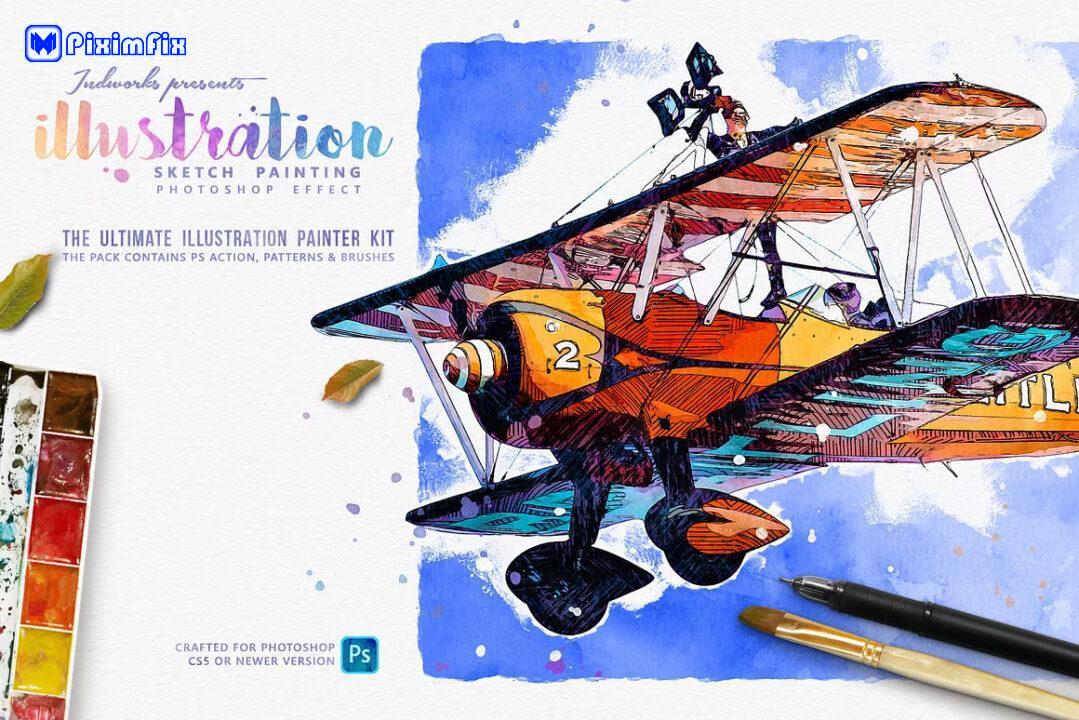
An example of the Illustration Sketch Painting Photoshop Action effect: a regular photo of a vintage biplane (before) is transformed into a vibrant hand-drawn illustration (after) with rich watercolor backgrounds and inked detailing.

Seeing is believing, right? The above image is a perfect example of what this action can do, look at the right (after applying the action) – it looks like a page torn from an artist’s sketchbook or a frame from a graphic novel!
The plane’s outlines have been redrawn with bold ink lines, and you can notice how the shading has turned into stylish hatching and doodles. The background is no longer a flat sky; instead, you get a splattered blue watercolor wash that gives the scene a dynamic painted look. The text on the wing and the numbering on the nose remain clear, but everything is now colored and textured as if manually painted.
PiXimperfect Photoshop Easy Course 77.48GB zip File Free Download
What’s impressive is how the action maintained the details of the plane (the struts, the wheels, the wing text) yet added that artistic twist. This is just one example – I’ve also tried this action on a portrait of a friend. The result turned a standard portrait into something that looked like a watercolor comic-book panel, with pencil-like cross-hatching on the shadows and soft color bleeding in the background. In another test, I used a street photograph: the buildings and lamps gained fine sketch details, and the sky turned into a beautiful blend of paint splashes.
The transformation is almost instant – and it’s a lot of fun to compare the before and after. If this were a live demo, we’d swipe or fade between the original photo and the illustrated version, and you’d probably hear a lot of “Wow!” reactions. The effect is not just about adding a filter; it reinterprets the image in a different artistic medium. This opens up possibilities: you can create your own comic-style portraits, illustrated storybooks, or stylized graphics for a presentation, all starting from your photos.
(Note: For best results, use clear, high-quality images. Very dark or low-contrast photos might need a quick levels adjustment before running the action, just so the sketch lines and watercolor have something defined to latch onto. The action does a great job, but giving it a good canvas to start with always helps.)
System Requirements
Before you jump in and start using the Illustration Sketch Painting Photoshop Action, make sure your setup meets the basic requirements. The good news is that this action is not too demanding, but here’s what you should have:
- Adobe Photoshop CS6 or Newer: You’ll need at least Photoshop CS6 (from the Creative Suite 6 era) or any version of Photoshop CC. This action has been tested on CS6, CC 2015, CC 2018, CC 2021, and so on, up to the latest Photoshop 2024 – and it works on alldesignshack.net. If you’re on Photoshop CC, it’s always a good idea to keep it updated for the best performance.
- Operating System: It doesn’t matter if you’re on Windows or macOS, as long as you have Photoshop installed, you’re fine. The action is cross-platform.
- Photoshop Language: Unlike some older actions that required the Photoshop interface to be in English, this one runs on any language version of Photoshop. So no need to change your language settings; you can be using Photoshop in Spanish, French, Japanese – the action will still work. This is a big plus for international users.
- Hardware Recommendations: While not strictly required, a decent computer will speed up the action. I recommend at least 8GB of RAM (Photoshop loves memory) and a modern CPU. If your computer handles regular Photoshop filters fairly well, it should handle this action. During the execution, Photoshop will run multiple filters (like artistic filters, blurs, etc.), so having a GPU (graphics card) that supports Photoshop’s advanced features can help. Specifically, Photoshop’s Oil Paint filter (used by many painting actions) requires a compatible GPU. The action is crafted to work regardless, but if you see any error about “Oil Paint filter”, ensure your Photoshop version supports it (CC 2015.5+ and a GPU with OpenCL). Most users won’t have to worry about this, but it’s good to know.
- Disk Space: The action will create a lot of layers, so your Photoshop file can become somewhat large (especially with high-res images). Make sure you have some disk space available and allocate enough scratch disk in Photoshop preferences if working with very large images.
- No Additional Plug-ins Needed: You don’t need to install any third-party plug-ins or filters. Everything uses Photoshop’s built-in tools and the assets that come with the action (if any). Just be sure to load any patterns or brushes that might be included in the download (some actions pack in extra brush files for the effects – check the documentation if this action includes any .abr or .pat files, and load them similarly via Preset Manager).
In summary, if you have a Photoshop version from the last decade and a relatively stable machine, you should be able to run the Illustration Sketch Painting Photoshop Action without a hitch. I’ve personally used it on a mid-range laptop and a high-end desktop; it worked on both – just a bit faster on the desktop. The key is to be patient while it runs and to follow any setup instructions (like the Background layer step mentioned earlier).
Most users – whether hobbyist photographers or seasoned designers – will likely already meet these requirements. It’s designed to be accessible, which is great because nothing’s more frustrating than buying a cool action and then finding out you needed some exotic setup to use it.
Why Choose This Action Over Others
You might be wondering, with so many Photoshop actions out there, what makes this one special? I asked myself the same question after trying a bunch of alternatives. Here’s why the Illustration Sketch Painting Photoshop Action stands out, especially compared to other popular actions I’ve tried (like the Da Vinci Sketch Action, Vector Art Action, etc.):
- All-in-One Artistic Effect: Many actions focus on a single look – for example, the Da Vinci Sketch Action gives you a vintage pencil sketch (in the style of Leonardo da Vinci’s drawings), and a Vector Art Action might create a flat, cartoonish vector look. Those are awesome in their own right, but they’re limited to one style. The Illustration Sketch Painting Photoshop Action, on the other hand, combines multiple art styles into one. It’s like getting a pencil sketch, watercolor painting, and ink outline all at once. This layering of effects produces a richer result than any of those single-style actions. Instead of choosing between a sketch or a painting, you get the best of both worlds in one go.
- Ease of Use and Reliability: In my experience, some advanced actions require a bunch of tedious setup steps or only work if you have the perfect conditions (right Photoshop language, certain brush sets loaded, etc.). I remember one action (not naming names) that kept failing until I realized I had to change my Photoshop to English UK. With the IndWorks Illustration Sketch action, I had zero issues. It ran smoothly on the first try. IndWorks provides clear instructions, and the action even auto-adjusts for different language settings, which is a lifesaver. When comparing, I found this action to be more user-friendly than many others – great for both beginners and pros who don’t want to fuss around.
- Highly Customizable Output: The editable layers in this action are a big deal. Alternatives like the Vector Art Action often yield a flatter image that’s harder to tweak (since vector effects usually simplify colors into few layers). The Da Vinci Sketch I tried gave me a nice result but I wanted to add some color to it, which wasn’t straightforward because it didn’t come with color layers. With the Illustration Sketch Painting Photoshop Action, after it’s done, you get a well-organized layer structure. Want to boost the watercolor saturation or try a different color wash? Just adjust a layer. Want less lines on the face? Mask or lower opacity on the “Sketch lines” group. This flexibility means one action can produce many variations. In contrast, with other actions, if you want a slightly different look, you might have to run a different action entirely.
- Quality of Effect: Simply put, the result from this action looks hand-made and professional. IndWorks clearly invested time to emulate real illustration techniques (as they mentioned, they studied traditional techniques while creating it). When I compare results side by side, the Illustration Sketch Painting Photoshop Action effect has more detail and nuance. For example, it adds little pen scribbles and paint splatter in just the right places, which make the piece feel authentic. Some other sketch actions might just do a uniform outline or an over-simplified trace, which can look computer-generated. Here, the end result fooled a few of my colleagues – they thought I had commissioned a professional illustrator!
- Versatility Across Projects: Since this action works on a wide range of subjects (portraits, architecture, products, logos, you name it), it’s my go-to when I want an artsy effect. I don’t need to have separate actions for “sketch my portraits” and “paintify my buildings” – this one action handles them all pretty well. It also blends with other effects nicely; for instance, I once applied a subtle paper texture on top of the final result to make it look like a real sketchbook page – it looked fantastic. Alternatives might be more narrow. Da Vinci Sketch Action is fantastic for a historic sketch look on portraits, but wouldn’t make sense on a logo. Vector Art Action is cool for a modern graphic look but might not capture the mood if I wanted a softer, analog feel. Illustration Sketch Painting Photoshop Action hits a sweet spot in between, making it suitable for most creative projects.
- Creator Support and Updates: IndWorks is an active creator on Envato Market (GraphicRiver) and elsewhere. That means if Photoshop updates ever break something, they tend to release updates (like how they have v1.2 of some actions like Da Vinci Sketch). Knowing that there’s an active developer behind this action gives me confidence. Some one-off actions by unknown authors might not get updated, leaving you stuck if something stops working. Here, the strong community rating (4.88 stars) and thousands of users also suggest that if there were any major issues, they’d be addressed quickly. It’s a tried-and-tested product.
In summary, I choose Illustration Sketch Painting Photoshop Action over others because it’s versatile, easy, and delivers top-notch results consistently. It saved me time (no more trying 3 different actions to see which looks best; this one usually nails it in one go) and the outcome impresses clients and friends alike. While specialized actions like the ones I mentioned are great for specific purposes, if you’re looking for a well-rounded illustration effect that you can apply to pretty much anything, IndWorks’ solution is hard to beat.
FAQs
Q1: What versions of Photoshop does the Illustration Sketch Painting Photoshop Action support?
A: It supports Photoshop CS6 and all later versions (CC). Whether you’re on an older CS6 copy or the latest Photoshop CC 2024, you can run this action without issuesdesignshack.net. I use Photoshop CC and had no problems. It works on both Windows and Mac. Just make sure your Photoshop is not extremely outdated (anything from the last 8-10 years is fine). No special plugins are required, but if you have Photoshop CC, ensure the Oil Paint filter is available/enabled for best results (most CC versions have it; it’s a GPU-dependent feature). Overall, compatibility is broad – one of the reasons this action is so popular.
Q2: Do I need any special skills or add-ons to use this action?
A: Not at all! This action is designed for beginners and pros alike. If you know how to open a photo and click “Play” on an action, you’re good to go. The download includes a help file and IndWorks even provided a tutorial video, so you can follow along easily. You don’t need to paint or draw manually – the action does all the creative work.
Also, no extra add-ons (brush packs, plug-ins) are required; all necessary effects are built into the action. Just load the action into Photoshop, and let it run. Of course, after it’s done, basic knowledge of layers can help if you want to fine-tune the outcome (like adjusting opacity or colors), but even that is optional. I’d say this action is very beginner-friendly. As proof, I showed it to a friend who barely uses Photoshop – he ran it successfully and was thrilled with the result.
Q3: Can I customize the final look after running the action?
A: Yes! The output is fully layered and customizable. The action doesn’t flatten your image into a single layer. Instead, it generates a well-organized layer structure with groups for different effects (sketch lines, watercolor background, color effects, etc.). You can expand those groups and play around: turn off a layer if you feel the effect is too strong, change colors using adjustment layers, move or scale certain paint splatters, and so on. For example, if your result has a color tone you don’t like, just find the color adjustment layer (it might be a Gradient Map or Color Lookup layer) and tweak it.
I often experiment by changing the blend modes or trying different overlay colors to match my project’s theme. Because it’s non-destructive, your original photo layer is still there as well (usually hidden under the effect layers). This means you have complete control to refine the artwork. In short, think of the action’s result as a starting point – you can leave it as is (which already looks great) or treat it like a piece of art to further adjust and personalize.
Q4: What kind of photos work best with this action?
A: You can use almost any photo, but some types of images really shine with this effect. Generally, portraits, figures, architecture, and objects with clear details turn out beautifully. High-contrast images (with good lighting and visible edges) help the sketch lines come out clearly. For instance, a portrait with the subject against a simple background will result in the person nicely illustrated with sketch and paint around them. Still life shots (like a camera on a table, a bicycle by a wall, etc.)
also get a charming illustrated look. It even works on text and logos to give them an artistic flair. If your photo is very dark or very blurry, the effect might not be as pronounced – I’d recommend doing a quick edit to brighten or sharpen it a bit before running the action. Also, consider the resolution: use a medium to high resolution image (say 2000px or larger). If you use a very small image, the fine detail might be lost. I’ve had great success with 3000px+ images where you can see the tiny ink details after the effect. So, while there’s no strict limitation, feeding the action a good quality photo will give you an optimum result.
Q5: Is this action available for free download or do I have to purchase it?
A: The Illustration Sketch Painting Photoshop Action is a premium item, created by IndWorks. It’s available for purchase on marketplaces like Envato GraphicRiver for a very reasonable price (around $10 at the time of writing). That purchase not only gets you the action file but also customer support, future updates, and the assurance of quality.
Download Illustration Sketch Painting Photoshop Action
After clicking the link below, you can directly download the Illustration Sketch Painting Photoshop Action for free, along with the instructions and any additional assets. No purchase is needed. Simply install the action file (.ATN) in Photoshop, run it on your favorite photo, and watch the magic happen! It’s my way of making this incredible tool easily available for all creatives who want to turn their photos into stunning hand-drawn artworks.
Why grab it now? If you’re a designer, photographer, or digital artist, this action can save you hours of work. Instead of manually trying to achieve a detailed sketchy watercolor effect (which could take days), you’ll have a pro-level illustration in minutes. It’s perfect for creating unique social media graphics, spicing up a client’s project, printing personalized art, or just impressing your friends and family with something creative.
Lastly, remember that this action was crafted by IndWorks, a reputable author. By downloading it, you’re not only empowering your own creative toolbox but also supporting the artists who develop these fantastic tools for us. 🎨
Give it a try – I’m confident you’ll love the results as much as I do. Happy designing, and enjoy turning your photos into masterpieces with the Illustration Sketch Painting Photoshop Action!