Razorpay is one of the best payment processors in the market today and makes it a breeze for companies to accept online payment. No matter if you’re operating a tiny online store or an online market, Razorpay provides an efficient and secure way to handle transactions. With features like multiple payment options, simple integration, and a strong security system It’s no wonder why numerous online businesses opt for Razorpay.
Razorpay offers a range of payment options. These include credit and debit cards as well as UPI net banking and the most the most popular digital wallets. So, your customers can choose from a an array of options which makes shopping more enjoyable. Furthermore, Razorpay’s sophisticated dashboard lets you monitor transactions in real-time and manage refunds with ease and get detailed data to improve your business processes.
It is important to be aware the fact that Razorpay has strict regulations and rules that means they can not just open accounts for anyone. This verification procedure is strict to ensure security and reliability that the gateway provides.
Recently, Razorpay has started onboarding new customers once more following the lifting of the ban by the Reserve Bank of India (RBI). According to an article on Livemint story, Razorpay spokesperson stated: “Having received the RBI nod to restart onboarding of new merchants, we remain committed to delivering our industry-first payment solutions.”
Personally I’ve recently gone through the Razorpay account activation procedure and was approved in just only a few days. This guide was created to give my first-hand experience to help you navigate the activation process efficiently and quickly.
In this post, we’ll take users through how required to create an account with Razorpay account in only three days. You read it precisely: only three days! No matter if you’re an experienced online seller or just beginning to get started this guide has been created to help you satisfy all Razorpay requirements and speed up the process of registering your account. With the right planning and preparation it is possible to speed up the process and get the account approved within a matter of time.
We’ll provide you with clear instructions and guidance to ensure that your website complies with the standards and produce the required paperwork and full verifications. You’re in good hands. Let’s begin and in no time the Razorpay Account will be in operation!
Setting Up Your WordPress Website for Razorpay Account Activation
Why Choose WordPress?

If you’re thinking about the reasons WordPress is our preferred option for setting up an online shop, I’ll explain it to you. WordPress is extremely flexible and user-friendly, which makes it ideal for beginners and experienced webmasters. One of the main advantages is the vast array of themes and plugins available, which will greatly increase the efficiency of your online shop. It doesn’t matter if you require sophisticated SEO tools, stunning design templates, or even robust features for your shopping cart, WordPress has got you covered. Additionally, its huge community ensures that there’s always support for you if you encounter any problems.
We’re suggesting WordPress because it has specific plugins that are vital for getting your Razorpay account up and running quickly. The process involves making an archive of your website as well as setting up the essential pages, and then importing your products and other items – all of which WordPress does flawlessly using the appropriate plugins.
Advantages of WordPress
Flexibility and Ease to Utilization WordPress is designed to be simple and easy to use even for those who are novices to website creation. Its flexibility lets you easily modify your website to fit your particular requirements without writing any code.
Accessibility of Plugins as well as Themes WordPress has a wide range of themes and plugins. WordPress ecosystem is brimming with themes and plugins that can transform your site into an effective e-commerce platform. Do you need an online shopping cart? There’s a plugin to help. Are you looking to boost your SEO? There are SEO plugins available as well. In terms of design, the wide range of themes that are available ensures that your site will appear elegant and professional.
Backing Up Your Existing WordPress Site
If you have an existing WordPress website running on items, the very first step you should take is create backup. This important step. Backups of your website protect your data and content and ensures that you don’t loose anything crucial during the set-up process. Imagine working hard on your website only to have some issue and then be unable to retrieve it all. Not amusing, is it? Backups act as an insurance policy to protect the hard work you’ve put into it.
Using WP STAGING PRO
Let’s now discuss how to backup your site with WP Staging Pro. This plugin can be life-saving that makes the process of backup easy and effortless. Here’s a step-bystep guide to begin:
- Install WP STAGING PRO:
- Log into the WordPress dashboard.
- Go to Plugins > Add New.
- Upload “WP STAGING PRO“.
- Simply click “Install Now” and then “Activate”.
- Create a Backup:
- Once you’ve activated it, you’ll be able to access WP STAGING PRO on Your WordPress dashboard.
- Click on WP STAGING PRO > Create New Staging Site.
- Follow the instructions to begin your backup procedure. The plugin will generate an identical copy of your website and will create a full backup of your entire data and content.
- Ensure a Successful Backup:
- Check that the staging website contains all your posts, pages products, settings, and other items.
- Visit the staging site and navigate it through to check that everything is operating in the way you expect it to.
Now that you’ve successfully backed up your existing WordPress site, it’s time to set up a fresh WordPress installation. This clean slate will make it easier to follow the steps required for Razorpay activation without any existing configurations getting in the way. Once your new WordPress site is live and running smoothly, we can move on to the next step: creating the essential pages that every online store needs. Let’s get started!
Setting Up Essential Pages for Razorpay Activation
Creating essential pages is a key step to ensure your website looks professional and meets Razorpay’s requirements. These pages not only help in compliance but also build trust with your customers. Let’s dive into the list of essential pages you’ll need and why they matter.
List of Essential Pages
- Home Page
- The first impression of your website. Make it engaging with a clear overview of your products and services.
- About Us Page
- Share your story, mission, and the team behind your business. This helps build a connection with your customers.
- Product Overview Page
- A page showcasing all your products with brief descriptions and categories. Easy navigation is key here.
- Product Detail Page
- Detailed information about each product, including images, specifications, price, and customer reviews.
- Shopping Cart Page
- A page where customers can view and manage the items they’ve added to their cart before proceeding to checkout.
- Checkout Page
- The final step in the shopping process where customers enter their payment and shipping details.
- Return Policy Page
- Clear information on your return and refund policies to assure customers of their purchase security.
- Contact Us Page
- Provide multiple ways for customers to reach you – contact form, email, phone number, and physical address if applicable.
Why These Pages Matter
Having these pages in place is crucial for several reasons:
- Legal Compliance: Pages like the Return Policy and Contact Us are often required by law and help you comply with e-commerce regulations.
- Trust Building: Detailed pages like About Us and Contact Us build trust with your customers, showing them that there’s a real team behind the website.
- Customer Experience: A well-structured site with clear navigation improves the overall shopping experience, encouraging customers to make a purchase.
Step-by-Step Guide to Creating Each Page
- Home Page:
- Use a clean, attractive design.
- Include a welcome message, featured products, and a brief overview of what your site offers.
- Add a call-to-action (CTA) button like “Shop Now” to direct visitors to your products.
- About Us Page:
- Share your business journey, mission, and values.
- Include team photos and bios to add a personal touch.
- Use a friendly, conversational tone to connect with visitors.
- Product Overview Page:
- Organize products into categories for easy browsing.
- Use high-quality images and concise descriptions.
- Implement filters and search options to help customers find what they’re looking for.
- Product Detail Page:
- Provide detailed product descriptions, specifications, and pricing.
- Include multiple images from different angles.
- Add customer reviews and ratings to build trust and encourage purchases.
- Shopping Cart Page:
- Show a clear summary of items in the cart with prices.
- Include options to update quantities or remove items.
- Display a prominent checkout button.
- Checkout Page:
- Make the checkout process as simple and straightforward as possible.
- Include fields for shipping details, payment information, and order summary.
- Offer multiple payment options and display trust badges for security.
- Return Policy Page:
- Clearly outline your return and refund policies.
- Provide instructions on how to return items.
- Include contact information for customer support.
- Contact Us Page:
- Provide a contact form for inquiries.
- List your business email and phone number.
- Include a map and address if you have a physical store or office.
Creating these essential pages ensures that your website is well-rounded and ready for Razorpay’s approval. It also enhances the overall customer experience, making your site a trustworthy and reliable place to shop. Let’s move forward and get these pages set up!
Step-by-Step Guide to Setting Up Your Website for Razorpay
Follow these steps to set up your WordPress website for Razorpay account activation. We’ll guide you through downloading and installing the necessary theme and plugins, configuring your store settings, and creating essential pages.
1. Download and Install the Theme

First, download the theme by following this link: Download Theme.
- Go to your WordPress Dashboard.
- Navigate to Appearance > Themes.
- Click on Add New and then Upload Theme.
- Upload the downloaded theme file.
- Click on Install Now and then Activate.
2. Install and Activate Essential Plugins
Now, go to the plugin tab to install the necessary plugins.
- Navigate to Plugins > Add New.
- Search for and install the following plugins:
- Elementor
- WooCommerce
- Contact Form 7
- WOOSTIFY Sites Library
- Razorpay for WooCommerce
- Import Amazon to WooCommerce
- After installing each plugin, click on Activate.
3. Configure WooCommerce Settings
Once the plugins are installed, configure your WooCommerce settings.
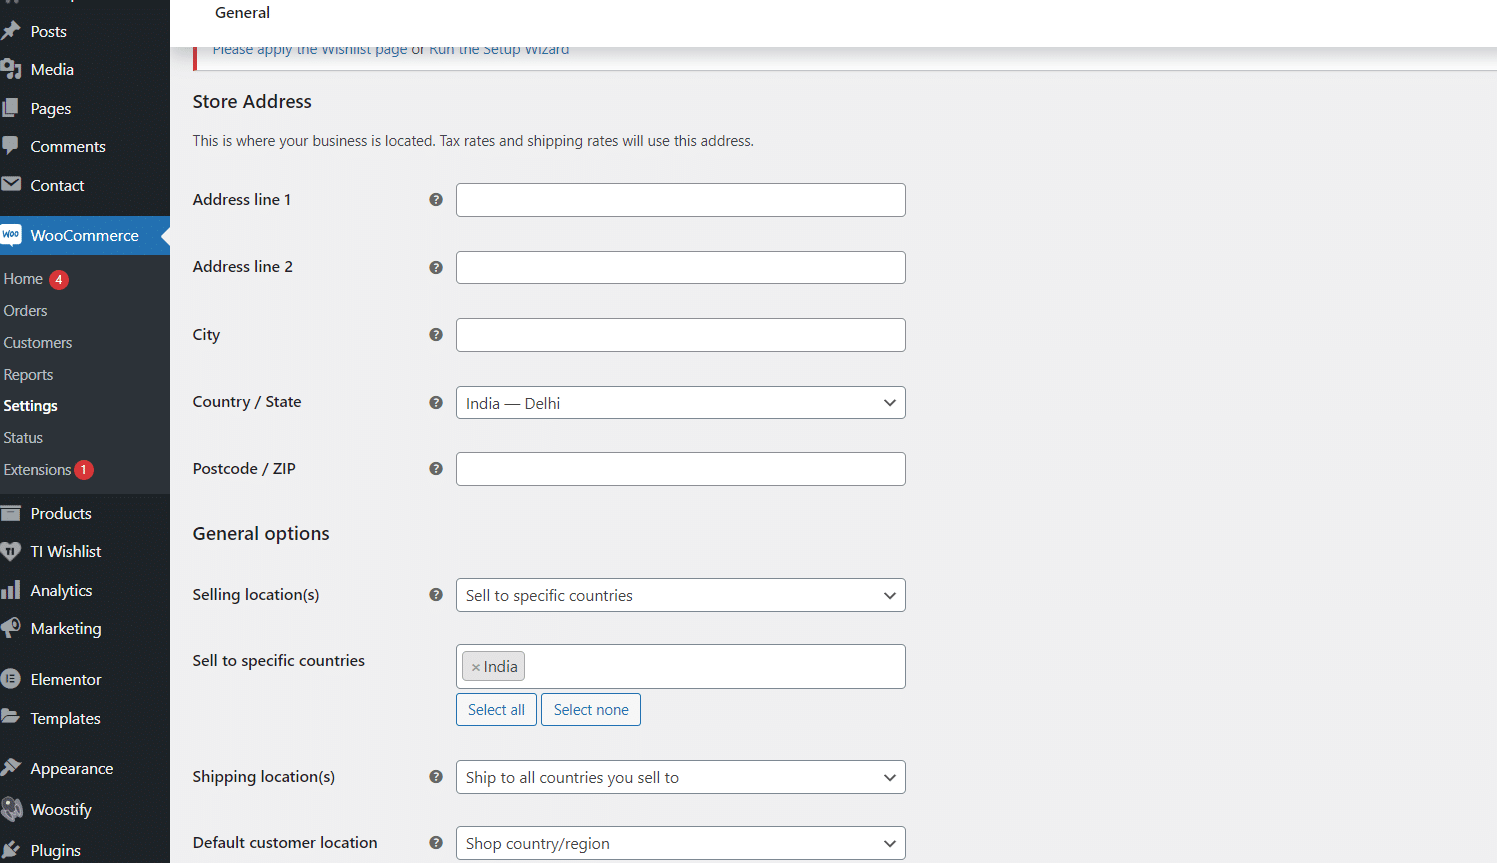
- Go to WooCommerce > Settings.
- Store Address: Enter your store’s address in the General tab.
- Selling Location: Select your selling locations.
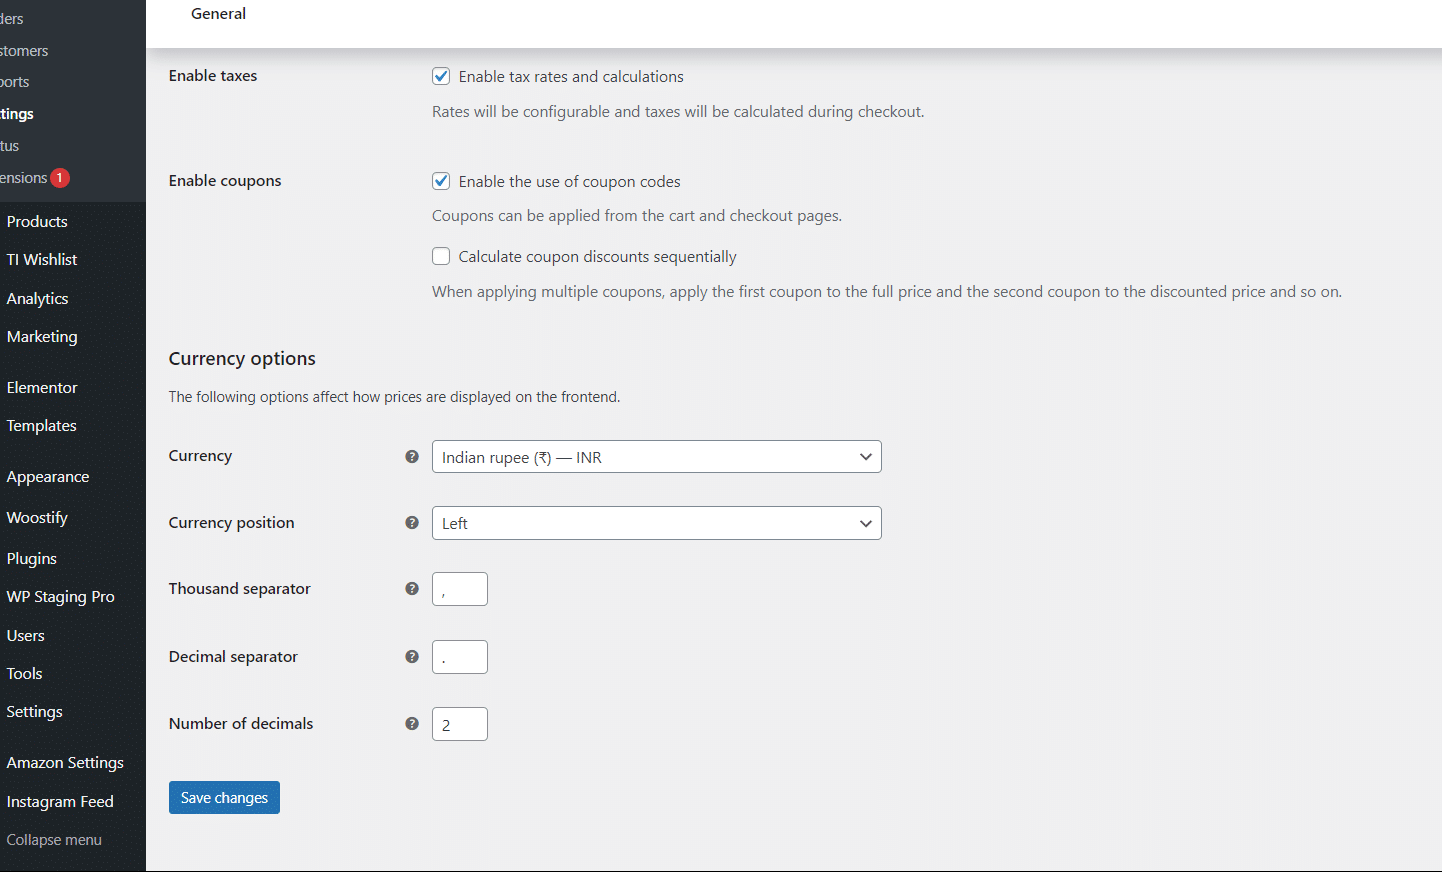
- Tax Options: Enable tax rates and calculations.
- Currency: Select Indian Rupee (₹).
4. Import a Template from WooCommerce Sites Library
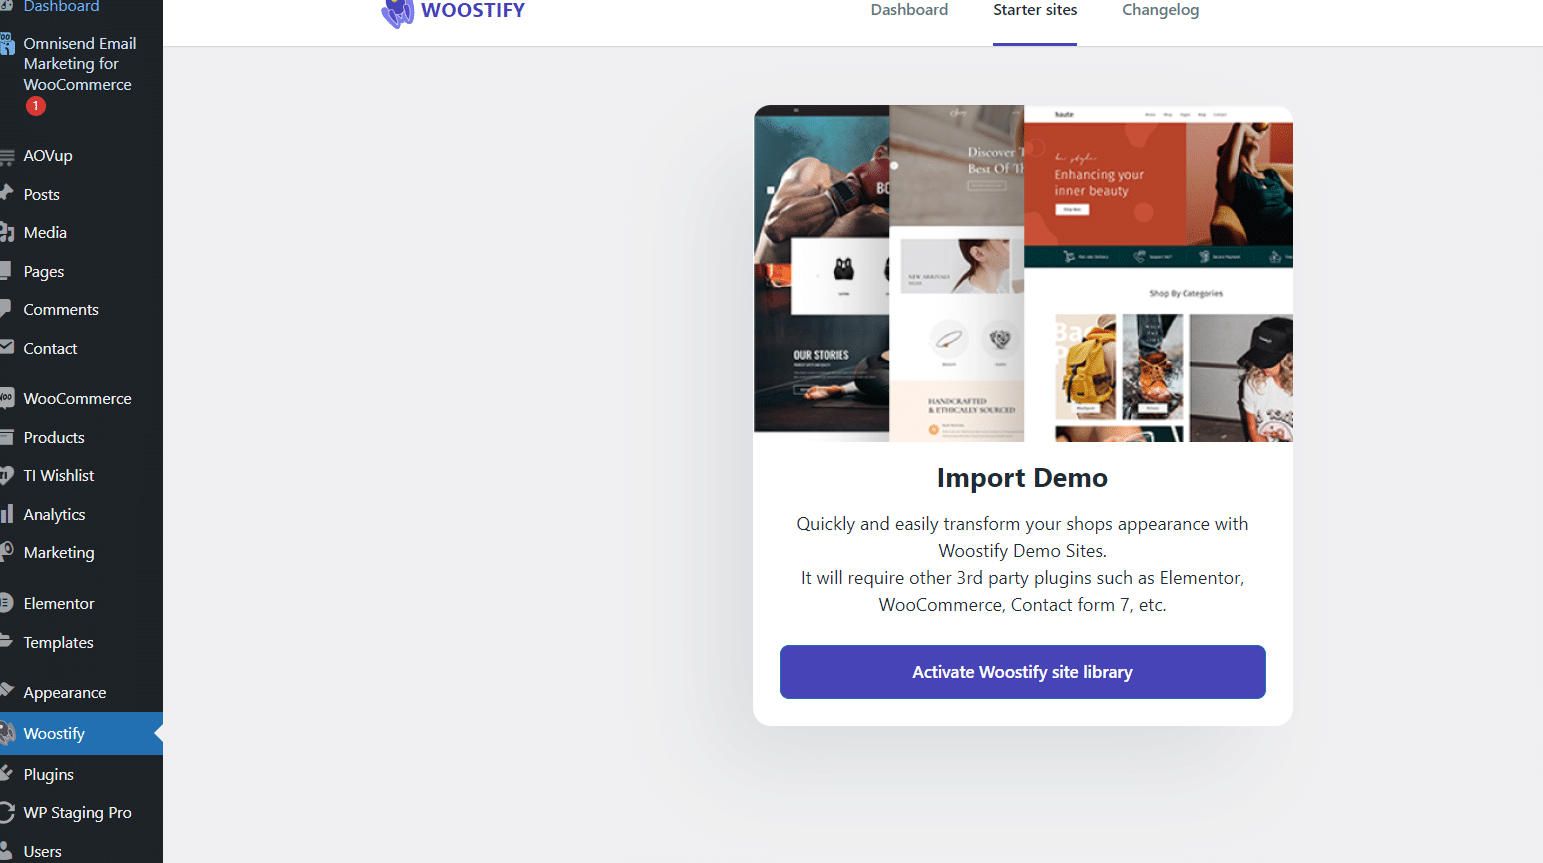
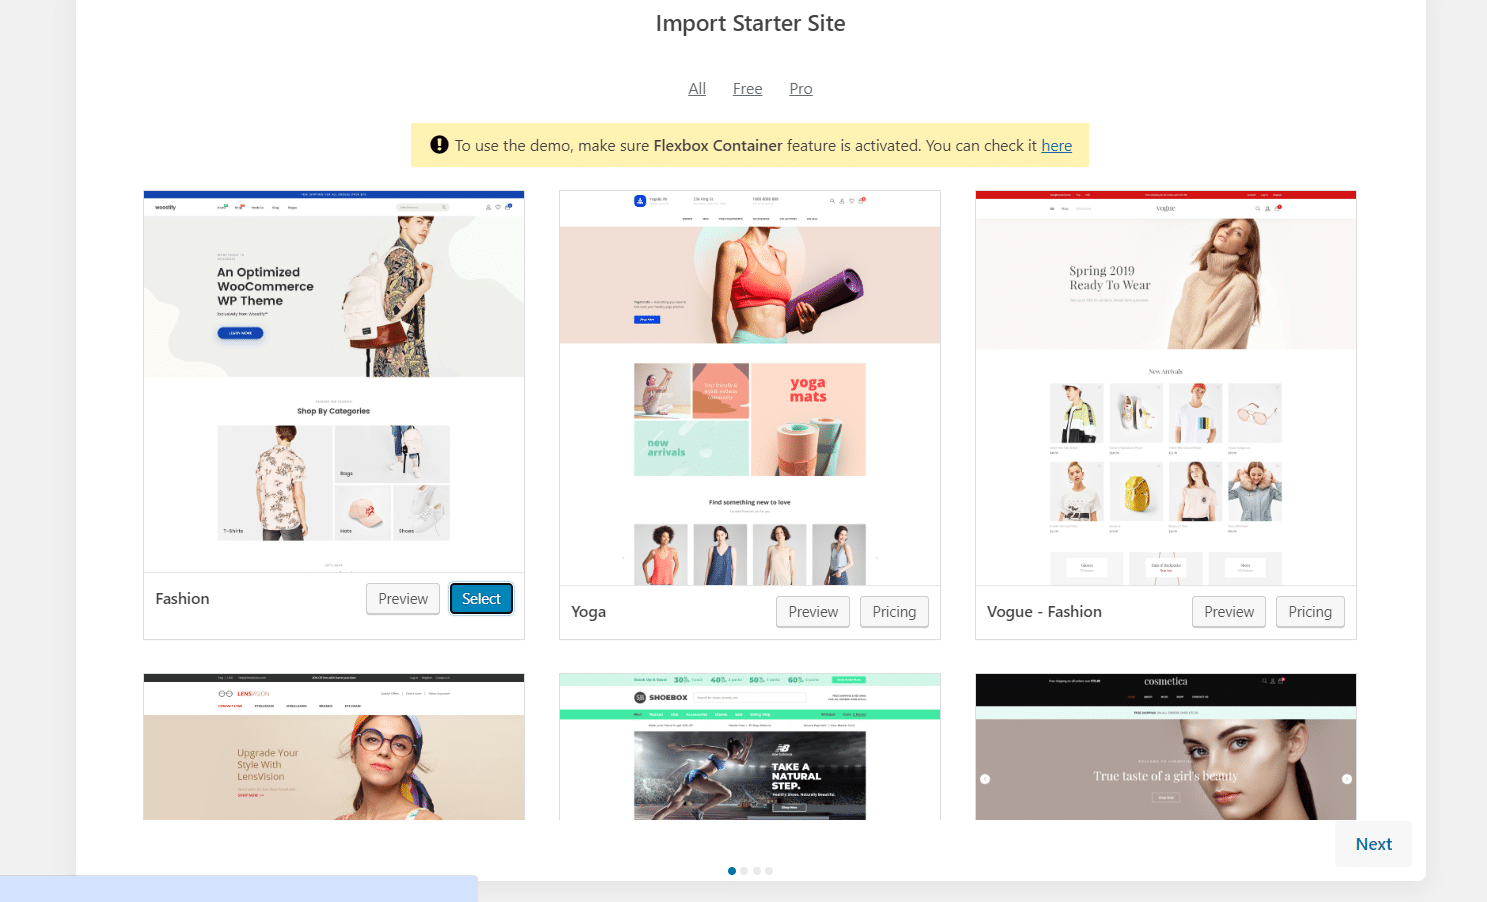
- Navigate to WOOSTIFY > Sites Library.
- Import a featured template from the library.
5. Create Essential Pages Using Termly.io
Visit Termly.io to generate essential legal pages.
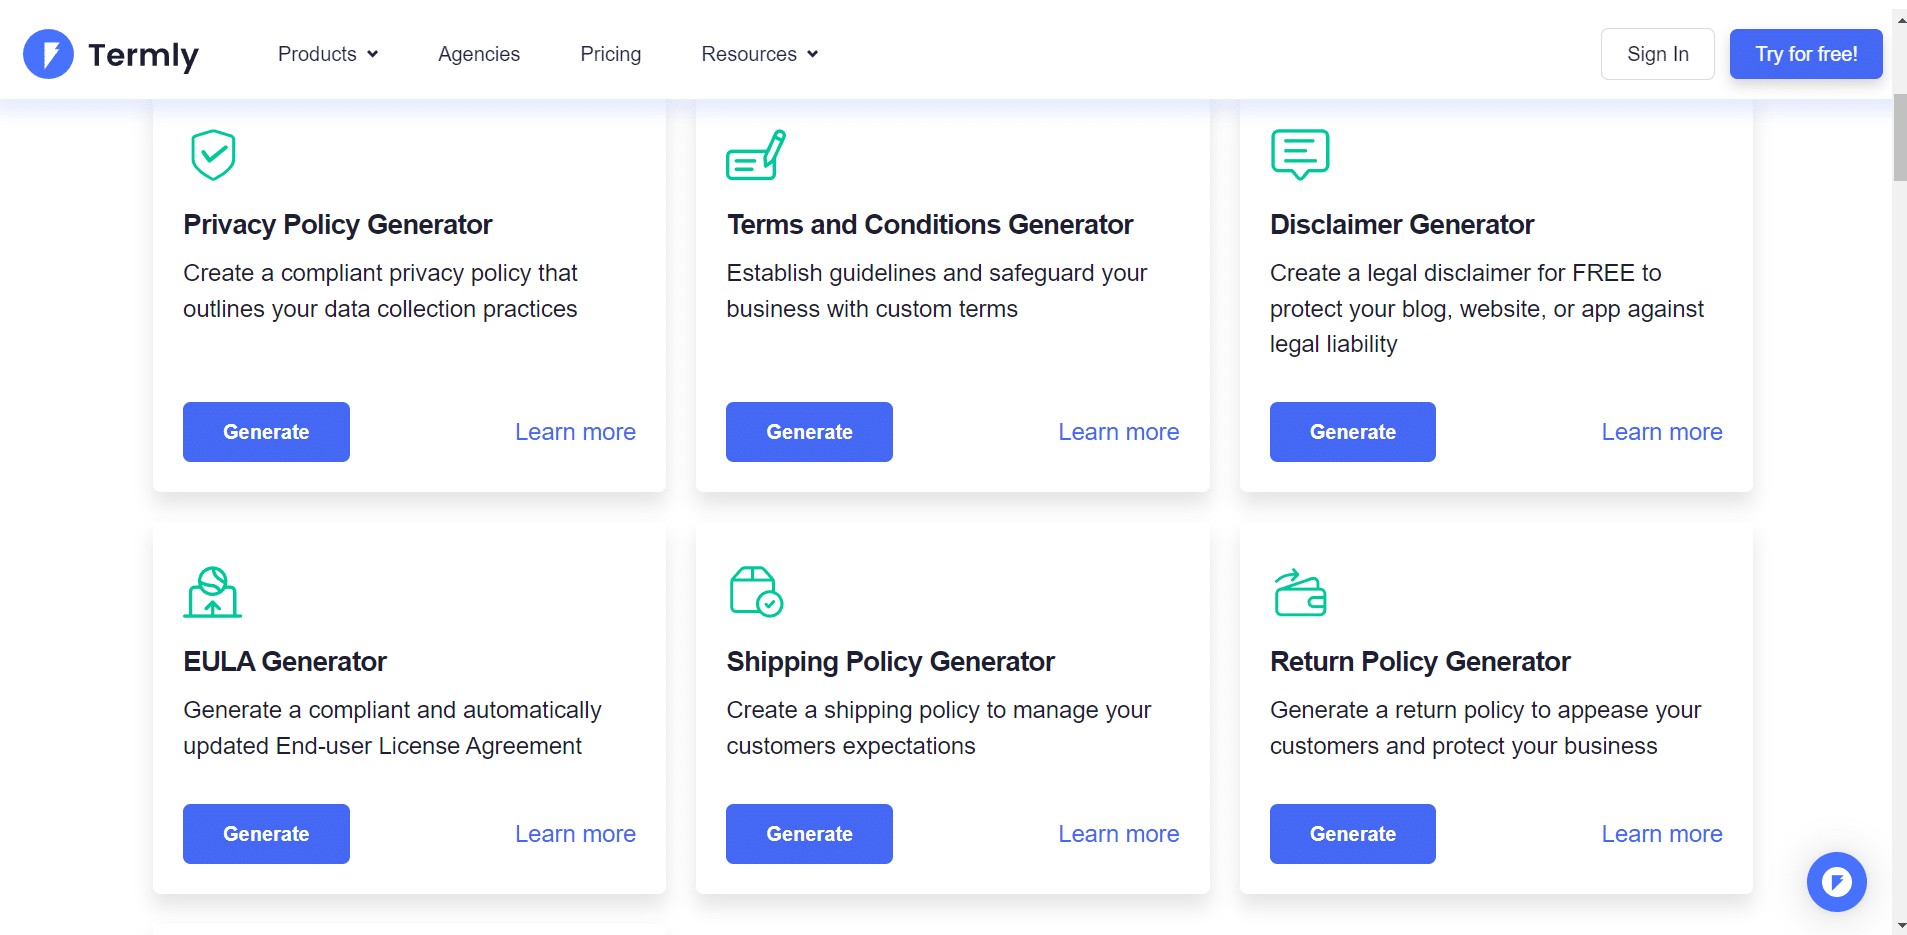
- Generate the following pages:
- Privacy Policy
- Terms and Conditions
- Disclaimer
- Shipping Policy
- Return Policy
- Acceptable Use Policy
- Cookie Policy
- Fill out your website details and conditions information.
- Create these pages on your WordPress site by navigating to Pages > Add New and copying the content generated on Termly.io.
6. Organize Your Menu
- Go to Appearance > Menus.
- Add the following pages to your menu:
- Home
- Shop
- Contact Us
- My Account
7. Set Up Footer Menu
- Similarly, create a footer menu and add the legal pages created from Termly.io.
- Ensure accurate information is displayed in the footer widgets.
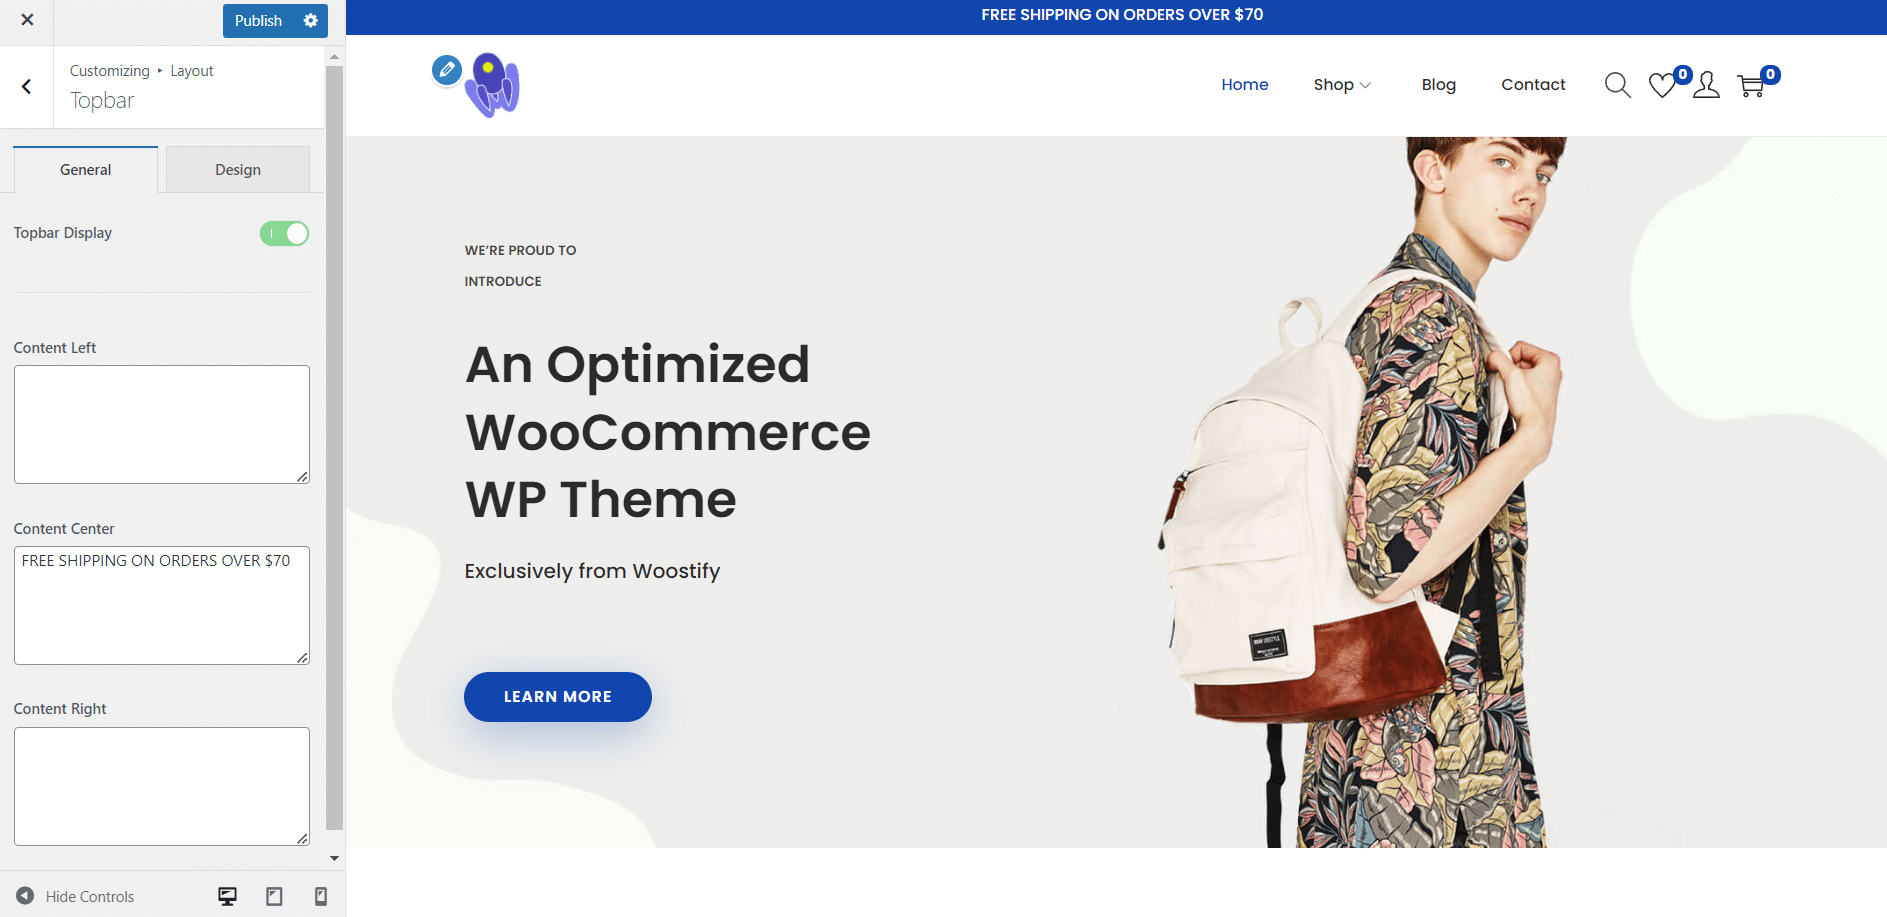
- Remove the top bar by going to Appearance > Customize and turning off the top bar option.
8. Import Products from Amazon
Watch this video tutorial to learn how to import products from Amazon: Import Products Tutorial.
- Use the Import Amazon to WooCommerce plugin to import at least 20 products in each of 10 categories.
By following these steps, you’ll have a fully set up WordPress site ready for Razorpay activation. Once everything is configured, you can move on to creating your Razorpay account and completing the verification process.
Now that your theme and plugins are installed, it’s time to create your Home Page and About Us Page. These pages are essential for giving your website a professional look and building trust with your visitors.
Home Page
- Hero Section: The first thing visitors see. Use a high-quality image or slider with a compelling headline and a call-to-action (e.g., “Shop Now”).
- Featured Products: Showcase your top products in a grid or carousel. Highlight special offers or bestsellers.
- About Section: A brief introduction to your business. Mention your mission and what makes your store unique.
- Customer Testimonials: Add a few quotes from satisfied customers to build credibility.
- Newsletter Signup: Encourage visitors to subscribe to your newsletter with a simple signup form.
- Footer: Include links to important pages like Privacy Policy, Terms and Conditions, and Contact Us.
About Us Page
- Introduction: Start with a warm welcome and an overview of your business.
- Our Story: Share the history of your business, how it started, and its journey so far.
- Our Mission: Explain your mission and core values. What drives your business?
- The Team: Introduce the people behind the business with photos and brief bios.
- Contact Information: Provide ways for customers to get in touch, including email, phone number, and physical address if applicable.
Creating these sections will help you establish a strong online presence and connect with your audience. Let’s get started on building these pages!
Step-by-Step Guide to Creating Your Razorpay Account
Step 1: Enter Your Mobile Number
- Navigate to the Razorpay Registration Page:
- Open your web browser and go to the Razorpay website.
- Initiate Registration:
- Click on the “Sign Up” button located at the top right corner of the homepage.
- Enter Your Mobile Number:
- On the registration page, you will be prompted to enter your mobile number.Enter your mobile number in the field provided.Optionally, you can choose to receive account updates via WhatsApp by leaving the checkbox ticked.
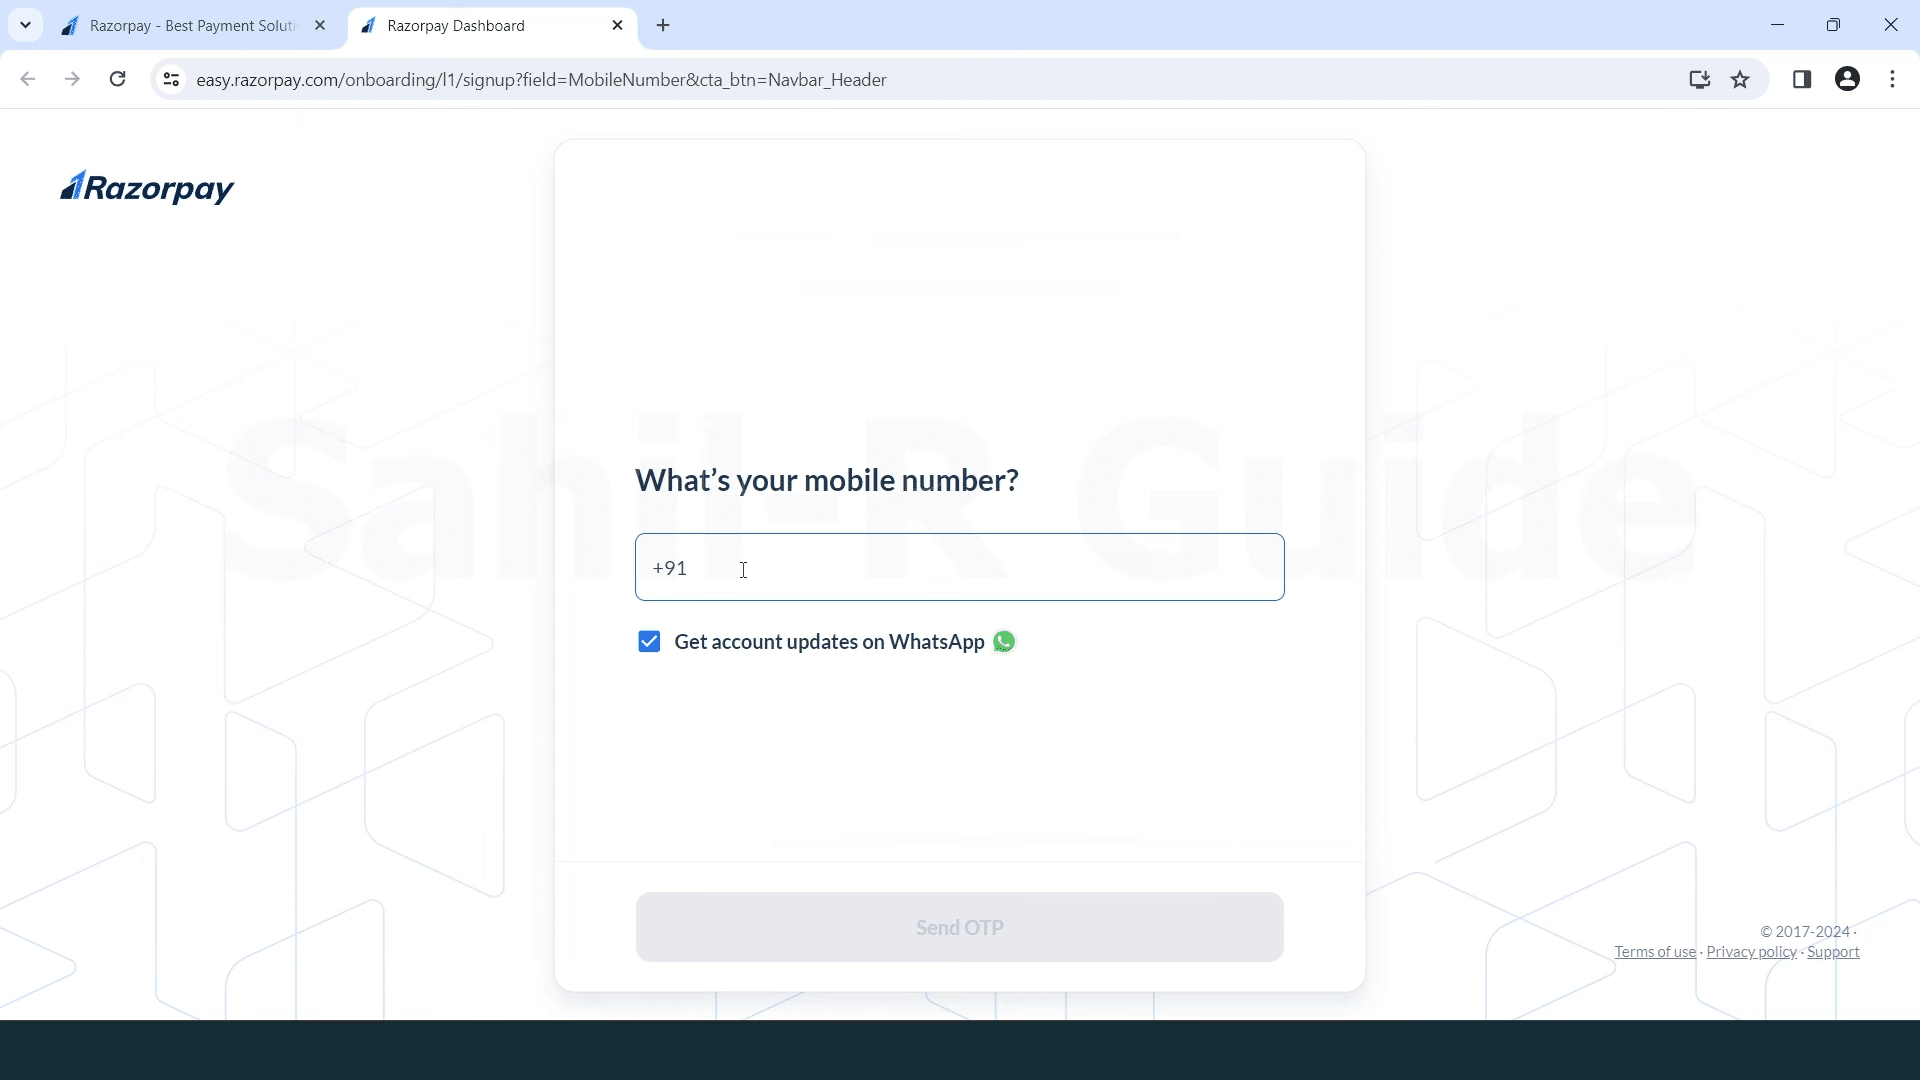
- Send OTP:
- After entering your mobile number, click on the “Send OTP” button.
- You will receive a One-Time Password (OTP) on your mobile phone.
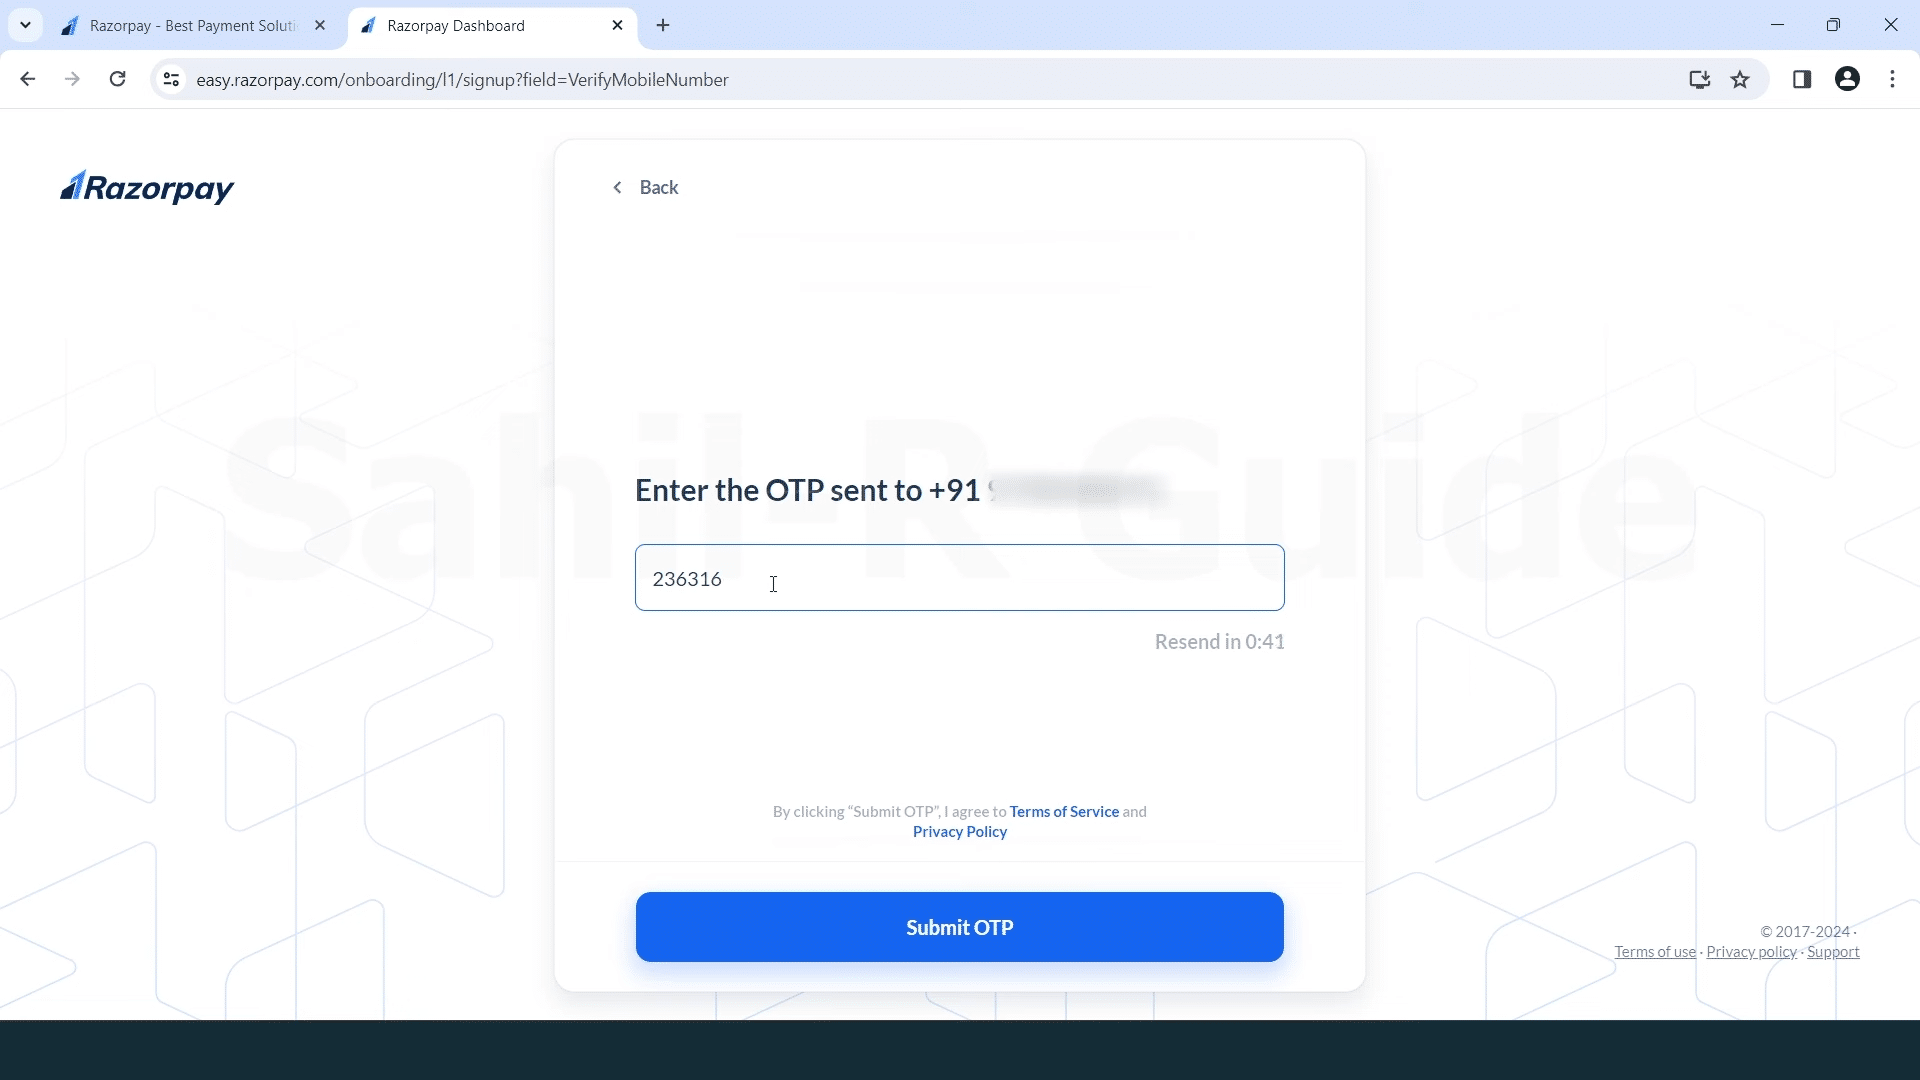
Step 2: Verify OTP
- Enter the OTP:
- Once you receive the OTP on your mobile phone, enter it in the field provided on the next screen.
- Submit OTP:
- Click on the “Submit OTP” button to verify your mobile number.
Step 3: Enter Your Name
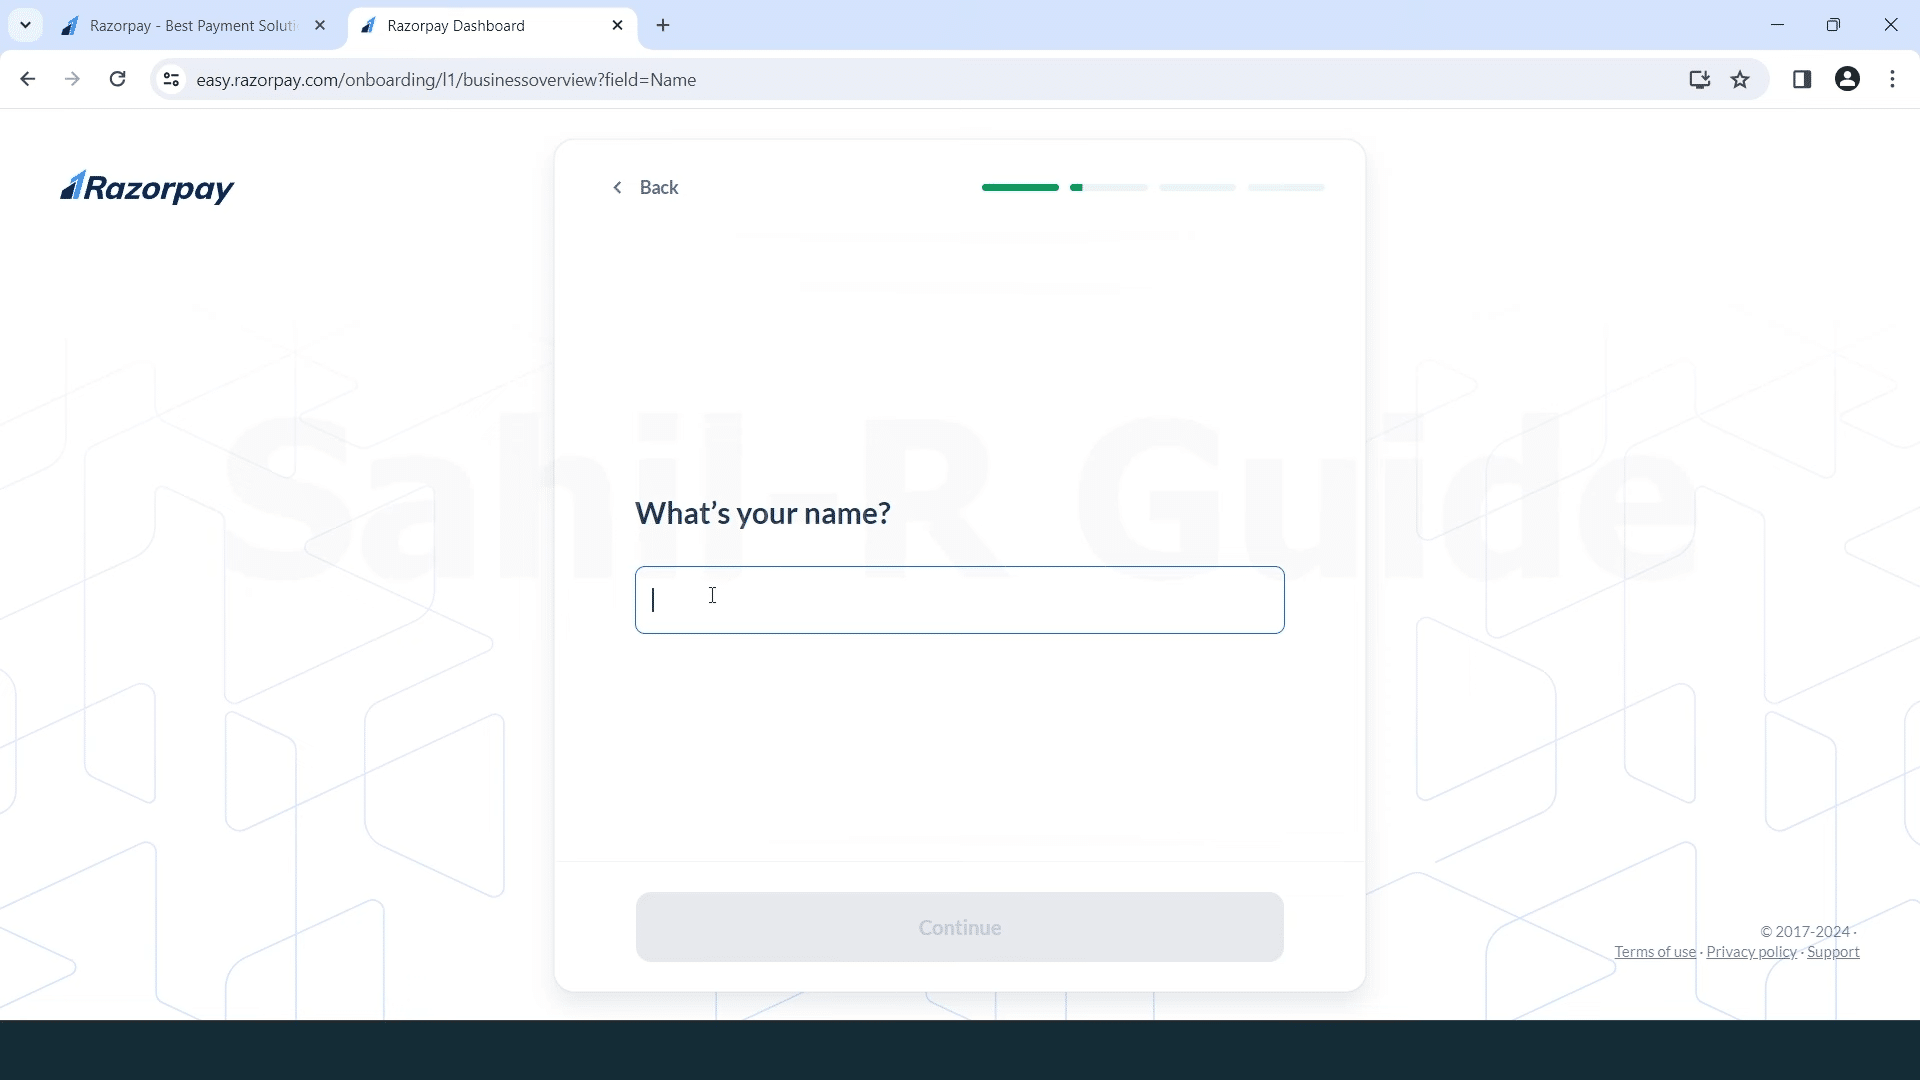
- Enter Your Full Name:
- On the next screen, you will be prompted to enter your full name.
- Continue:
- After entering your name, click on the “Continue” button.
Step 4: Select Payment Channels
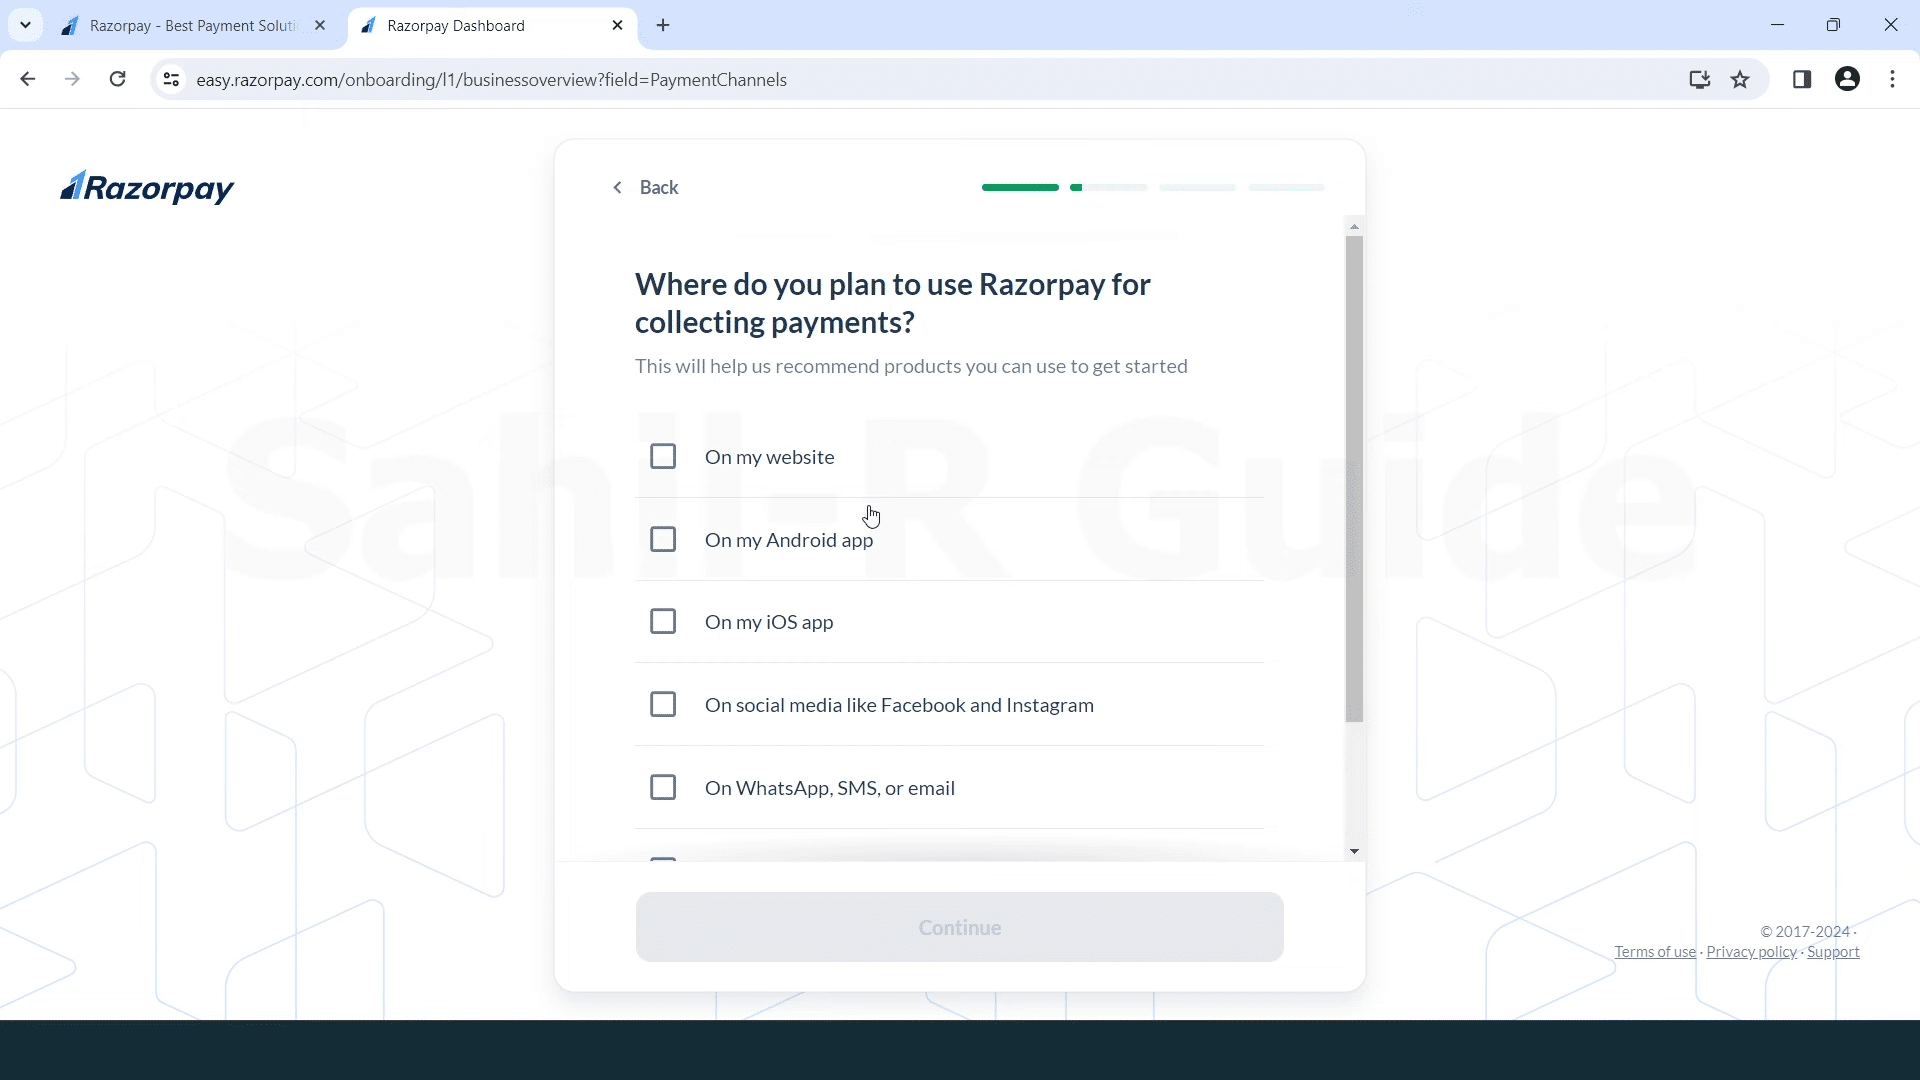
- Choose Where to Use Razorpay:
- On the next screen, you will be asked where you plan to use Razorpay for collecting payments. This helps Razorpay recommend the best products for your needs.Select the appropriate options based on your business setup. For example, you might choose “On my website” if you are setting up an online store.
- Continue:
- After selecting the payment channels, click on the “Continue” button.
Step 5: Enter Business Details
- Enter Business Details:
- On the next screen, you will be prompted to enter your business details, including your business name, address, and contact information.
- Continue:
- After entering your business details, click on the “Continue” button.
Step 6: Add Your Website Link
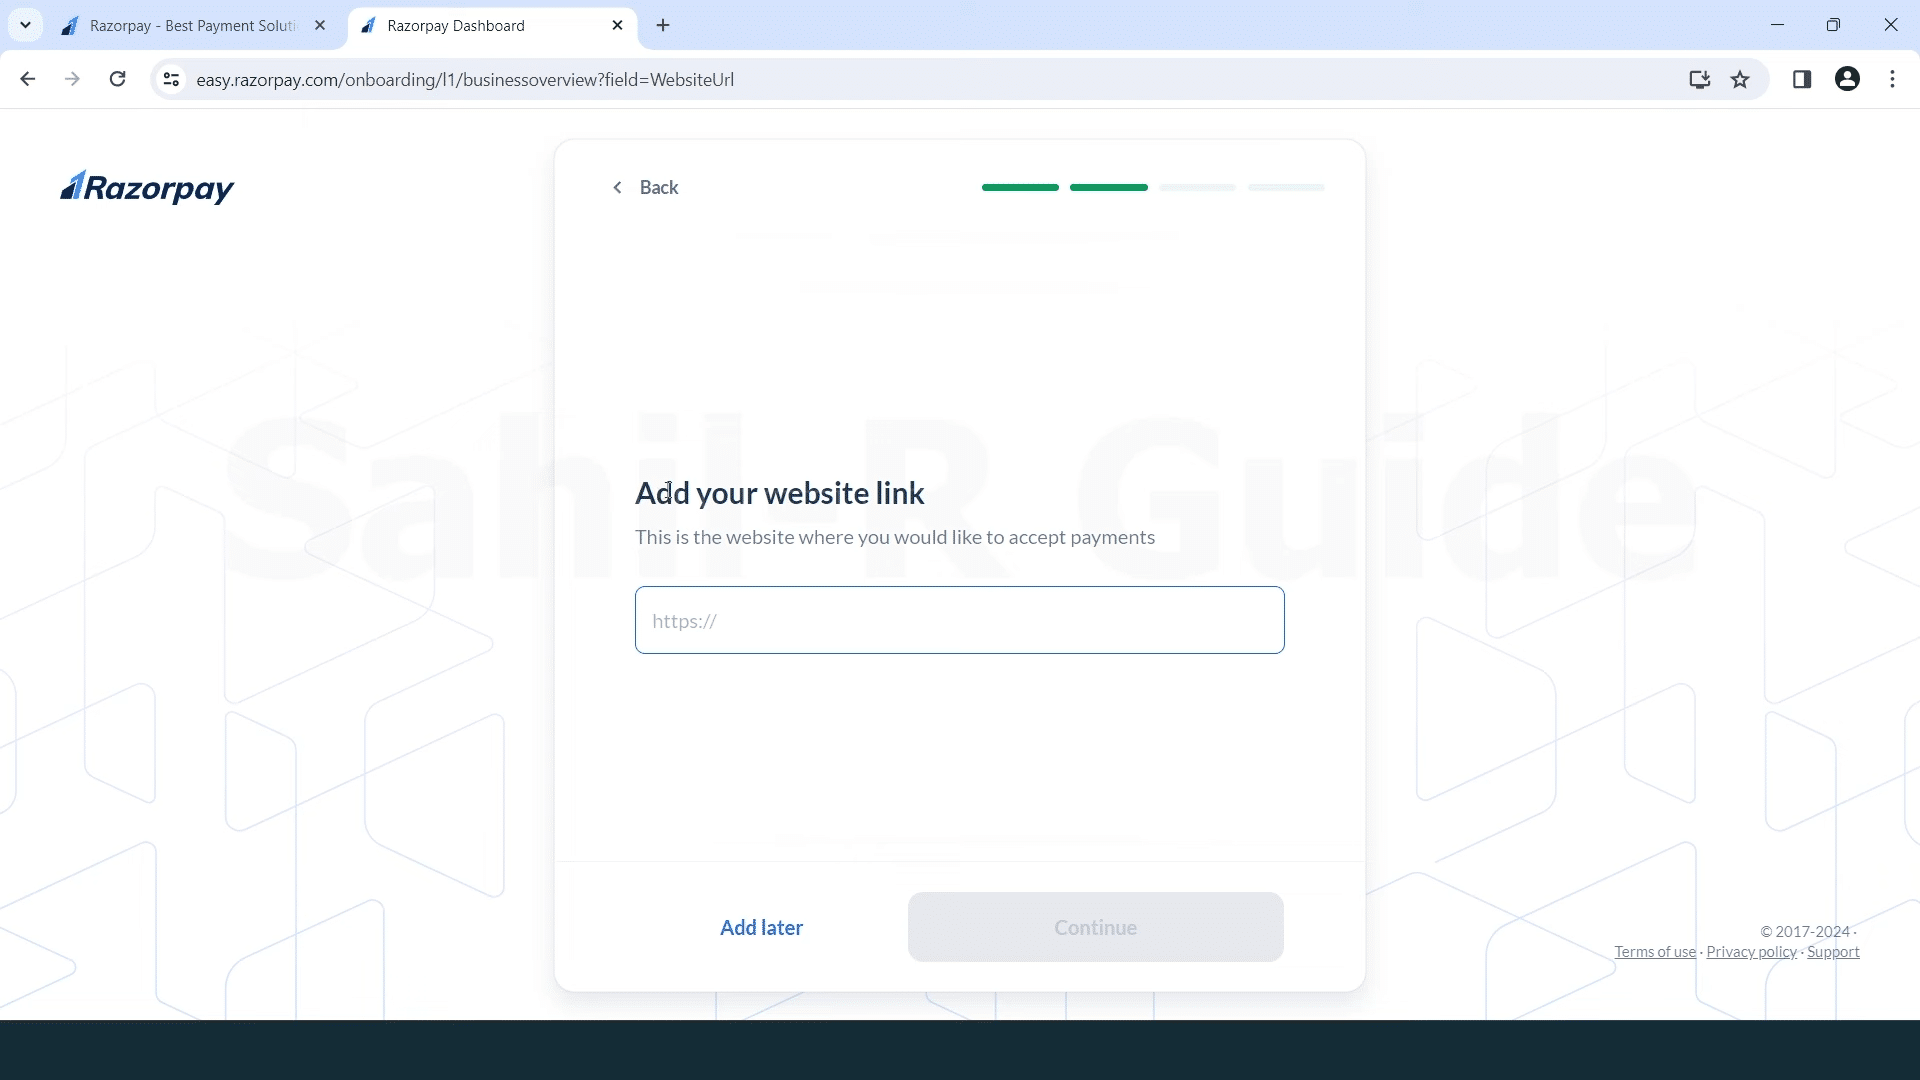
- Enter Your Website URL:
- On the next screen, you will be prompted to add your website link. This is the website where you would like to accept payments.
- Continue:
- Enter your website URL in the provided field.
- Click on the “Continue” button.
Step 7: Select Your Business Type
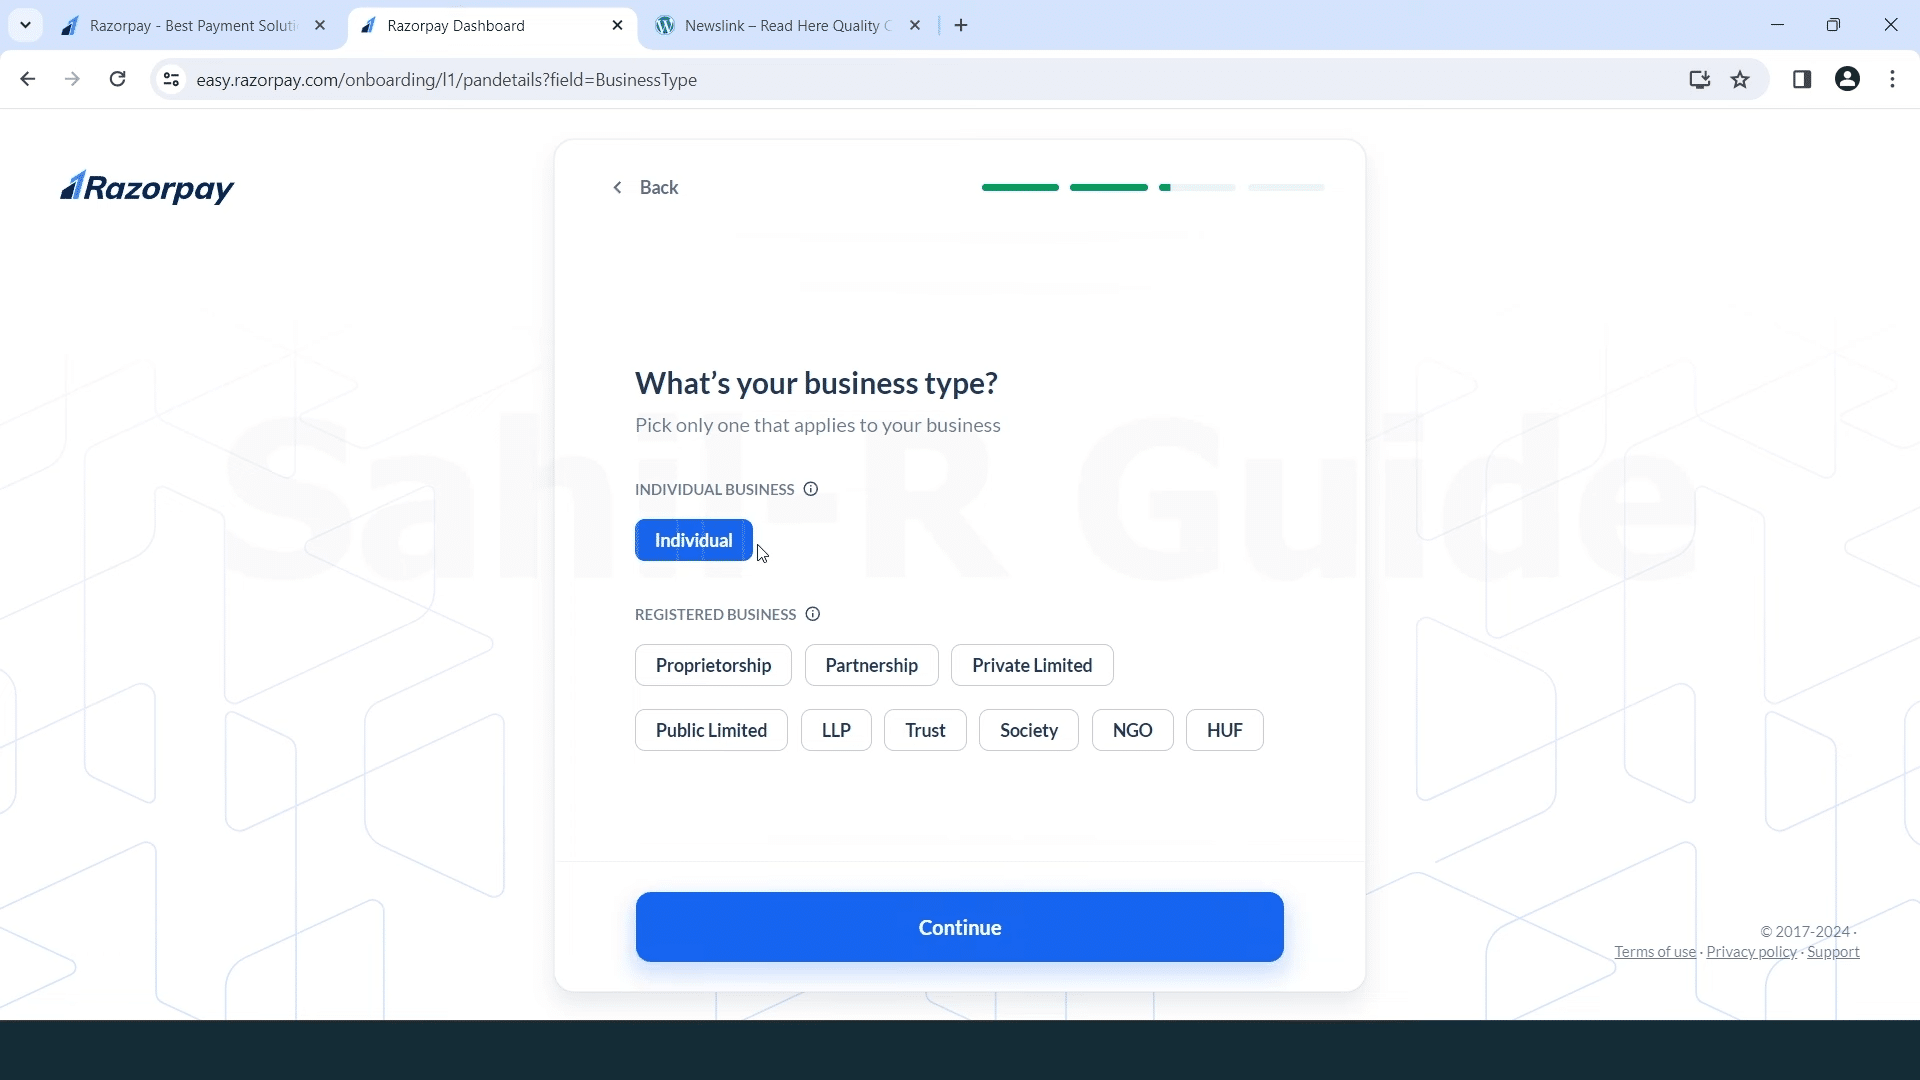
- Choose Your Business Type:
- On the next screen, you will be asked to select your business type. Choose the option that best describes your business structure. Options include:
- Individual, Proprietorship, Partnership, Private LimitedPublic LimitedL, LP Trust Society, NGOHUF
- On the next screen, you will be asked to select your business type. Choose the option that best describes your business structure. Options include:
- Continue:
- After selecting your business type, click on the “Continue” button.
Step 8: Enter Your Personal PAN Number
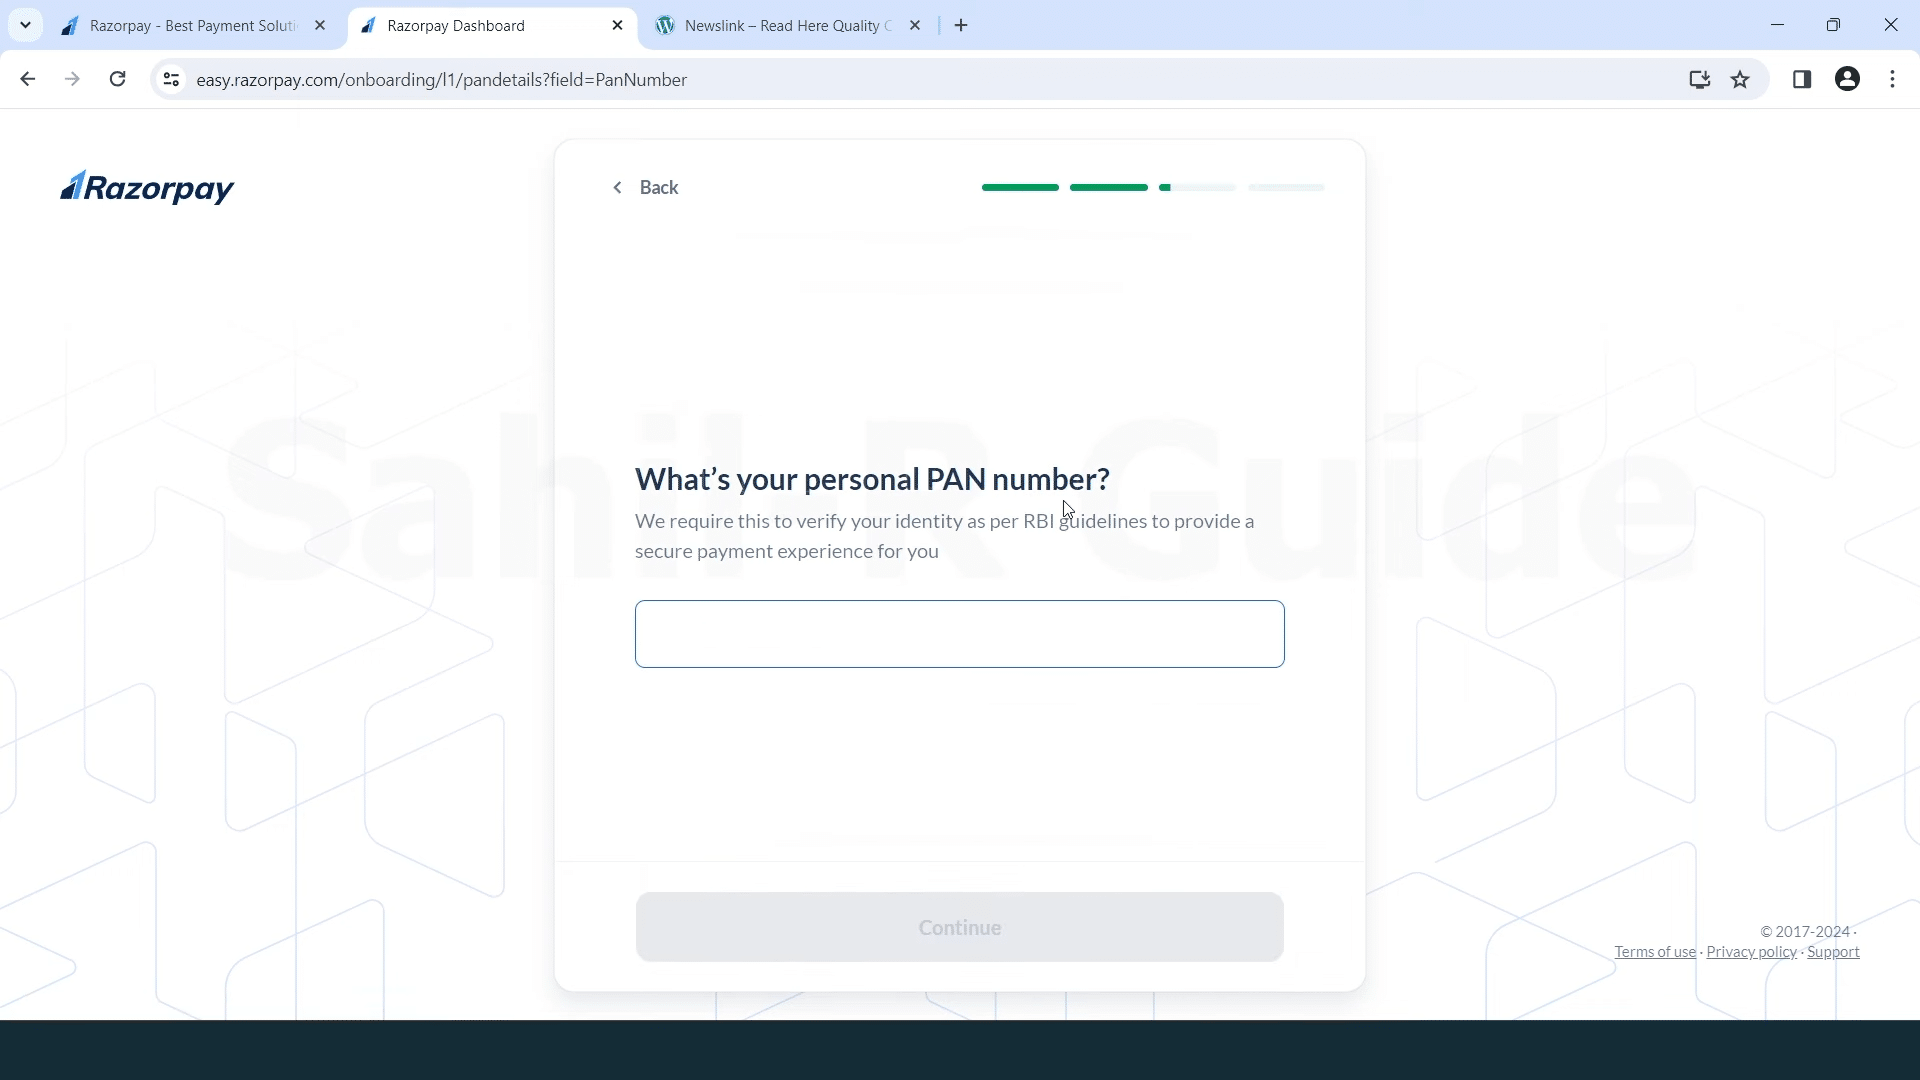
- Enter Your PAN Number:
- On the next screen, you will be prompted to enter your personal PAN number. This is required to verify your identity as per RBI guidelines and to provide a secure payment experience.
- Continue:
- Enter your PAN number in the provided field.
- Click on the “Continue” button.
Step 9: Confirm Your Name

- Confirm Your Name:
- The system will verify the name associated with your PAN number. You will be asked to confirm this name on the next screen.
- Yes, Confirm:
- If the name displayed is correct, click on the “Yes, confirm” button.
- If you need to make changes, click on “Edit PAN” to correct the details.
Step 10: Enter Your Brand Name
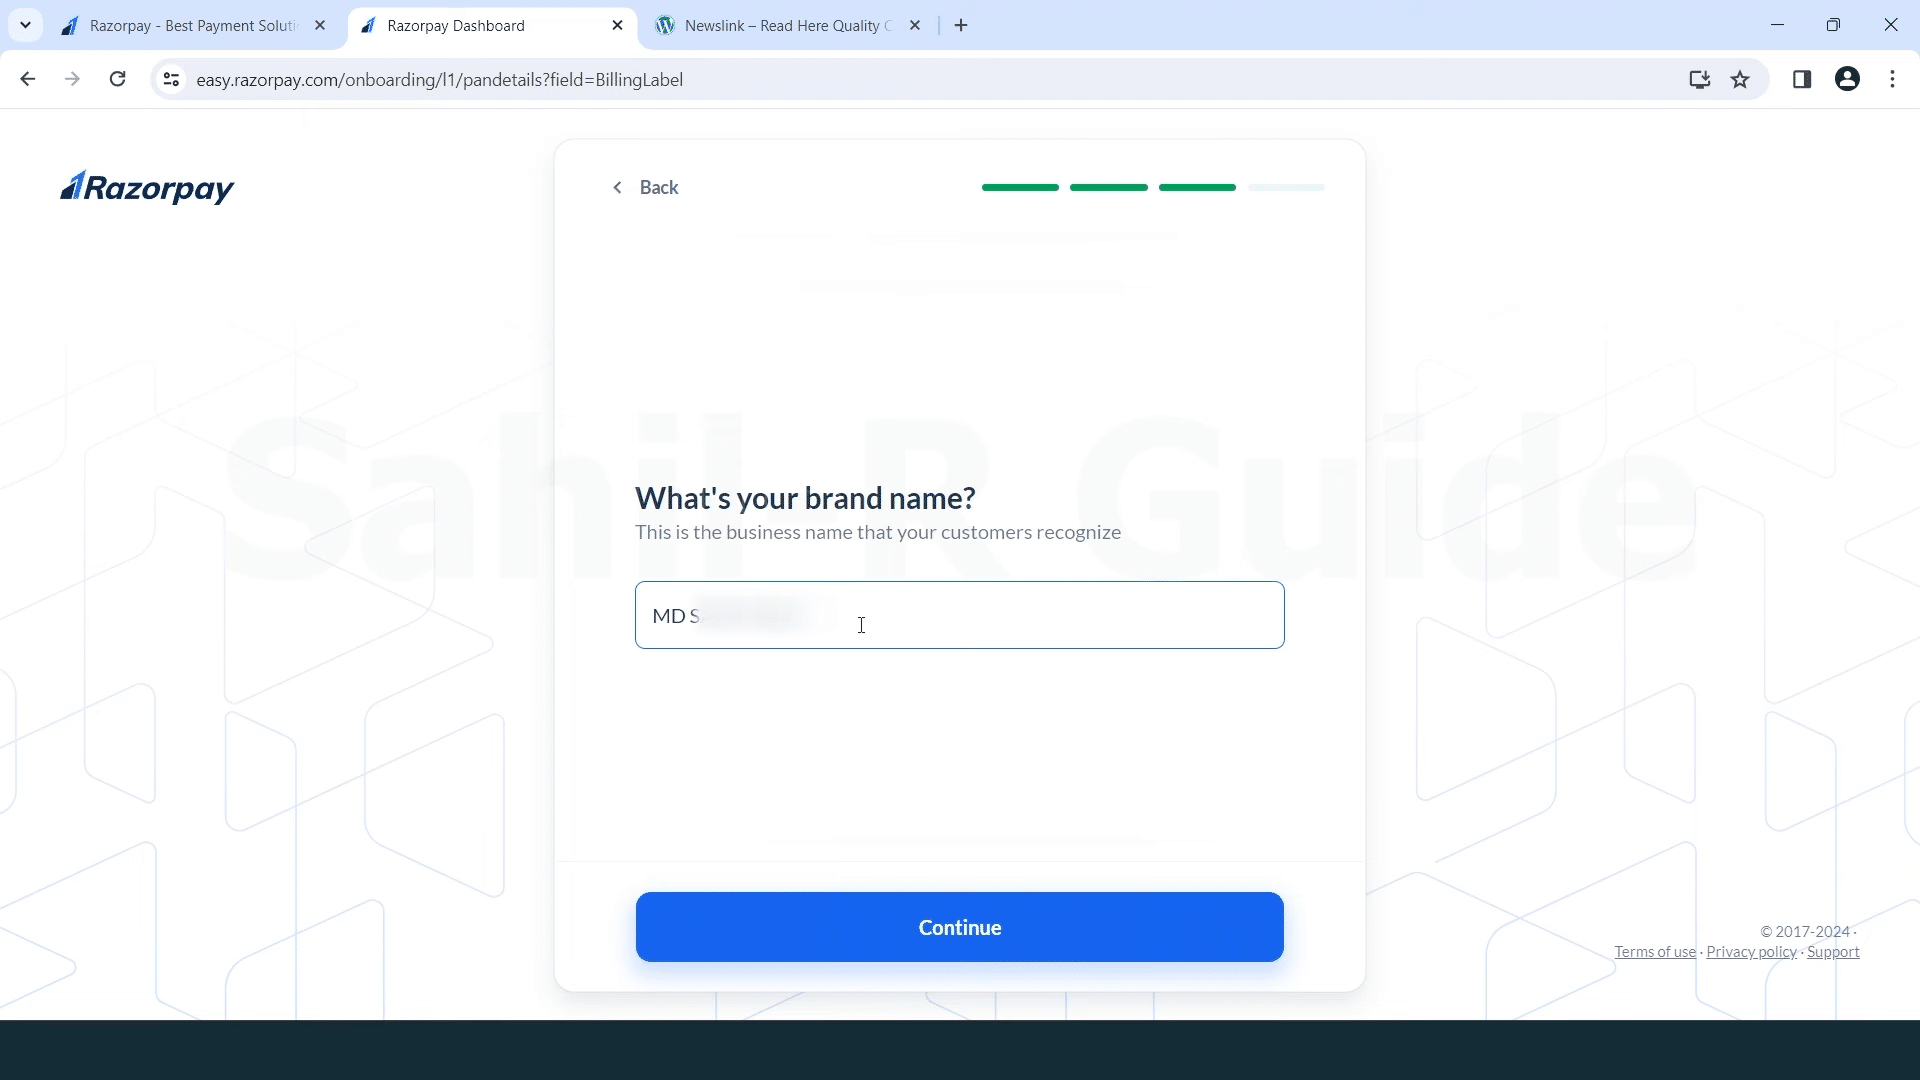
- Enter Your Brand Name:
- On the next screen, you will be prompted to enter your brand name. This is the business name that your customers recognize.
- Continue:
- Enter your brand name in the provided field.
- Click on the “Continue” button.
Step 11: Select Business Category
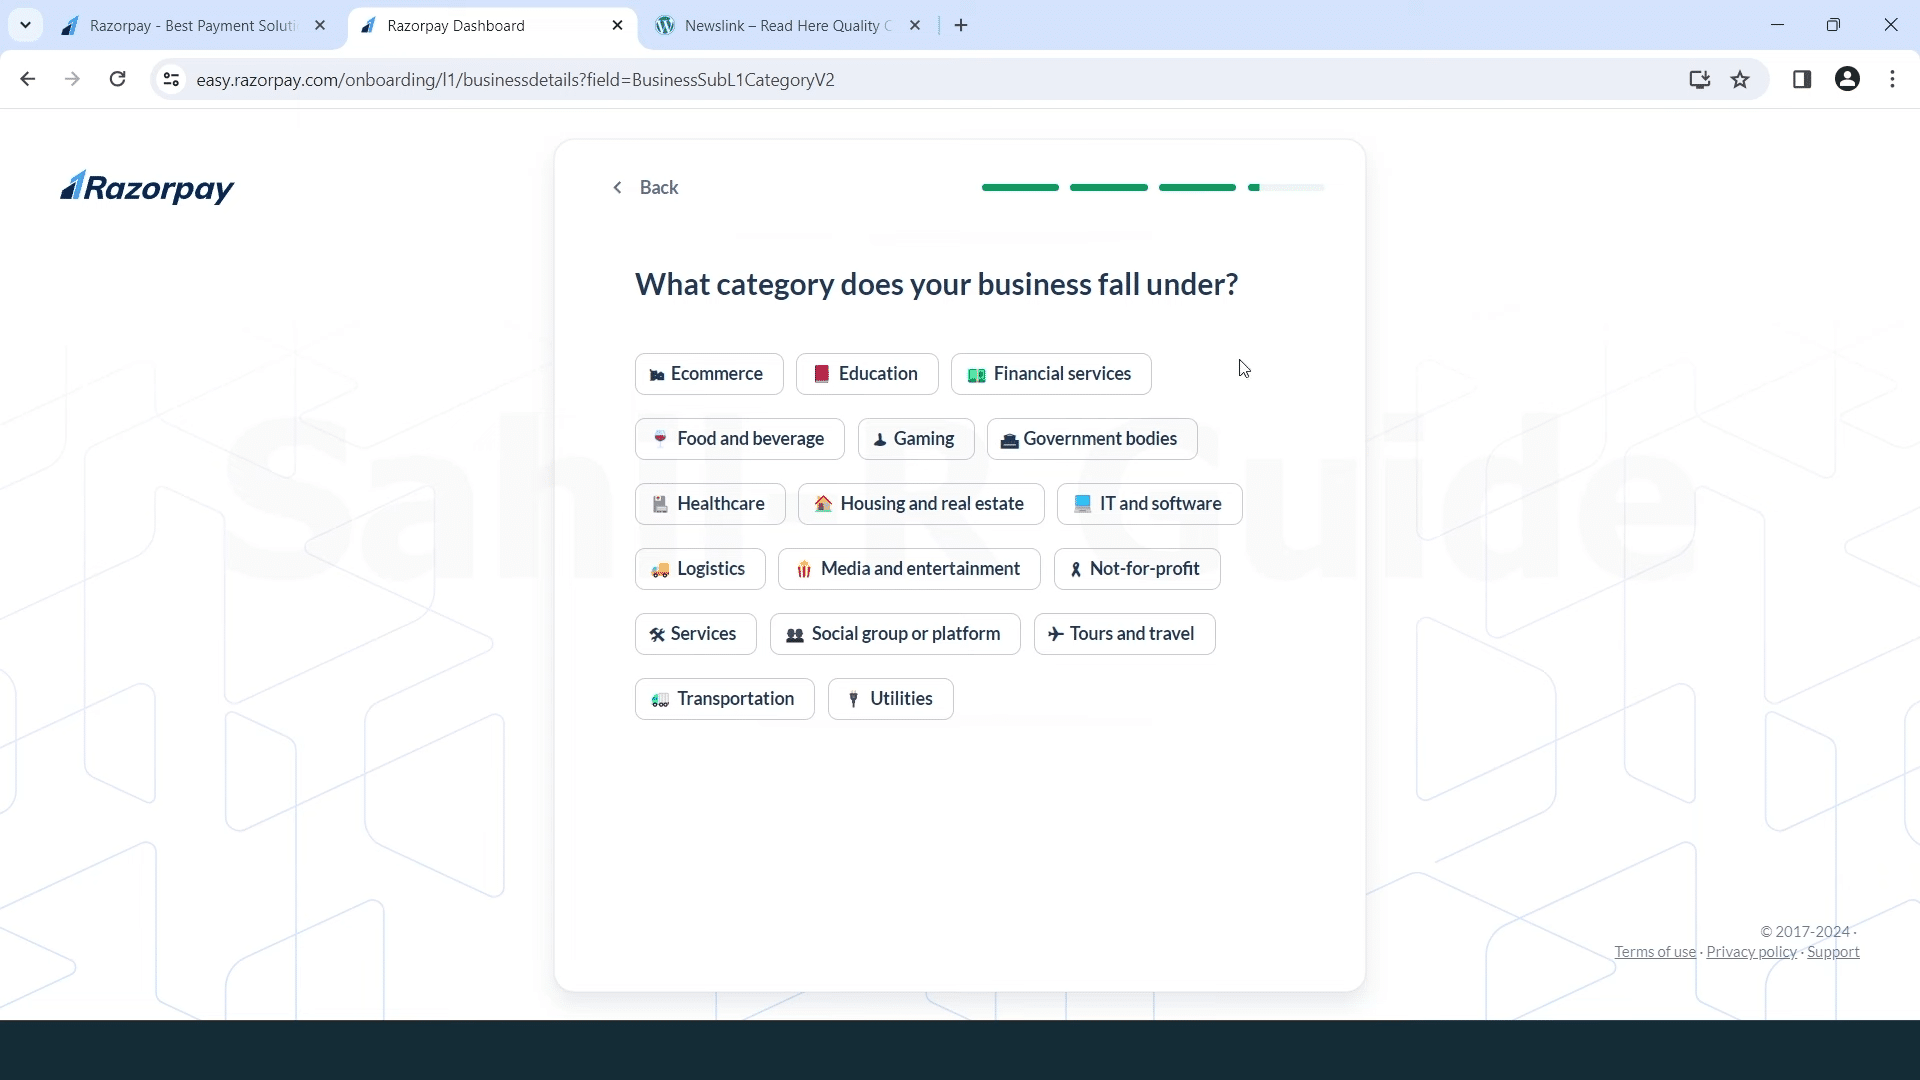
- Choose Your Business Category:
- On the next screen, you will be asked to select the category that best describes your business. This helps Razorpay understand your business better and tailor its services to your needs. Options include:
- E-commerce, Education, Financial services, food and beverage, Gaming, Government bodies, Healthcare, Housing and real estate, IT software, logistics, Media and entertainment, not-for-profit, Services, Social group or platforms, Tours and travel, Transportation, Utilities
- On the next screen, you will be asked to select the category that best describes your business. This helps Razorpay understand your business better and tailor its services to your needs. Options include:
- Continue:
- After selecting your business category, click on the “Continue” button.
Step 12: Add Your Email Address
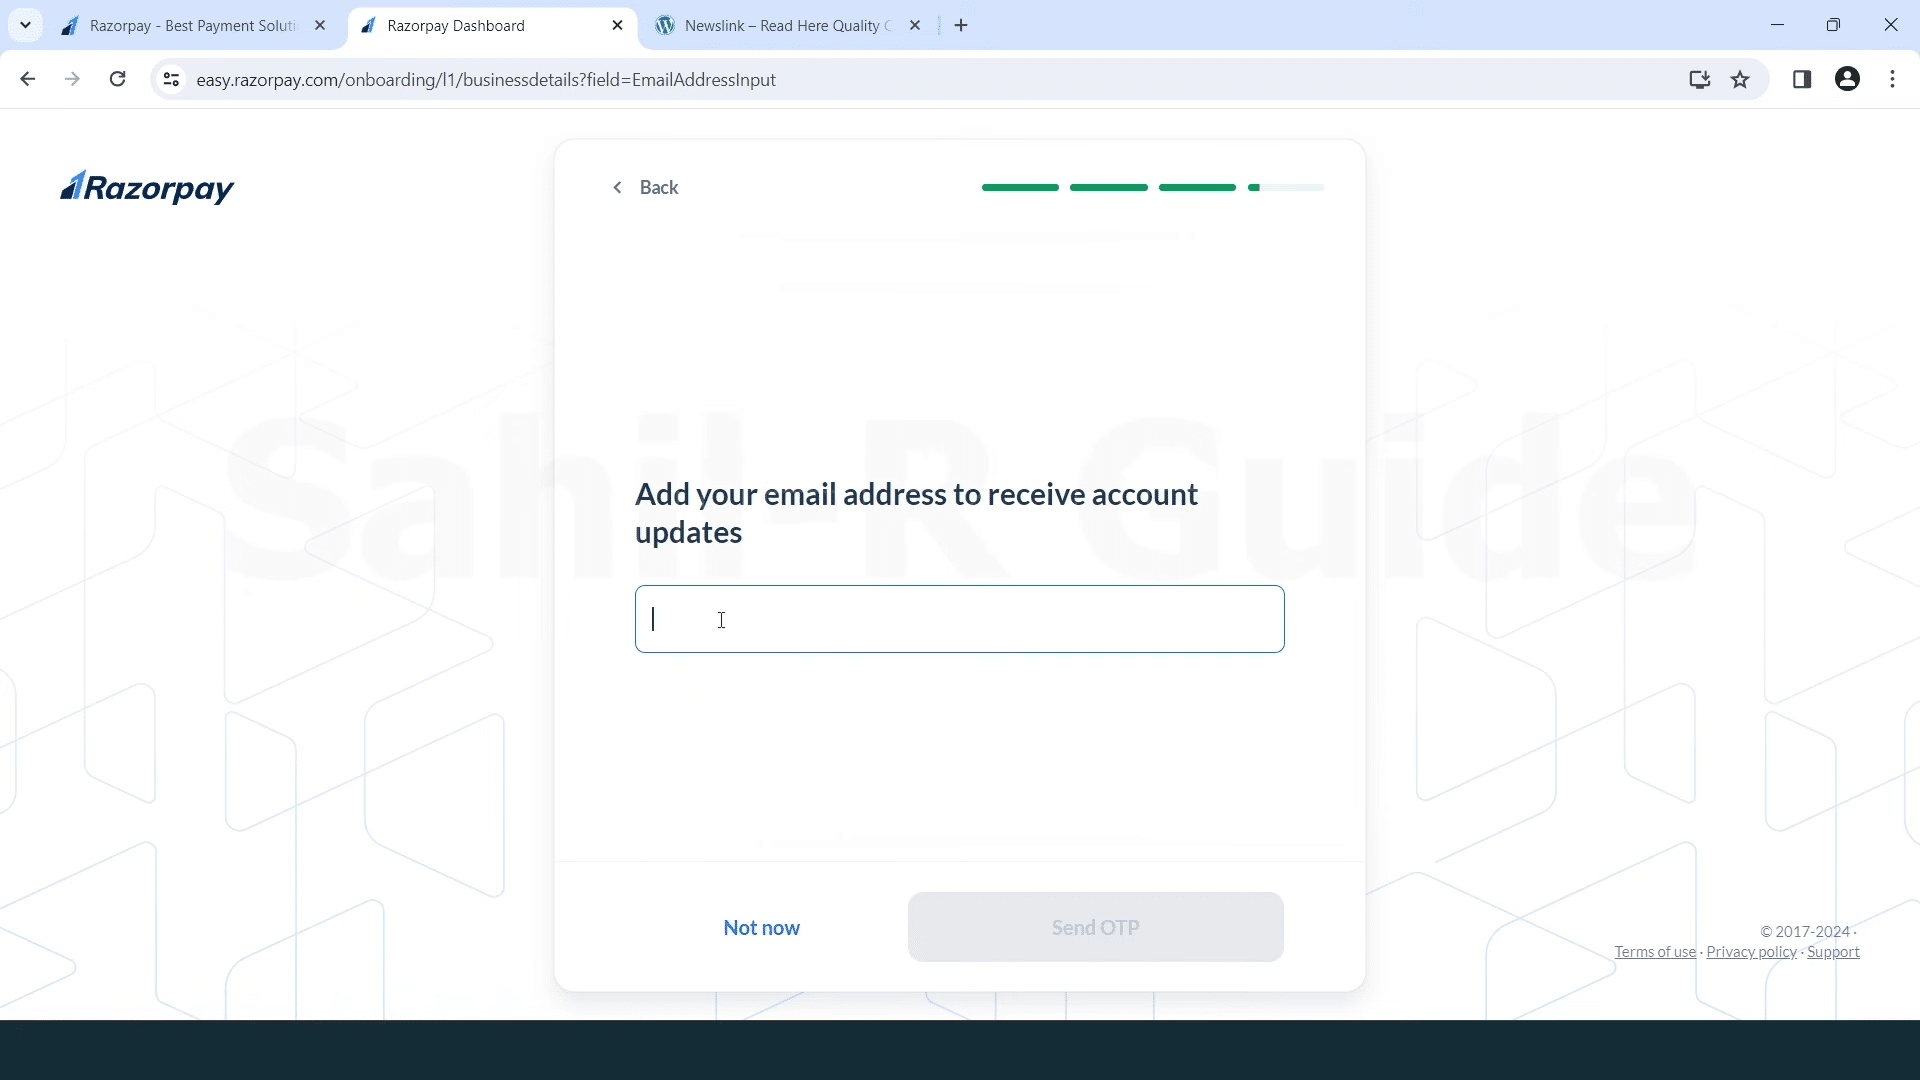
- Enter Your Email Address:
- On the next screen, you will be prompted to add your email address. This email will be used to receive account updates from Razorpay.
- Send OTP:
- Enter your email address in the provided field.
- Click on the “Send OTP” button to verify your email address.
Step 13: Complete Basic Details Submission
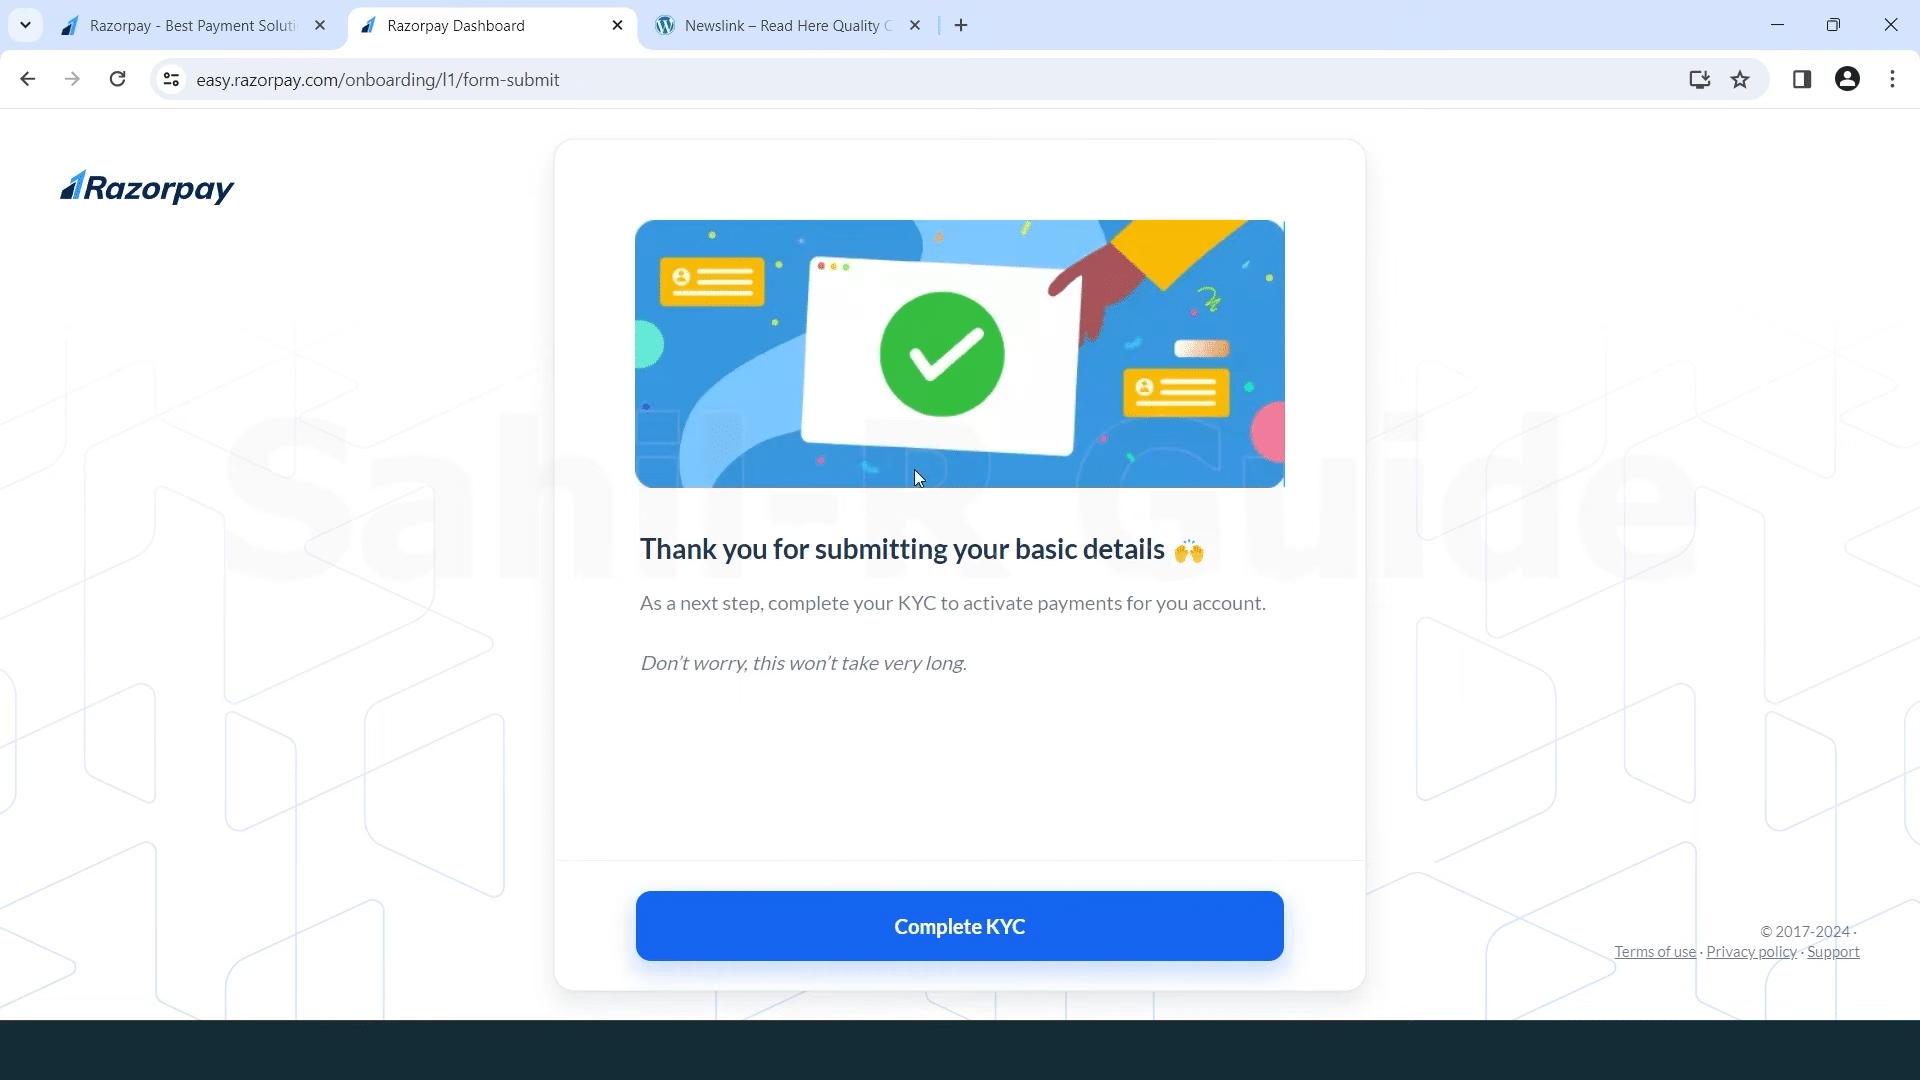
- Submit Basic Details:
- After submitting your email address, you will see a confirmation screen thanking you for submitting your basic details.
- The next step will be to complete your KYC (Know Your Customer) to activate payments for your account.
- Complete KYC: Click on the “Complete KYC” button to proceed with the KYC process.
Step 14: Complete Your KYC
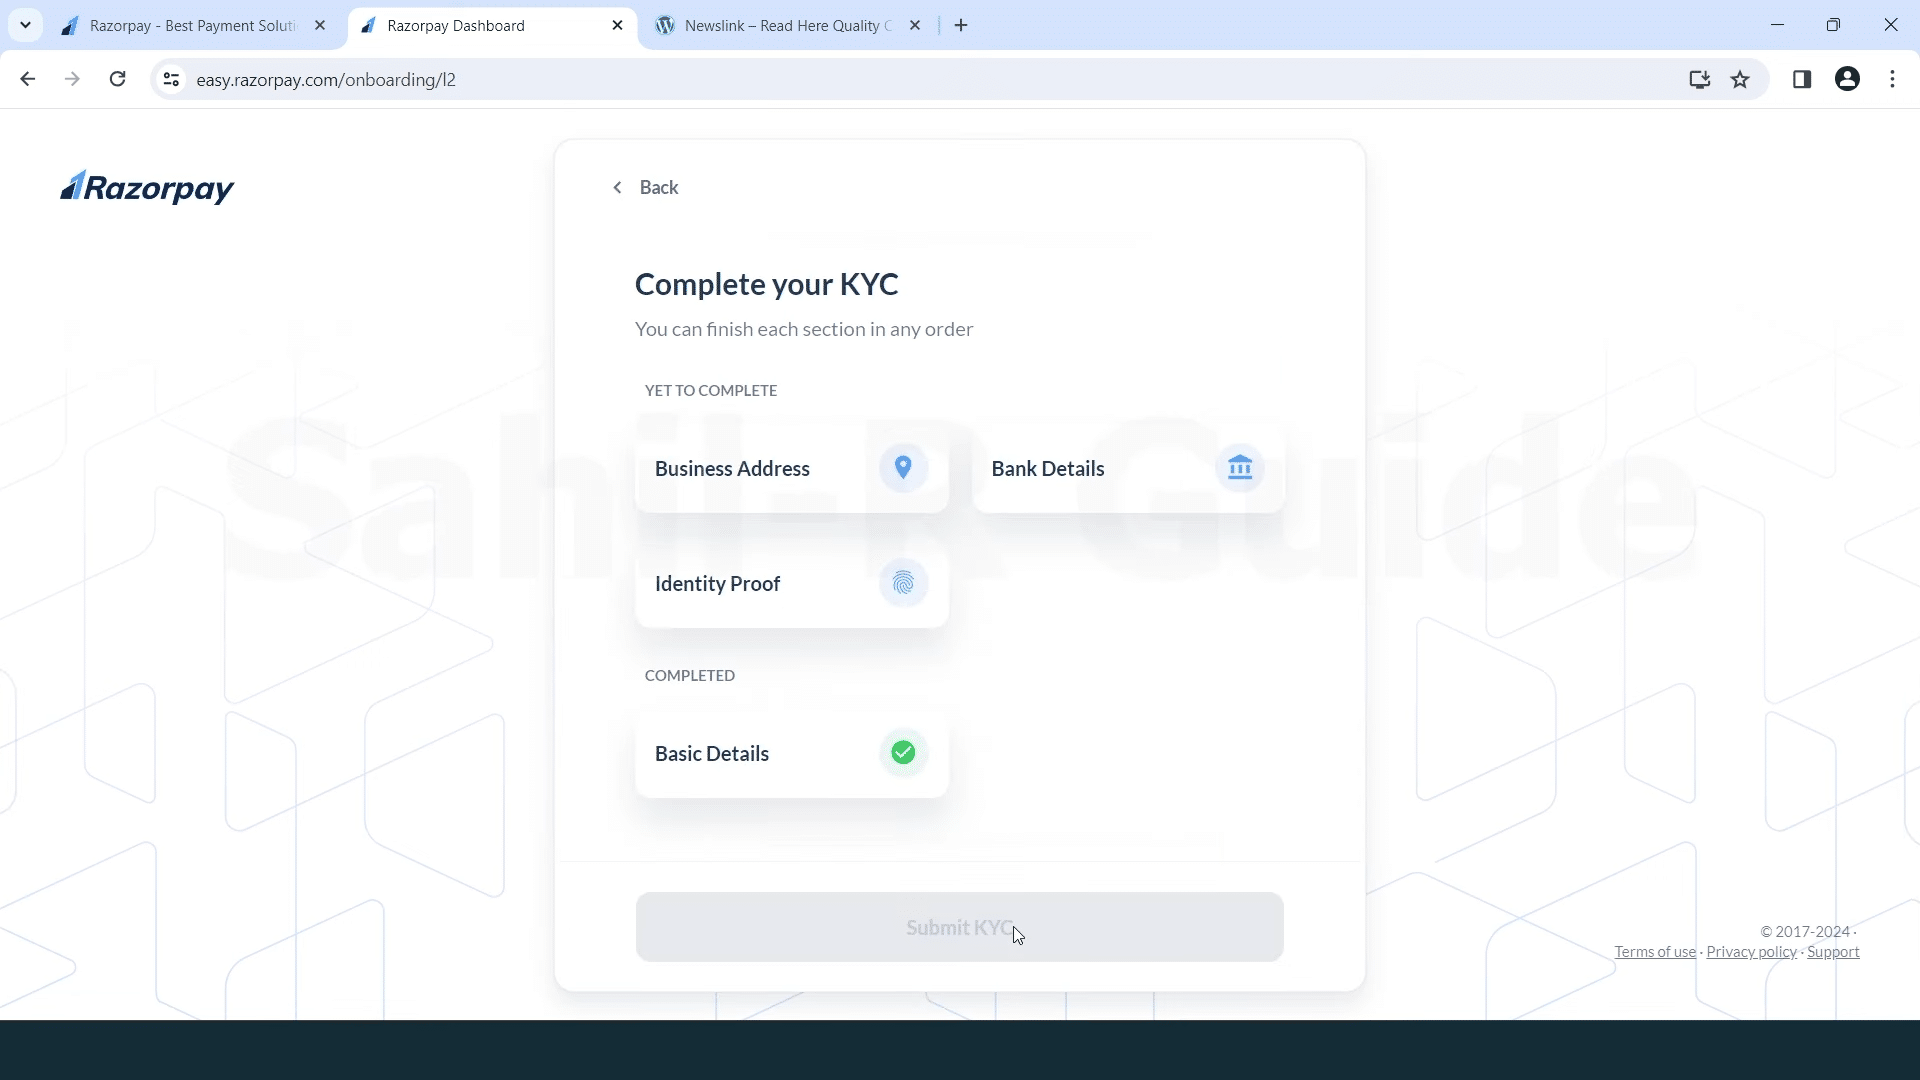
KYC Sections:
- Complete Your KYC:
- On the next screen, you will see the “Complete your KYC” prompt. You need to complete the following sections:
- Business Address
- Bank Details
- Identity Proof
- The “Basic Details” section will already be marked as completed.
- On the next screen, you will see the “Complete your KYC” prompt. You need to complete the following sections:
- Proceed with Verification:
- Click on each section to enter the required details and upload the necessary documents.
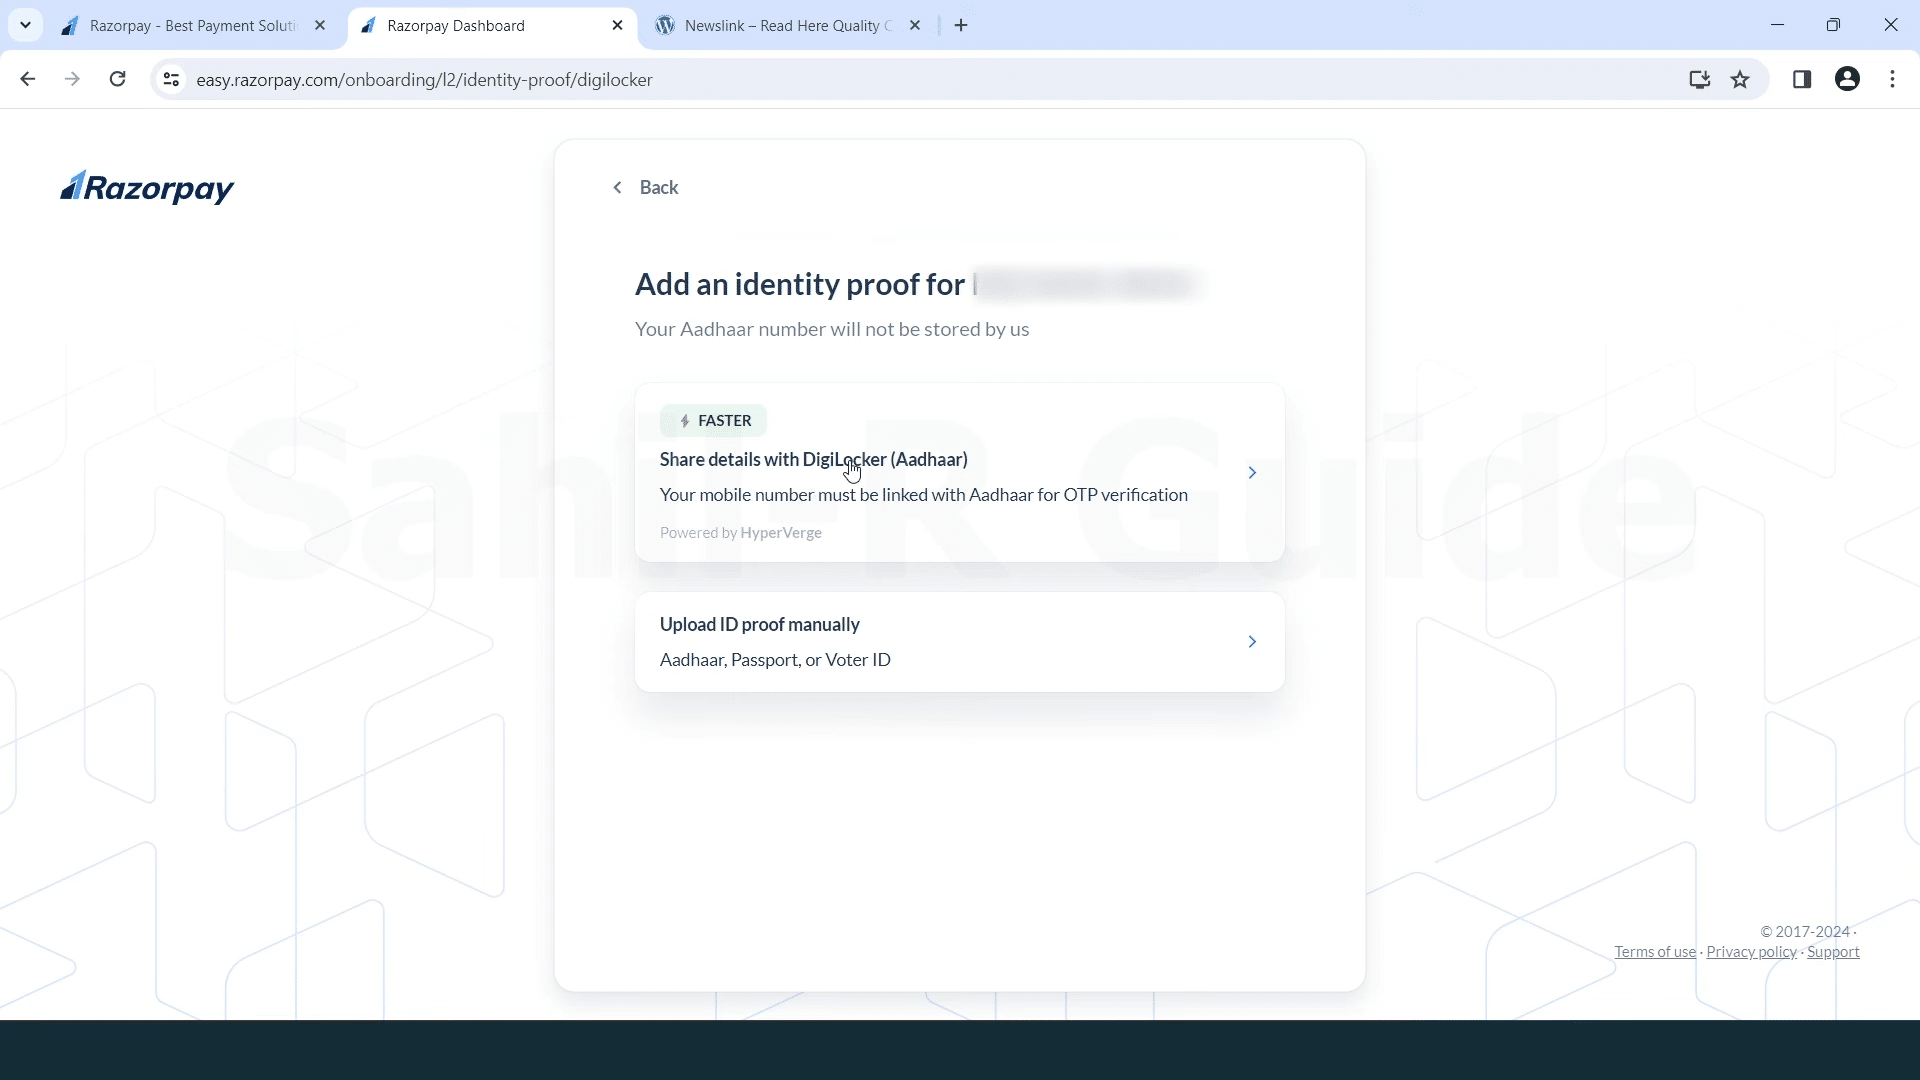
Identity Proof:
- Add Identity Proof:
- On the next screen, you will be prompted to add an identity proof for your account.
- You have two options:
- Share details with DigiLocker (Aadhaar): This is a faster method. Your mobile number must be linked with Aadhaar for OTP verification.
- Upload ID proof manually: You can upload Aadhaar, Passport, or Voter ID.
Step 15: Share Details with DigiLocker
- Provide Consent to Share Details:
- On the next screen, you will be redirected to the DigiLocker consent page.
- Here, you will need to provide consent to share your Aadhaar, Driving License, and PAN verification record with HyperVerge for KYC purposes.
- Select Documents:
- Ensure that the checkboxes for the Aadhaar Card, Driving License, and PAN Verification Record are selected.
- Optionally, you can choose to share your DigiLocker Drive and profile information.
- Set Consent Validity:
- Confirm the consent validity date. By default, it is set to 30 days.
- Allow Sharing:
- Click on the “Allow” button to give your consent and proceed with sharing your documents.
Step 16: Pay for KYC Verification
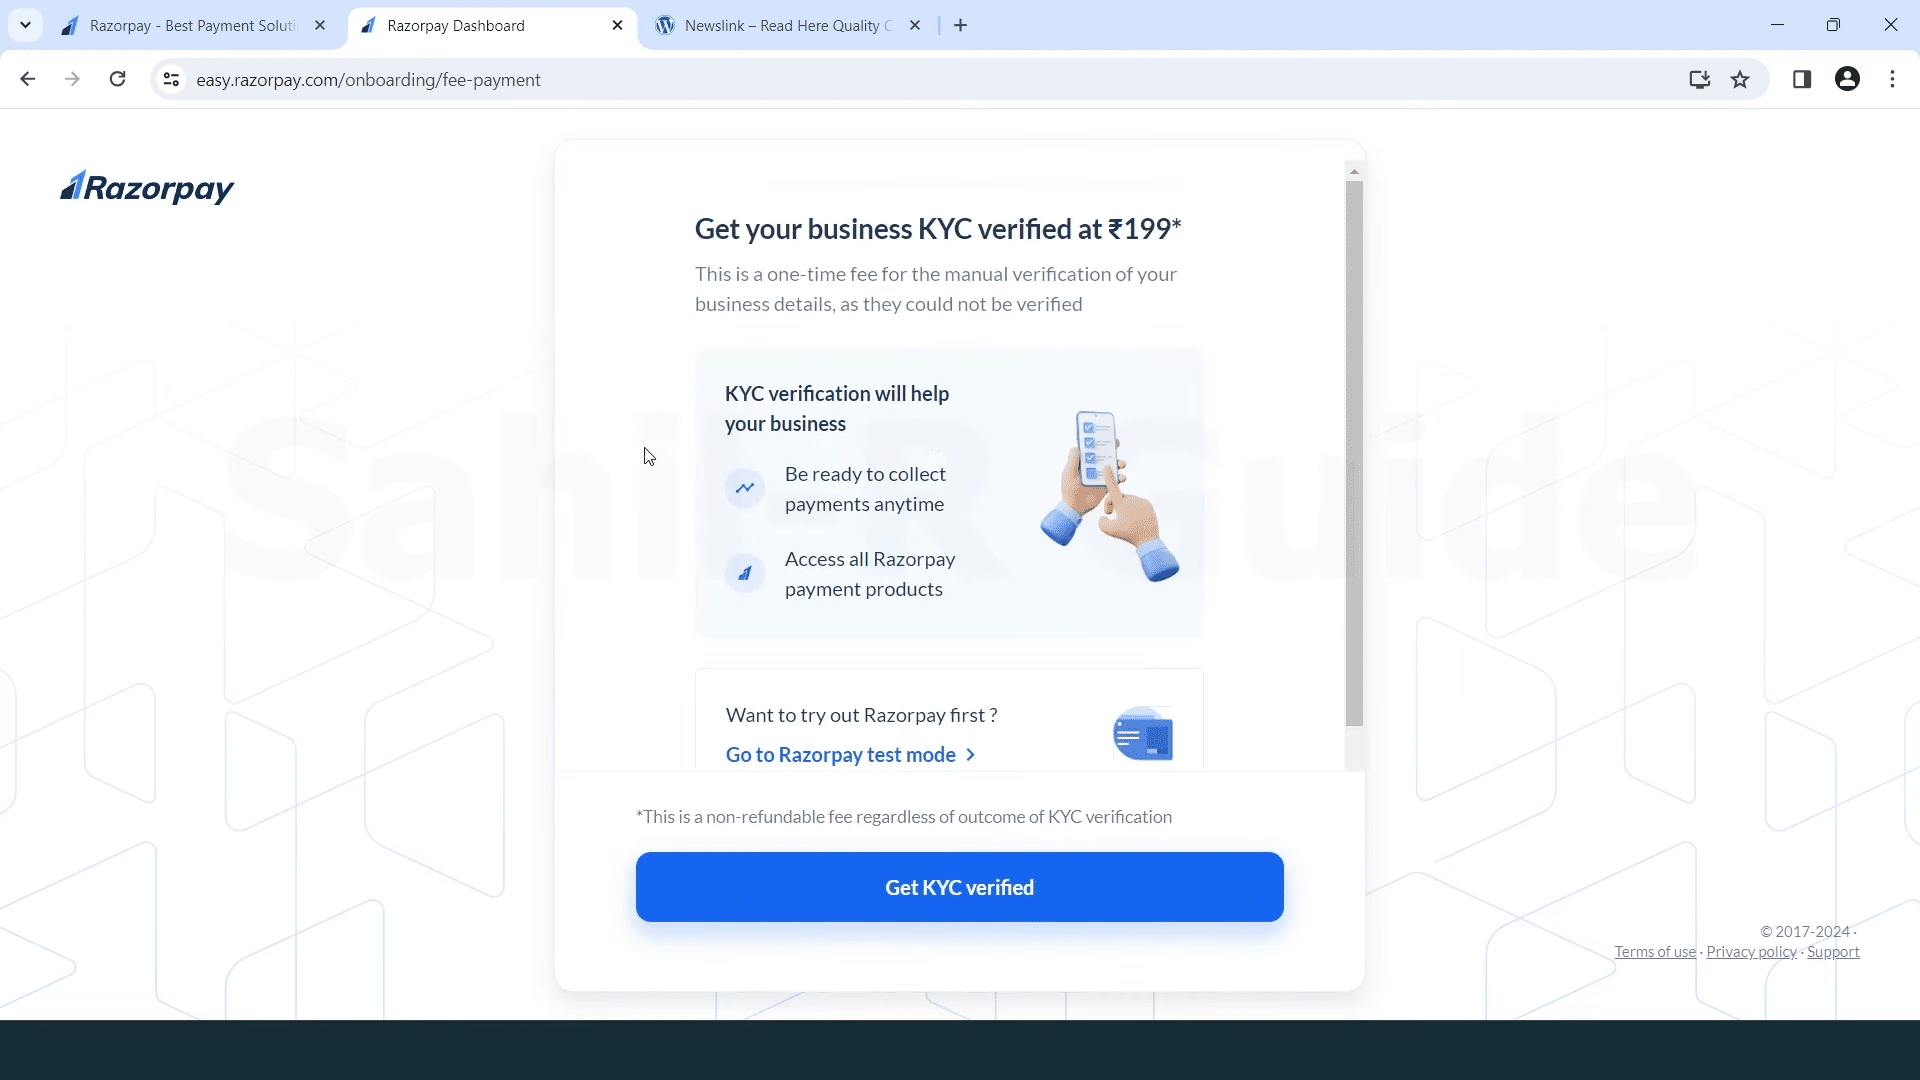
KYC Verification Fee:
- Understand the Fee:
- On the KYC verification screen, you will see a notification about the KYC verification fee. The cost is ₹199.
- This fee is a one-time charge for the manual verification of your business details by Razorpay.
- Important Note: This fee is non-refundable. If your account application is rejected for any reason, the ₹199 fee will not be returned. This fee is implemented due to a high volume of KYC attempts and ensures the efficient processing of genuine applications.
Get KYC Verified:
- Initiate the Payment:
- To proceed with the KYC verification, click on the “Get KYC verified” button. This will take you to the payment gateway.
- Complete the Payment Process:
- Follow the on-screen instructions to complete the payment. You will need to provide your payment details, such as credit card, debit card, or net banking information.
- Confirmation:
- Once the payment is successfully processed, you will receive a confirmation message. Razorpay will then begin the manual verification process of your business details.
KYC Verification Process:
- Phone Call from Razorpay Team:
- After initiating the KYC process, the Razorpay team will get in touch with you via a phone call. This call is an essential part of the verification process.
- During the call, they will guide you through the next steps and answer any questions you might have.
- Video Verification:
- The Razorpay team will ask you to make a video as part of the verification process. In this video, you will need to:
- Show yourself writing a canceled check from your business bank account. Ensure the check clearly shows your name, account number, and the word “CANCELED” written across it.
- This step helps Razorpay verify that you have an active business bank account in your name.
- The Razorpay team will ask you to make a video as part of the verification process. In this video, you will need to:
- Business Information:
- The team may also ask you to provide details about your business. You can tell them that you have just started an e-commerce shop to sell fashion-related products.
- Be prepared to answer any other questions they might have about your business operations, products, or services. Honesty and clarity are crucial at this stage.
- Additional Requirements:
- If Razorpay requires any additional information or documents, they will inform you during the phone call or via email. Make sure to provide these promptly to avoid delays.
- Account Activation:
- Once the Razorpay team is satisfied with the provided information and the video verification, they will activate your account within 24 hours.
- You will receive a confirmation notification once your account is active. After activation, you can start accepting payments through Razorpay on your e-commerce site.
By completing these steps thoroughly and accurately, you ensure a smooth verification process, leading to the swift activation of your Razorpay account. This enables you to start using Razorpay’s payment gateway for your online business operations.
Restoring Your WordPress Site and Integrating Razorpay
Once you get your Razorpay account activated, wait at least 2 days to ensure everything is fully set up and verified. After this waiting period, you can restore your WordPress site with the WP Reset plugin and start selling the products you want. If you were already selling products and used the WP Staging plugin to make a backup, simply go to the WP Staging plugin and push the old site to make it live again. Then, install the Razorpay for WooCommerce plugin and integrate it with your site.
Steps to Integrate Razorpay WooCommerce Plugin:
- Install the Razorpay WooCommerce Plugin:
- Go to your WordPress dashboard.
- Navigate to
Plugins > Add New. - In the search bar, type “Razorpay for WooCommerce”.
- Click
Install Nowand thenActivatethe plugin.
- Configure Razorpay Settings:
- Once the plugin is activated, go to
WooCommerce > Settings. - Click on the
Paymentstab. - Find
Razorpayin the list of payment methods and click onSet up.
- Once the plugin is activated, go to
- Enter Razorpay API Keys:
- In the Razorpay settings page, you will need to enter your
Key IDandKey Secret. - You can find these keys in your Razorpay dashboard under
Settings > API Keys. - Copy and paste the
Key IDandKey Secretinto the respective fields in your WooCommerce settings.
- In the Razorpay settings page, you will need to enter your
- Enable Razorpay Payment Gateway:
- Make sure the checkbox next to
Enable Razorpay Payment Gatewayis ticked. - Save the changes.
- Make sure the checkbox next to
- Test the Integration:
- Perform a test transaction to ensure everything is working correctly.
- You can do this by adding a product to your cart and proceeding to checkout. Select Razorpay as the payment method and complete the payment process.
By following these steps, you will have successfully integrated the Razorpay payment gateway with your WooCommerce store, allowing you to accept payments seamlessly. This setup ensures a smooth transaction process for your customers and provides a secure and efficient way to manage your online payments.
Situations When a Razorpay Account May Be Suspended, Banned, or Disabled
Razorpay is well-known for its stringent standards of compliance as well as security procedures that are crucial to maintain the security the payment gateway service. However certain events or circumstances could result in the suspension, banning or even the deactivation of an Razorpay account. Here are some typical scenarios that might trigger this:
- Violation of Terms of Service:
- Conducting activities that are in violation of Razorpay’s terms of services could cause account suspension. This involves using the platform for fraudulent activities, illegal activity, or transactions that are not authorized.
- Failure to comply to KYC requirements:
- Failure not to finish your Know Your Customer (KYC) procedure or providing false information in the verification process can result in account cancellation. Razorpay needs accurate and current information in order to meet legal requirements.
- High Chargeback Ratio:
- If your company experiences an unusually high amount of chargebacks it could be a sign of fraud or discontent. A high rate of chargebacks could cause a review, and could lead to account suspension.
- Suspicious Transaction Patterns:
- Unusual patterns in transactions like an unexpected increase in the volume of transactions or multiple transactions coming from the same source can cause alarms. Razorpay’s fraud detection system could flag these patterns to be reviewed, leading to a temporary freeze for the account.
- Inadequate Business Documentation:
- Inadequate or insufficient documentation for your business could lead to issues with your account. Razorpay needs proper business registration documentation, taxes information and other pertinent documents to confirm the authenticity of your business.
- Involvement in Prohibited Businesses:
- Certain types of businesses and activities are not permitted on the Razorpay platform, such as gambling, adult services or pyramid schemes. Any involvement in one of these prohibited areas could cause immediately account termination or ban.
- Failure to Resolve Disputes:
- If there remain unresolved disputes between customers or problems concerning the delivery or delivery of an order, Razorpay can suspend your account until the issues are resolved in a satisfactory manner.
- Multiple Account Violations:
- Multiple accounts under the guise of the Razorpay’s rules or opening new accounts following an earlier suspension could cause an indefinite suspension.
- Violation of Anti-Money Laundering (AML) Laws:
- Infractions to anti-money laundering rules and laws could result in serious penalties, such as account suspension or even termination. Razorpay must comply with strict AML laws to stop illegal actions.
- Delayed or Missing Settlements:
- In the event of a consistent delay in settlements or divergences in transaction amounts could cause a review, and even suspending the account until issues are solved.
- Improper Use of API:
- Making use of Razorpay’s API for illegal purposes for manipulating data from transactions or integration with unapproved platforms could result in account suspension.
- Unresponsive to Razorpay Inquiries:
- Refusing to respond to Razorpay’s requests for information or clarification on account transactions can result in an indefinite hold or suspension on the account.
How to Avoid Account Issues
To prevent the possibility of a suspension or ban on your account or deactivating It is essential to
- Follow strictly Razorpay’s terms and conditions of service as well as the requirements for compliance.
- Make sure that the accuracy of all KYC and business documents are current and accurate.
- Track the patterns of transactions and manage the chargebacks in a way that is effective.
- Dissolve disputes with customers quickly and keep clear communications.
- Beware of engaging in illegal business actions.
Conclusion
If your account has been suspended, you must to contact the support team at Razorpay immediately to investigate the issue and find a solution. If you are in compliance and follow the best practices, you will make sure that everything runs smoothly with you Razorpay account.
In order to successfully activate your Razorpay account is a series of steps that are clearly defined, starting with setting up your WordPress website until complete the KYC verification procedure. The first step is to select WordPress because of its versatility and user-friendliness and ensure you have make sure you have the essential pages in place, such as the homepage, overview of the product and Contact Us pages. It’s essential to back up your current site with WP Staging Pro to protect your website’s content. Once your Razorpay account is activated ensure you wait at least two days before you restore your website using WP Reset. WP Reset plugin. If you have used WP Staging for backup, make the old site into live mode and incorporate with the Razorpay with WooCommerce by entering API key and then enabling it to function as payment gateway.
By following these steps, you will assure a quick and smooth procedure for activating the Razorpay account. Each step is specifically designed to ensure that Razorpay’s compliance and security standards, which makes it simpler for you to be approved before you can begin accepting payments through your e-commerce website. From my personal experience of successfully activating an Razorpay account, I’m able to confirm that adhering to this procedure will lead to an effective account activation. Being aware of Razorpay’s policies and changes is vital to ensuring the company’s compliance and providing an effortless payment processing experience that your company can enjoy. With this complete guide, you’re on the road to setting up a solid payment system using Razorpay to enhance the experience for your customers and ensuring that your business runs smoothly.
Frequently Asked Questions (FAQs)
1. What is the time frame to set up an Razorpay account?
Razorpay account activation process could take as fast as three days, if all the necessary steps and documents are received promptly. After you have submitted all the necessary KYC documents and making the payment for verification and submitting the verification payment, the Razorpay team usually will activate accounts in 24 hours.
2. What are the documents required to complete to complete the Razorpay KYC verification procedure?
KYC verification, you’ll be required to present an acceptable ID document (such such as Aadhaar, Passport, or Voter ID) as well as a proof of address for your business, as well as the details of your bank account. Also, a video demonstrating an unpaid check on your company account might be required at the time of verification.
3. Does that the KYC fees for verification refundable in the event that my account is denied?
The fee of Rs199 KYC verification fee cannot be refunded. This fee is used to pay for the cost of manual verification and will ensure that only genuine applications are considered.
4. Do I have the ability to use Razorpay to create an international online store?
Razorpay primarily supports payments within India as well as payments made through credit/debit cards net banking, UPI and the most popular digital wallets. If you are looking to make international transactions, you may have to consider other integrations or services offered by Razorpay.
5. What can I do to restore my WordPress site following Razorpay accounts have been activated?
After for at least 2 days following account activation, you are able to restore your WordPress website by with WP Reset. WP Reset plugin. If you’ve backed-up your website using WP Staging, go to the WP Staging plugin and push your previous site online. Install and set up your Razorpay on WooCommerce in order to accept payments.
6. What is the next step what happens if what happens if my Razorpay account is suspended?
When you’re Razorpay account has been suspended it could be due to a violation of their terms of service, a high chargeback rates, or insufficient documentation. Contact Razorpay support as soon as you can to identify the problem and provide required information to fix it.
7. Are there several Razorpay accounts to serve different companies?
Yes, you are able to create multiple Razorpay accounts for various businesses when each account is compliant with Razorpay’s terms and condition and that each business is confirmed using distinct KYC documents.
8. How do I connect with the Razorpay to WooCommerce plugin into my site?
to connect Razorpay with WooCommerce install the Razorpay for WooCommerce plugin on the WordPress dashboard. Then visit WooCommerce settings and then configure to use the Razorpay payments gateway. You can do this by entering the Razorpay API credentials. Verify that you have the gateway activated and run a test operation to test the integration.