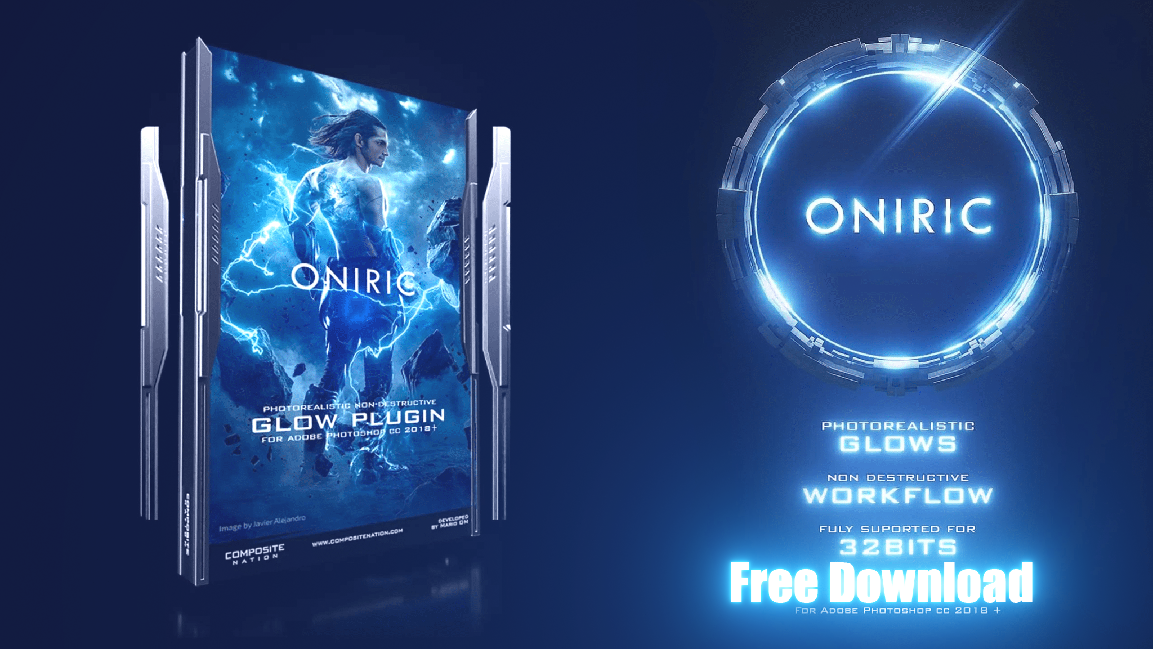
Download Oniric Glow Generator v1.2 Plugin


If you’ve ever wanted your Photoshop edits to glow—literally—with cinematic radiance, you’re not alone. Over 43% of digital artists say realistic lighting effects like bloom and glare are among the most challenging to replicate manually in post-production (source: Adobe Digital Insights, 2024). That’s where Oniric comes in—a specialized glow generator plugin built to simplify what most creators struggle to achieve.
Here at PiximFix.com, we don’t just talk plugins—we test them, troubleshoot them, and guide thousands of creators through using them effectively. Whether it’s unlocking cookie-based downloads, managing software bundles, or reviewing powerful tools like Oniric, our site is designed to give creators the tools and confidence they need. Readers often reach out after trying our recommendations, sharing how our tutorials helped them overcome frustrating issues or finally nail that perfect glow on a product shot or composite.
I’m Roshan, the person behind PiximFix. With years of hands-on experience in visual design and digital product testing, I’ve helped thousands of users across platforms choose the right tools for their creative flow. My goal here is to walk you through exactly how Oniric works, why it’s worth adding to your toolkit in 2025, and how to get it running smoothly—even if Photoshop has thrown a few errors your way.
Let’s get straight into it.
Photoshop Running Slow? 10 Quick Fixes!
What Is Oniric and Why Was It Created?
Oniric is a Photoshop plugin designed to bring light-based realism into photo editing—something that often gets lost when relying only on default glow effects or adjustment layers. It was built by Composite Nation with one goal: to replicate how real light behaves in a lens or environment, using methods that artists can control.
The name “Oniric” is inspired by the word oneiric, which refers to dreamlike imagery. That concept is reflected in the visual results it produces—light that blooms, glows, and scatters in a way that feels immersive rather than artificial.
Unlike blur tools or glow filters that brighten uniformly, Oniric simulates inverse-square falloff, meaning the light fades as it moves away from its source. This behavior mimics how glow works in real-world photography and cinematography, especially in scenes with harsh lights, reflective materials, or dark surroundings.
The plugin isn’t built for one-click effects. It gives users control over each stage of the glow process—threshold, intensity, color shifts, glare streaks, and more. It works on a separate layer, which means the original image remains untouched and editable. Each glow effect is generated based on the brightest pixels in the image unless guided otherwise with a custom mask.
Oniric was originally developed using Adobe’s CEP extension framework but has since transitioned into the newer UXP format for better performance and compatibility. It runs on both Windows and macOS systems and supports Apple Silicon without emulation.
Its background isn’t just technical—it comes from direct input by artists who needed something faster than manual masking but more refined than preset filters. That’s why it’s often used in portrait retouching, digital composites, concept artwork, and product photography where glow needs to feel deliberate—not random.
Who Created Oniric
Mario Olvera, the creator of Oniric, comes from a background rooted in visual storytelling and high-end photo compositing. As the founder of Composite Nation, he built a following through his detailed artworks and practical tutorials. His approach combines artistic intuition with technical precision, which led him to develop tools that simplify complex visual effects. Oniric reflects his own workflow—designed not for speed, but for accuracy, flexibility, and creative control.
Before developing Oniric, Mario Olvera spent years working as a digital artist, honing his skills in photo manipulation, lighting, and composite art. Early in his career, he was known for pushing the boundaries of Photoshop—creating surreal, cinematic scenes long before plugins like Oniric existed.
He shared his process openly through online communities, earning respect for both his creative precision and willingness to teach. Long nights experimenting with light bloom, glares, and atmospheric effects revealed how limited and time-consuming Photoshop’s built-in tools were. Rather than settling for shortcuts or stock overlays, Mario began building custom tools for his own work.
That hands-on experience—not just as a designer, but as a problem-solver—shaped the foundation of Composite Nation and later, the Oniric plugin. His work wasn’t driven by trends but by the real struggles he faced while trying to bring imagination into believable form.
Key Features of the Oniric Glow Generator Plugin

- Realistic Light Falloff
Oniric uses the inverse square law to simulate how light behaves in the real world. As light travels outward, it softens gradually. This method produces a more natural, atmospheric glow that blends smoothly with the environment. - Bloom Effect
One of Oniric’s core strengths is its bloom generation. This effect softens and spreads light from bright areas, helping highlights feel luminous without overwhelming the image. It pairs well with the colorize setting to enhance mood and tone. - Glare and Lens Effects
The plugin includes a glare module capable of creating anamorphic streaks and subtle light trails. These effects are often used in cinematic visuals, product photography, and stylized edits where light direction plays a visual role. - Color Customization
Through the colorize controls, users can introduce warmth, cool tones, or creative palettes into the glow. The effect responds well to minor tweaks, making it useful for both artistic and photo-realistic adjustments. - Improved Dynamic Range Control
Recent updates allow darker areas to contribute to the glow effect. This adjustment expands how much of an image can interact with light, offering more flexibility in scenes with low contrast or moody lighting. - User-Friendly Interface
Oniric’s panel is built with clarity in mind. Once opened, a single “Generate” button begins the process. From there, sliders adjust intensity, exposure, radius, and threshold. The results update in real-time. - Precision Through Threshold Control
The threshold slider determines which areas of brightness should generate glow. Raising or lowering this value gives you fine control over how much of the image reacts, helping avoid unnecessary light spill. - Non-Destructive Workflow
Each glow or glare effect is added on a new layer. This allows you to test ideas, revise choices, or remove results without touching the original image. It’s a structure designed for flexibility and revision. - X-Ray View for Accuracy
The X-ray mode helps preview where the glow will be applied before committing to a render. This feature is helpful for identifying hotspots and areas that may need masking or adjustment.
The creators of this plugin, Composite Nation, say: “You can do whatever you want with these sliders—just feel free to use your imagination.” For instance, you can use the X-ray view to see where the glow is applied or fine-tune it with the threshold slider. It’s easy to get creative and make your photos pop!
How to Download and Install the Oniric Plugin
Download the Plugin
- Step 1: Click the download link provided below to start the process of acquiring the Oniric Plugin.
- Step 2: Find the downloaded zip file on your computer and extract its contents to a folder.
Installation Process
- Step 3: Right-click on the C: drive (or your primary drive) and choose “Open in New Window” for easy file navigation.
- Step 4: Open another window to work with two windows side by side, simplifying file transfer.
- Step 5: In one window, type
C:\Program Files (x86)\Common Files\Adobe\CEP\extensionsin the address bar to locate the Extensions folder. - Step 6: Locate the folder named “CN_Oniric_1.2.0_CC_win,” right-click it, and select “Copy.”
- Step 7: Navigate to the Extensions directory and paste the copied folder there.
Activating in Photoshop
- Step 8: Open Adobe Photoshop. Click on Window in the menu bar, hover over Extensions (Legacy), and select Oniric to activate the plugin.
And guess what? You’re all set! Now, open up Photoshop, and in the menu bar, click Window, then hover over Extensions (Legacy) to access the Oniric Plugin and start enhancing your photos.
Troubleshooting: Fixing Common Installation Errors
The “Oniric” Extension Could Not Be Loaded

If you encounter the error message, “The ‘Oniric’ extension could not be loaded because it was not properly signed,” it usually happens because Adobe’s software checks for a proper digital signature before loading extensions. This issue can arise if the plugin isn’t recognized as a verified Adobe extension. Here’s how to resolve it:
- Step 1: Open the “registry editor” by searching for it in the Windows Start menu.

- Step 2: Navigate to
HKEY_CURRENT_USER > SOFTWARE > Adobe > CSXS.10. This path is crucial as it contains the settings that dictate how Adobe extensions, like the Oniric Plugin, are loaded and managed by Photoshop.

- Right-click in the right panel, choose New → String Value, and name it PlayerDebugMode.

- Step 4: Change the value data from
0to1and click “OK.”

- Step 5: Repeat this process for all “CSXS” folders to ensure consistency. Typically, you may encounter 2-3 CSXS folders depending on your Adobe installations. For example, you might see CSXS.8, CSXS.9, and CSXS.10.
- Step 6: Restart your computer to apply the changes.
Once restarted, open Photoshop, navigate to Window > Extensions (Legacy), and the Oniric Plugin should now be visible and functional. To verify, apply a simple test effect to ensure the plugin is working correctly and your setup is complete.
Examples of My Work Using Oniric


The images below were created using the Oniric Glow Generator plugin. Each piece was enhanced by applying controlled bloom, glare, and colorized glow to specific elements in the composition. These effects helped bring out depth, atmosphere, and surreal lighting that wouldn’t be possible with basic Photoshop tools alone.
Above: Glow enhancements around the celestial arch and characters elevate the dreamlike setting.
If you’re exploring how to bring visual storytelling to life, this plugin becomes a powerful part of the process. These pieces were part of my ongoing creative experiments where light isn’t just a detail—it’s a design tool.
Wrapping Up Your Glow Journey
Oniric Glow Generator delivers powerful lighting enhancements that help images stand out—from subtle soft glows to dramatic lens streaks—while preserving full control over your original work. It automates what would otherwise take layers of manual focusing and blending, but still allows adjustments in color, brightness, dynamic range, and masking.
Whether you’re refining portraits, cinematic composites, or product presentations, Oniric is flexible enough for creative experimentation yet reliable enough for professional outcomes. Installation is straightforward, and fixes like enabling PlayerDebugMode offer practical solutions if Photoshop throws a signature error.
In my experience, Oniric’s editor-friendly interface combined with its thoughtful rendering options make it a smart addition for anyone looking to elevate the visual impact of their work. If creating atmospheric depth or eye-catching highlights matters in your edits, this plugin earns a spot in your Photoshop toolkit.
Give it a try, customize the glow to match your style, and see how it enhances the storytelling in your images.